Manage Users
Configure User Roles and Invite Users
Cisco Spaces: Detect and Locate users have role-based access control (RBAC), where users or groups of users are provided with various user roles. User roles have different restrictions based on the permissions that are associated with each role. The available permissions are AdminAccess, ReadOnlyAccess, and SiteAdminAccess and these define the locations and sites an associated user has access to. A user's Cisco Spaces: Detect and Locate dashboard displays only those locations that are defined for the particular user role.
|
Permissions |
Privilege |
|---|---|
|
AdminAccess |
Read and write access to entire system. |
|
ReadOnlyAccess |
Read only access. |
|
SiteAdminAccess |
Read and write access at site-level. |
Before you begin
Upload maps.
Procedure
|
Step 1 |
In the left navigation pane, click User Management > User Roles. From the Roles window, Click the Add button. |
|
Step 2 |
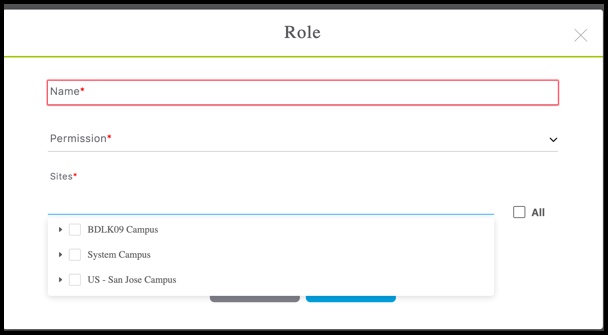
In the Role window, do the following:
 |
|
Step 3 |
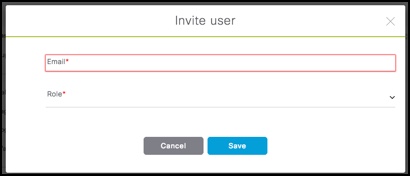
Invite users by entering their email IDs and choosing a Role as configured in Step 2.  |
Modifying Users and User Roles
You, as an administrator, cannot modify the personal details of a user. The user also cannot modify his personal details from the User Management window.
The Detect and Locate Administrator can modify User Roles only. The Detect and Locate Administrator can edit the role of a specific user by editing user details from User Management > App Users.
Users listed under User Management > Administrators are administrators defined in the Cisco Spaces dashboard. This type of user cannot be edited from Detect and Locate, and can be edited from the Cisco Spaces dashboard only.
Procedure
|
Step 1 |
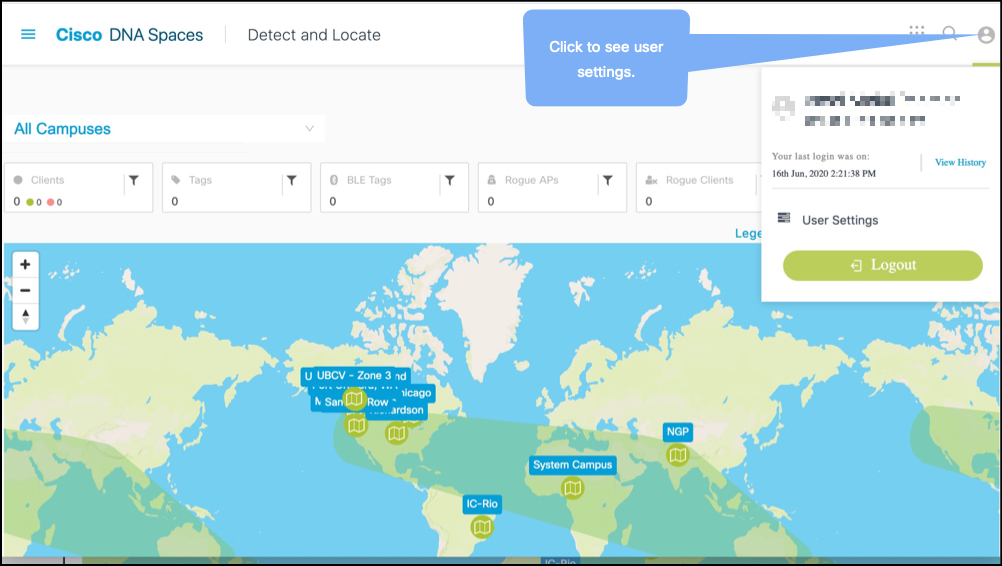
To modify user details, users must log in to their respective accounts on the Detect and Locate dashboard and navigate to User Settings. 
|
|
Step 2 |
From the Preferences tab, you can set the following
|
|
Step 3 |
From the Account Activity tab, you can observe dasboard access activity, such as browsers used, access time, and location. 
|
 Feedback