Probleemoplossing Statische IP-adresconfiguratie (Internet Protocol) op FindIT-netwerkprobe
Doel
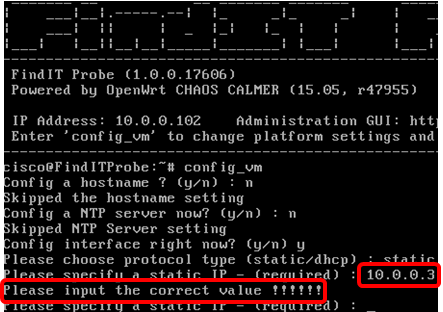
Er is een recente fout opgetreden waarbij bij het configureren van de FindIT-netwerksonde om een statisch IP-adres met een enkele nulwaarde in ten minste één van de octetten (zoals 192.168.0.123 of 10.0.0.3) via de virtuele machineconsole een foutmelding wordt weergegeven Voer de juiste waarde!!!!!! in.
Scenario:
In het onderstaande scenario wordt de fout benadrukt bij het configureren van een statisch IP-adres met een nulwaarde in de IP-adresoctetten. Op het gebruiken van het config_vm bevel om het statische IP adres van de Sonde van het Netwerk te vormen FindIT, verschijnt de foutenmelding.
#1 oplossing:

#2 oplossing:
U kunt ook een statisch IP-adres aan de sonde toewijzen via de bijbehorende administratieve GUI. Dit artikel zal u voorzien van instructies op hoe u problemen oplossen, instellen en verifiëren van de statische IP-configuratie instellingen op uw FindIT-netwerksonde.
Probleemoplossing voor statische IP-configuratie in FindIT-netwerksonde
Statisch IP-adres op de sonde configureren
Stap 1. Toegang tot de console van de FindIT Network Probe virtuele machine (VM).
Stap 2. Meld u aan bij de VM-console en voer vervolgens de gebruikersnaam en het wachtwoord in. De standaardgebruikersnaam en het wachtwoord zijn: cisco/cisco.

Opmerking: als u het wachtwoord hebt gewijzigd, voert u in plaats daarvan het nieuwe wachtwoord in.
Het DHCP IP-adres en de beheerGUI-adres worden weergegeven.
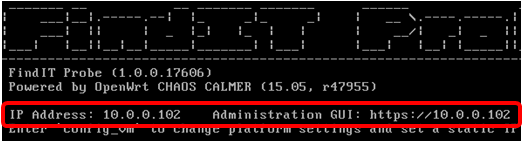
Opmerking: in dit voorbeeld is het IP-adres van FindIT Network Probe 10.0.0.102 en het beheerdersGUI-adres https://10.0.0.102.
Stap 3. Voer in uw webbrowser het GUI-adres van de beheerder van de sonde in en druk vervolgens op Enter.
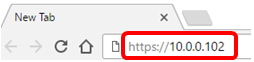
Opmerking: in dit voorbeeld wordt Google Chrome gebruikt.
Stap 4. Log in op de beheerder GUI met uw gebruikersnaam en wachtwoord. De standaardwaarden voor gebruikersnaam en wachtwoord zijn cisco/cisco.
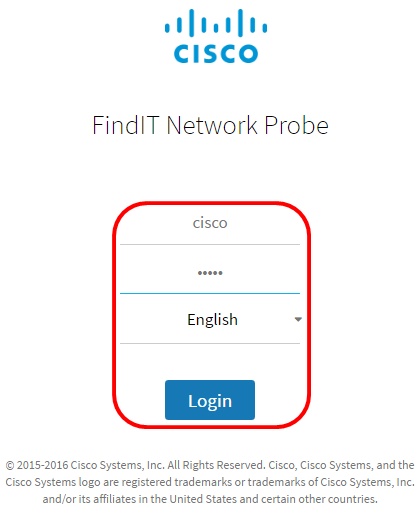
Opmerking: als u het wachtwoord al hebt gewijzigd of een nieuwe account hebt aangemaakt, voert u in plaats daarvan uw referenties in.
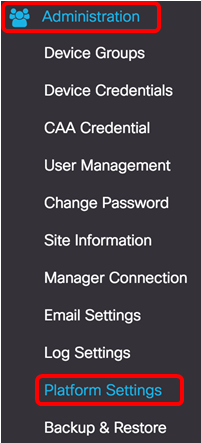
Stap 5. Kies Beheer > Platform-instellingen.
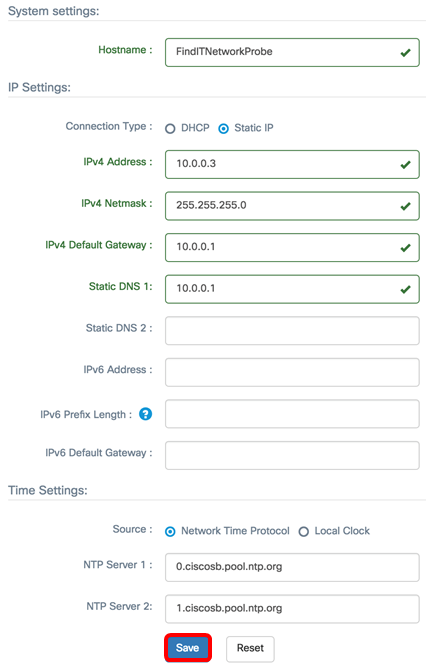
Stap 6. (Optioneel) Als u de hostnaam van uw sonde wilt wijzigen, voert u de nieuwe hostnaam in het veld Hostname in. De hostname wordt gebruikt om de Probe te identificeren bij het genereren van Bonjour advertenties en het verzenden van e-mail.

Opmerking: in dit voorbeeld wordt FindITNNetworkProbe gebruikt.
Stap 7. Klik in het gebied IP-instellingen op de knop Statische IP.

De opties zijn:
- DHCP — De sonde zal automatisch zijn IP adres van de router krijgen. Dit is de standaardinstelling.
- Statische IP — U kunt het IP-adres, subnetmasker, standaardgateways en DNS-servers handmatig configureren.
Stap 8. Voer in het veld IPv4-adres het statische IP-adres in voor de FindIT-netwerksonde.

Opmerking: in dit voorbeeld wordt 10.0.03 gebruikt.
Stap 9. Voer in het veld IPv4 Netmask het subnetmasker van uw netwerk in.

Opmerking: in dit voorbeeld wordt 255.255.255.0 gebruikt.
Stap 10. Voer het standaardgatewayadres in in het veld IPv4 Default Gateway.

Opmerking: in dit voorbeeld wordt 10.0.0.1 gebruikt.
Stap 11. Voer het statische DNS-adres in het veld Statische DNS 1 in.

Opmerking: in dit voorbeeld wordt 10.0.0.1 gebruikt.
Stap 12. (optioneel) Voer een ander statisch DNS-adres in het veld Statische DNS 2 in.
Stap 13. (Optioneel) Voer het statische IPv6-adres in het veld IPv6-adres in. Als u de IPv6-instellingen van de sonde niet wilt configureren, gaat u naar Stap 18.
Stap 14. (Optioneel) Voer de lengte van het IPv6-prefix in het veld IPv6-lengte prefix in. Het bereik is 0 tot 128.
Stap 15. (Optioneel) Voer het IPv6-standaardgatewayadres in het veld IPv6 Default Gateway in.
Stap 16. (Optioneel) Als u de Tijdsinstellingen van de sonde wilt configureren, kiest u een tijdbron. De opties zijn:
- Network Time Protocol — De sonde synchroniseert de datum en tijd met de specifieke NTP-server(s). Dit is de standaardinstelling.
- Lokale klok — de sonde synchroniseert de datum en tijd op basis van wat op de computer is ingesteld.
Stap 17. (Optioneel) Voer de NTP-server in de velden NTP Server 1 en NTP Server 2 in.
Opmerking: Als u wilt leren hoe u de platforminstellingen van de sonde moet beheren, klik hier voor instructies.
Stap 18. Klik op Save (Opslaan).
Stap 19. (Optioneel) Klik op de knop Reset om de vorige instellingen te herstellen.
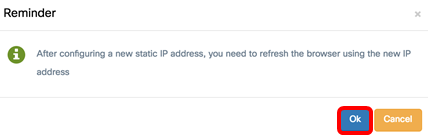
Stap 20. Klik op OK als het pop-upbericht hieronder om u vraagt.
U moet nu de statische IP-adresinstellingen hebben ingesteld op uw FindIT-netwerktest.
Controleer het ingestelde statische IP-adres op de sonde
Er zijn twee manieren om te verifiëren dat u met succes het statische IP-adres van de sonde hebt geconfigureerd.
Stap 1. Voer in uw webbrowser het nieuwe GUI-adres van de beheerder van de sonde in en druk vervolgens op Enter. U moet toegang hebben tot de beheerGUI van de FindIT-netwerksonde.

Stap 2. Toegang tot en inloggen op de console van de FindIT Network Probe virtuele machine (VM). Het nieuwe IP-adres en GUI-adres van de beheerder worden weergegeven.

U had nu het nieuwe statische IP-adres van de sonde moeten verifiëren.
Bekijk een video gerelateerd aan dit artikel ...
Revisiegeschiedenis
| Revisie | Publicatiedatum | Opmerkingen |
|---|---|---|
1.0 |
12-Dec-2018 |
Eerste vrijgave |
 Feedback
Contact Cisco
- Een ondersteuningscase openen

- (Vereist een Cisco-servicecontract)