Introduction
This document describes a non-traditional file transfer method on Catalyst switches. Using Web GUI as a modern solution alleviates these file transfer issues.
Problem
In networking environments, there is a notable challenge when using traditional methods like TFTP for file transfer. Specifically, when a TFTP server is connected through a Multiprotocol Label Switching (MPLS) link, the throughput is significantly reduced, leading to inefficiencies and delays in data transfer. This low throughput poses operational challenges and demands an alternative solution in order to ensure timely and efficient file transfers.
Pre-requisites
Basic understanding of Catalyst 9k series switches and connectivity methods.
Configuration
1. IP HTTP
a. By default this must already be configured.
b. You can verify by issuing the #show run | in http command.
Switch(config)#ip http server
Switch(config)#ip http authentication local
Switch(config)#ip http secure-server
2. IP Address to Access the WebUI
a. You can configure an IP address on the management interface.
 interface GigabitEthernet0/0
  vrf forwarding Mgmt-vrf
  ip address 192.168.2.1 255.255.255.0
   speed 1000
  negotiation auto
b. You can also configure an IP address on a Switch Virtual Interface (SVI).
interface Vlan1
 ip address 192.168.1.1 255.255.255.0
3. Local Authentication
a. Since ip http authentication local is used, a local username and password must be configured in order to access the device.
b. Example configuration of a local authentication user: Switch(config)#username cisco privilege 15 secret cisco .

Note: Privilege 15 gives you access to monitoring and configuration.
Privilege 1 - 14 (or omit privilege option) allows access to monitoring only.

Note: The default username (Cisco/WebUI) and password (serial number of the switch) are only used for the day zero configuration.
4. Setting up the Client
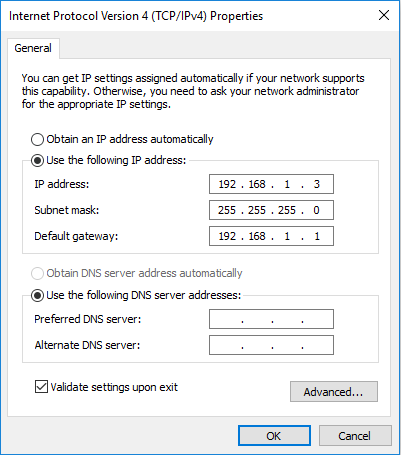
a. Ensure your client is within the same subnet of the WebUI IP address you are trying to access or have reachability to the management interface (with the default gateway set).
b. If you are using the management interface to connect on a redundant setup, ensure the connection is through the active member.
c. Here is an example of statically configuring a client for a Windows device.
5. Login to WebUI
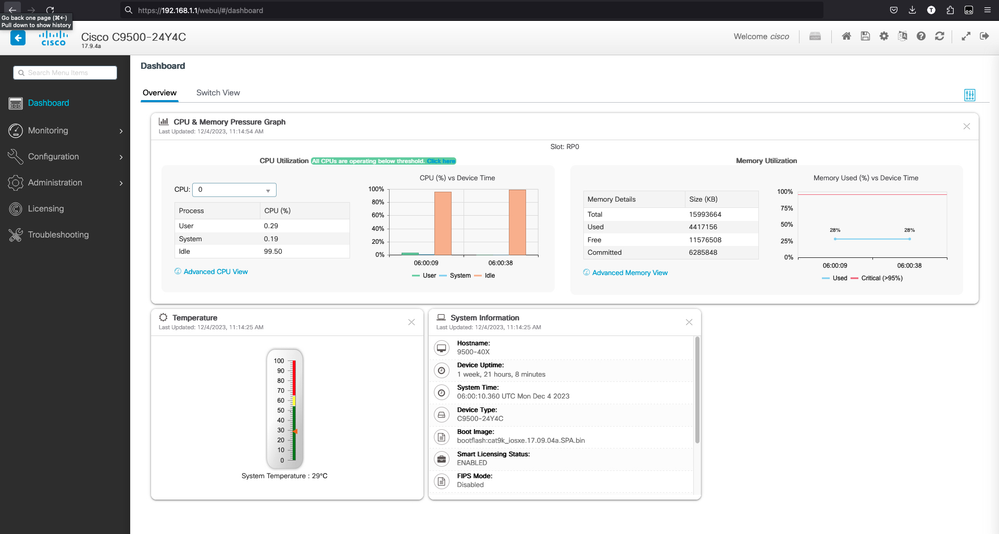
a. After configuring this, you have all the necessary configurations in order to log in to the WebUI of the device.
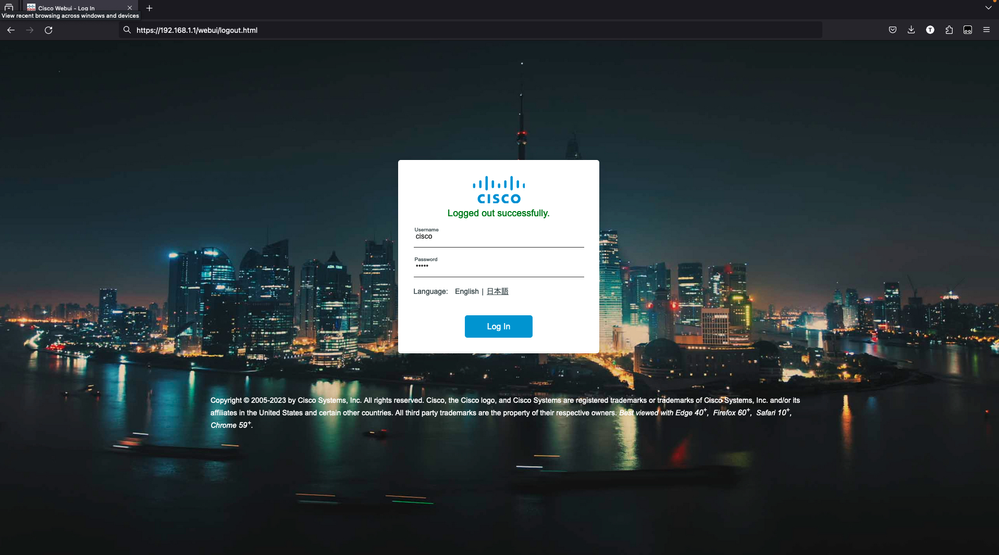
b. Access your internet browser and type the IP address you have configured for the WebUI.
c. In this example, 192.168.1.1 is used.

d. After entering the IP address and the login credentials configured earlier, you see this:
e. You must have full access to the WebUI at this point. The login page is:
6. Download/Upload Files
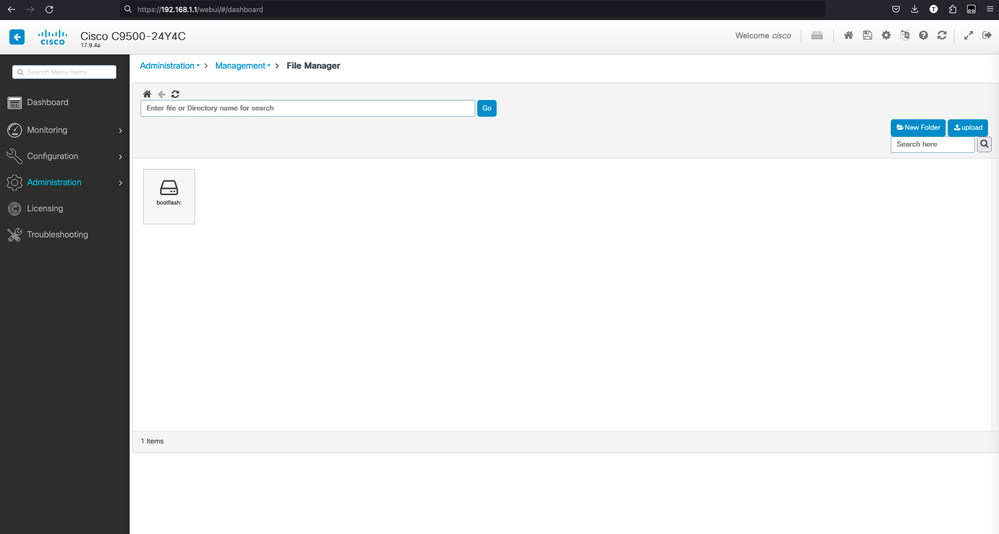
a. Click Administration > Management > File Manager.
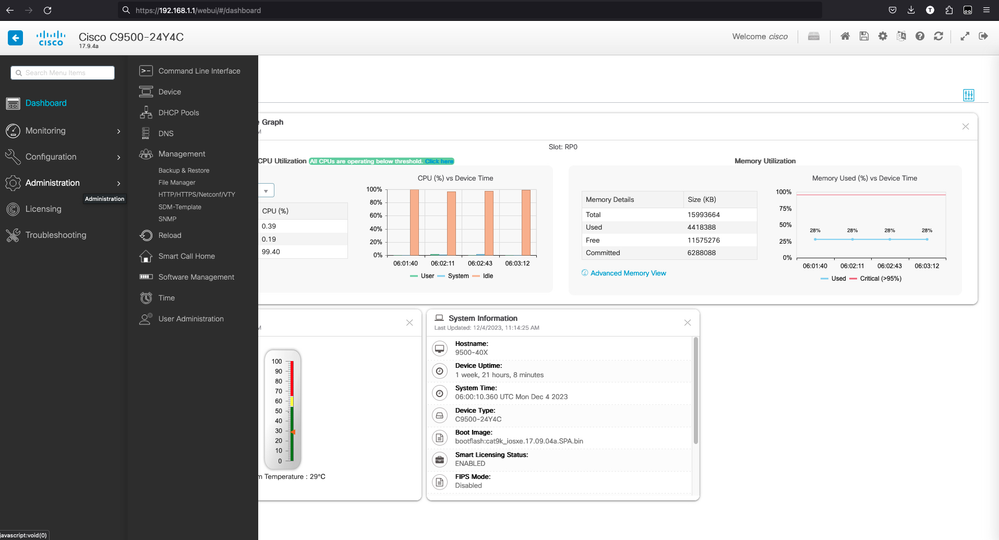
b. The landing page looks like this (click Flash):
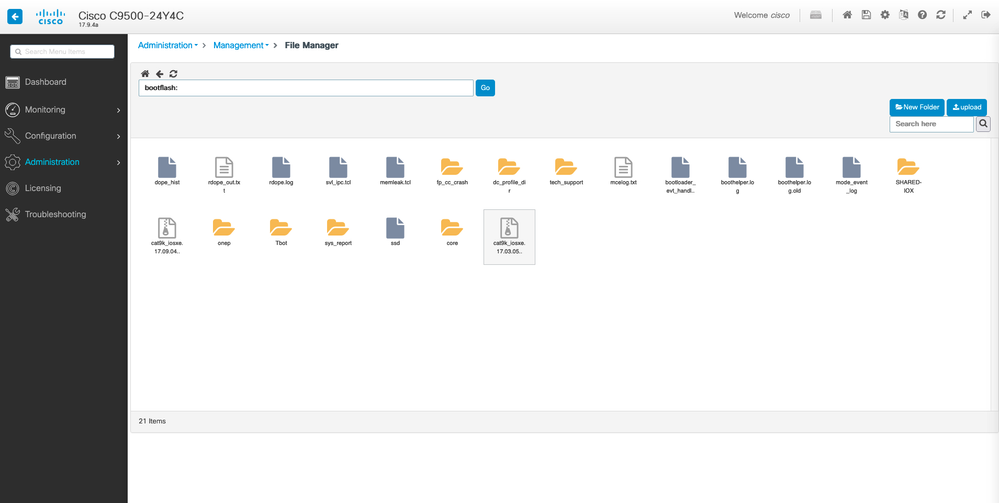
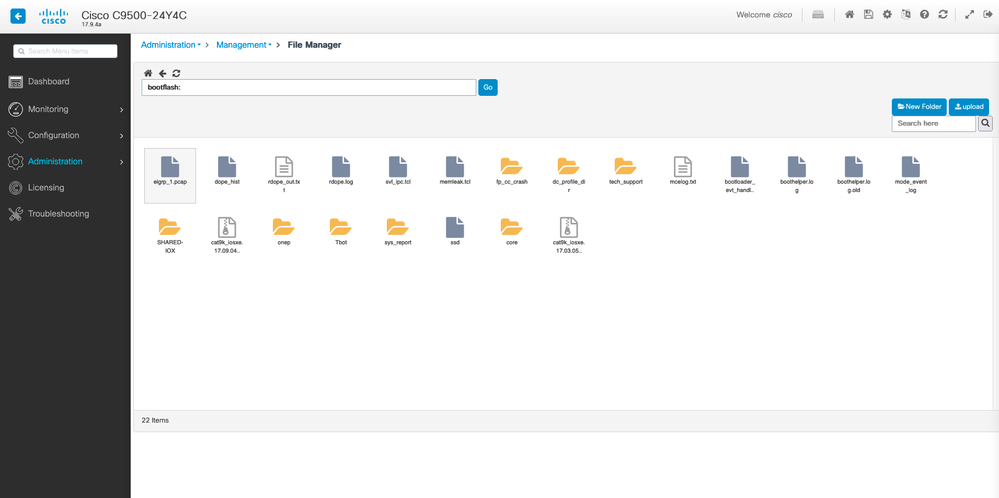
c. The contents of the boot flash are displayed:
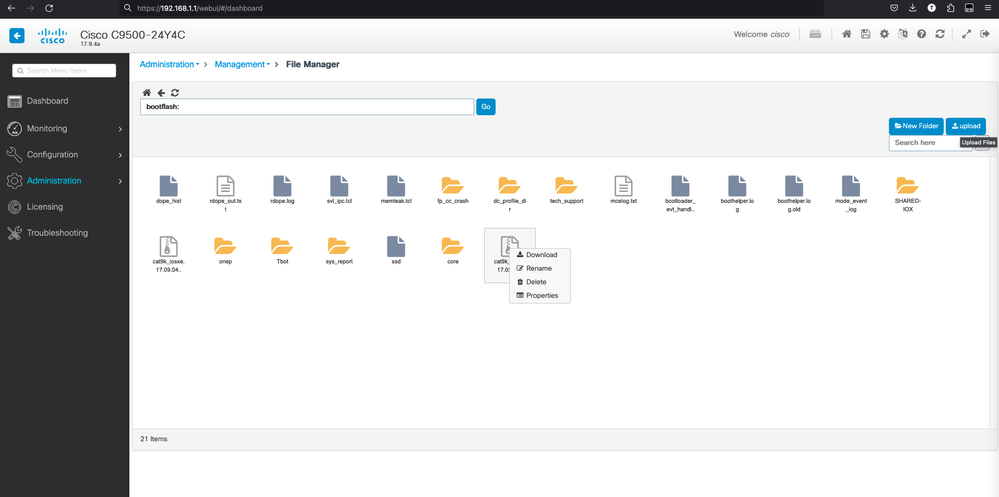
d. In order to download any file, navigate to file and there is an option to download.
e. In order to upload files from the PC, use the upload button on the right top side.
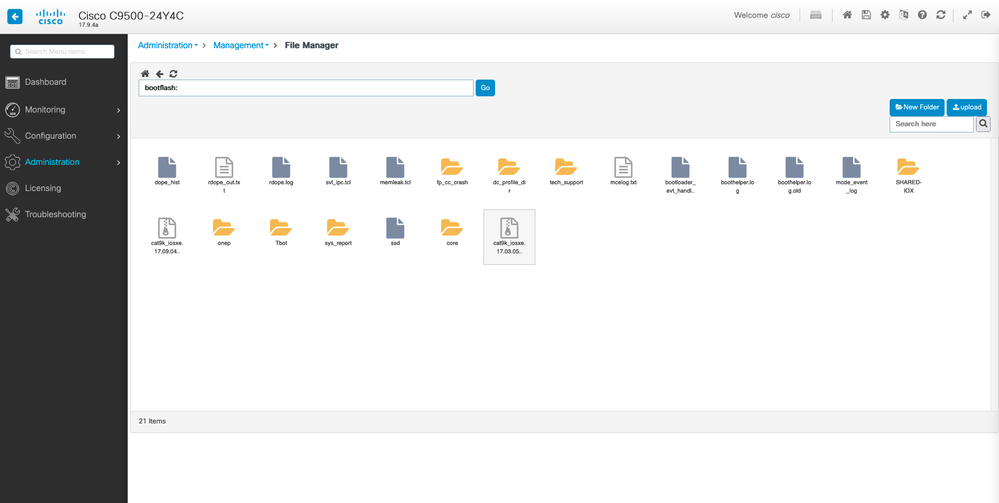
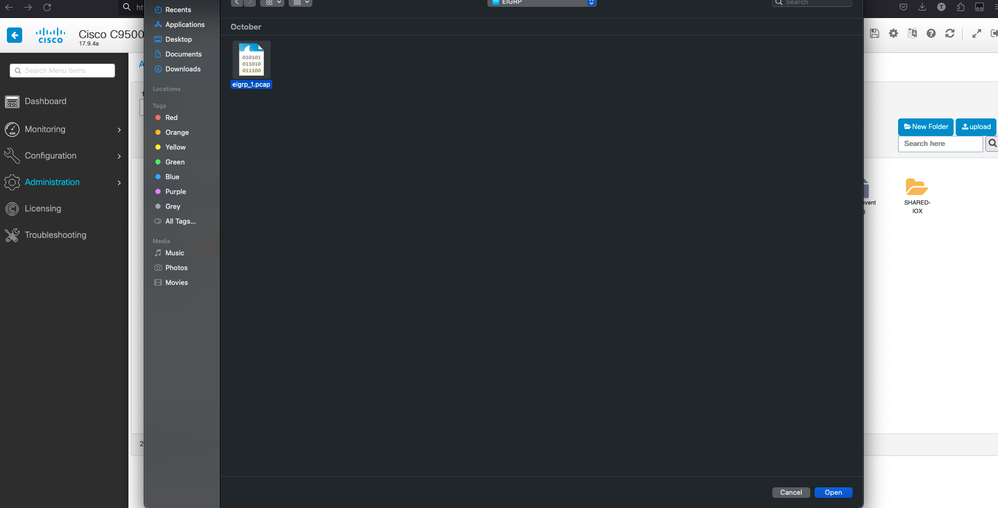
f. Choose the file that you want to upload from the PC and click open so that the file is loaded to the boot flash.


 Feedback