Integrating Cloudshark for Packet Analysis on a WAP125 or WAP581
Available Languages
Objective
This article explains the integration of a CloudShark account into an access point to manage packet captures.
Introduction
A packet capture, also known as a PCAP file, is a tool that can be helpful in troubleshooting. It records every packet sent between devices in your network, in real time. Capturing packets allows you to dig into the details of the network traffic, which can include everything from device negotiation, protocol conversations, failed authentication, and sensitive information transfer. You can see the path of specific traffic flows and every interaction between devices on selected networks. These packets can be saved for further analysis as needed. It’s like an x-ray of the network’s transfer of packets.
To learn more about how to perform a packet capture on your Wireless Access Point, on a WAP125 or WAP581, click here or here for the WAP125.
CloudShark is a paid, third party service that provides cloud storage to upload, store, or share packets. Furthermore, CloudShark provides analytical tools to troubleshoot the packets contained in a PCAP file. An administrator managing multiple, independent networks, has the ability to see, share, and analyze all packet captures in one central place.
Note: As with any packet capture, sensitive data must be closely protected when sharing.
For further information and details, refer to the Cloudshark website here.
Note: If you are using a different device than the WAP125 or WAP581, and it does not come with packet capture abilities, you can substitue with WireShark.
Applicable Devices
- WAP125
- WAP581
Software Version
- 1.0.0.7 for the WAP125
- 1.0.1.3 for the WAP581
Set Up CloudShark Online and on the WAP
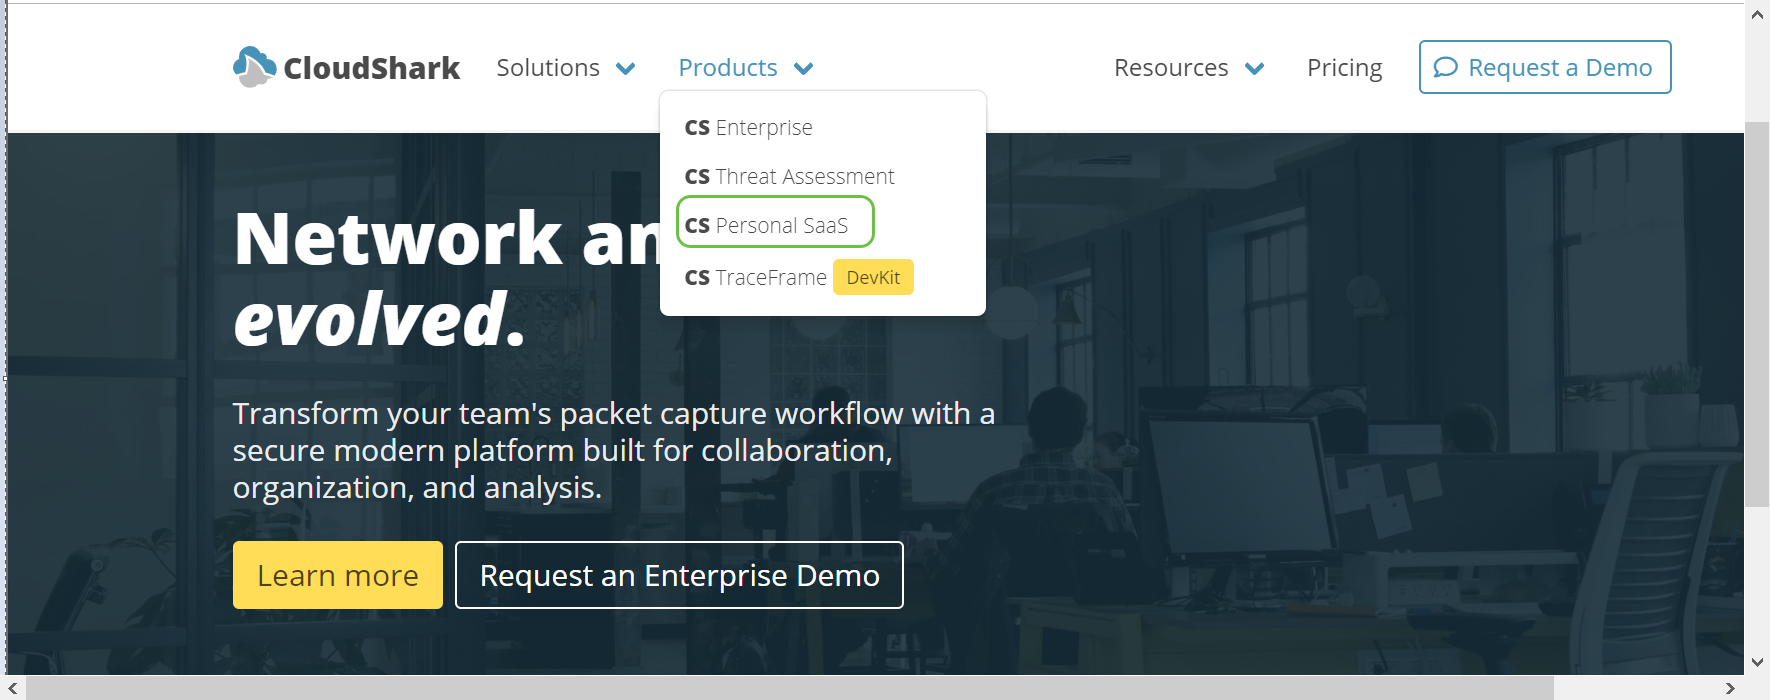
Step 1. Go to: CloudShark Website. Under the Products tab, select CS Personal SaaS from the drop-down menu.
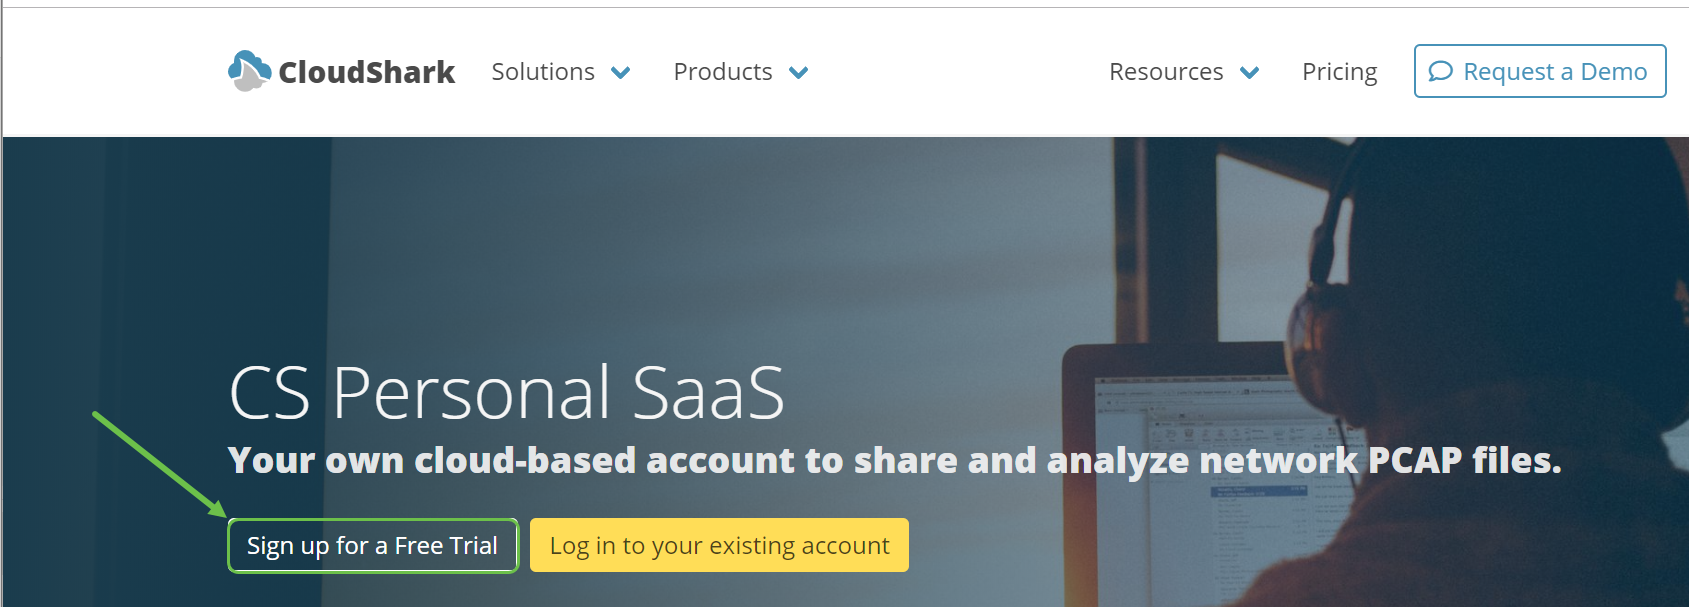
Step 2.CloudShark offers a 30 day free trial. Select the free trial unless you have an existing account.
Step 3. Create an account. Enter your email address to get sign-up information, or use your another account for third-party authorization.

Step 4. Once you have created your account you will enter the welcome screen.
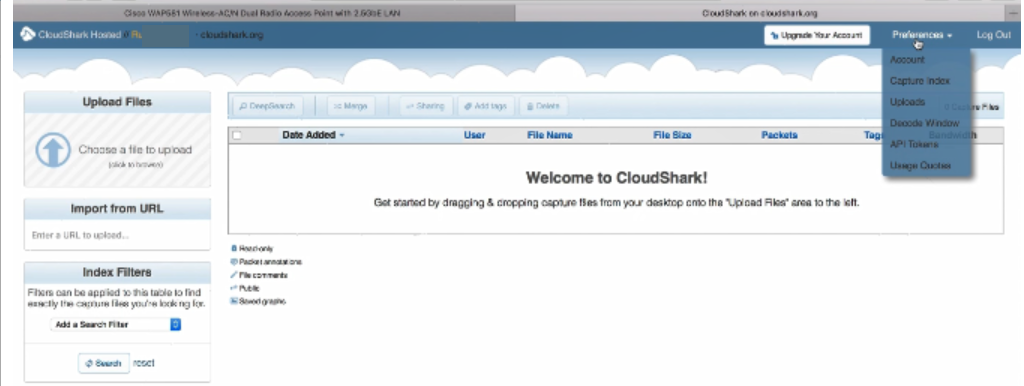
Step 5. In the top right of the screen click Preferences > API tokens.

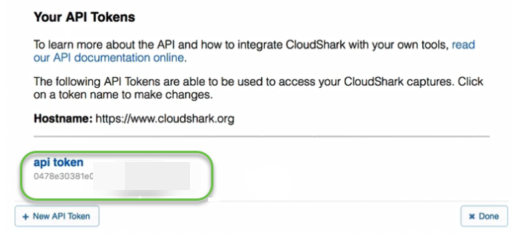
Step 6. Your API token will appear. It is very important that you highlight it, copy it, and save it in a text file for future use.
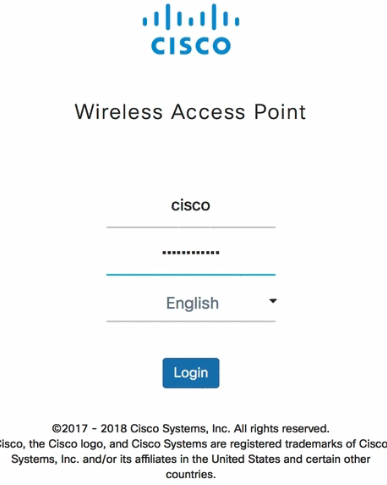
Step 7. In your web browser, enter the IP address of the Wireless Access Point. Enter your credentials. If this is your first time accessing this device or you did a factory reset, the default username and password is cisco.
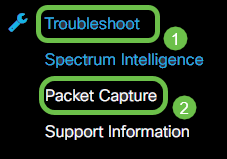
Step 8. On the navigation pane, choose Troubleshooting > Packet Capture.
Step 9. Click on the drop-down menu for the Packet Capture Method > Stream to Cloudshark.
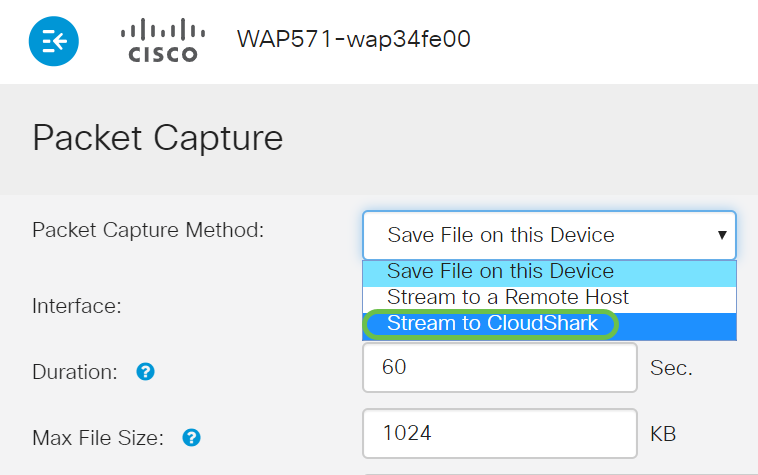
Step 10. Enter the API key.

Step 11. Click the Save button on the top right corner of the screen.
Step 12. At the bottom of the Packet Capture page you click the play button to start a packet capture.
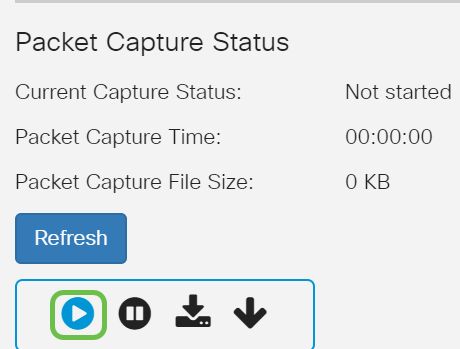
Step 13. A confirmation window will open. To start a packet capture you click OK.

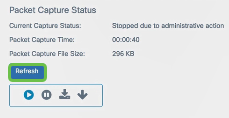
Step 14. You must click on the Refresh button on the bottom of the screen to have the details of the capture updated.
Step 15. When you want to stop the capture, click on the pause button at the bottom of the screen.
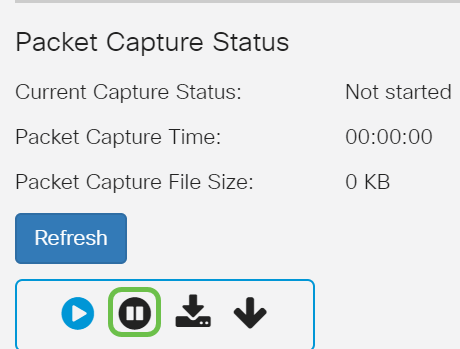
Step 16. A confirmation window will open. To stop the capture, click on the OK button.
Note: Hit refresh once more to see the final size and time.

Step 17. To validate that the capture was received, log in to your CloudShark account. Your packet should appear there for you to review. Click on the name of the file to see the details.

Options for Analysis on CloudShark
Once PCAP files are on CloudShark, you have various tools you can utilize to fit your needs. Some of the areas have been highlighted below.
Step 1. Click on more info for details of the capture.

Details show in a new popup along with various options.

Step 2. Click on the name of the file to see the details.

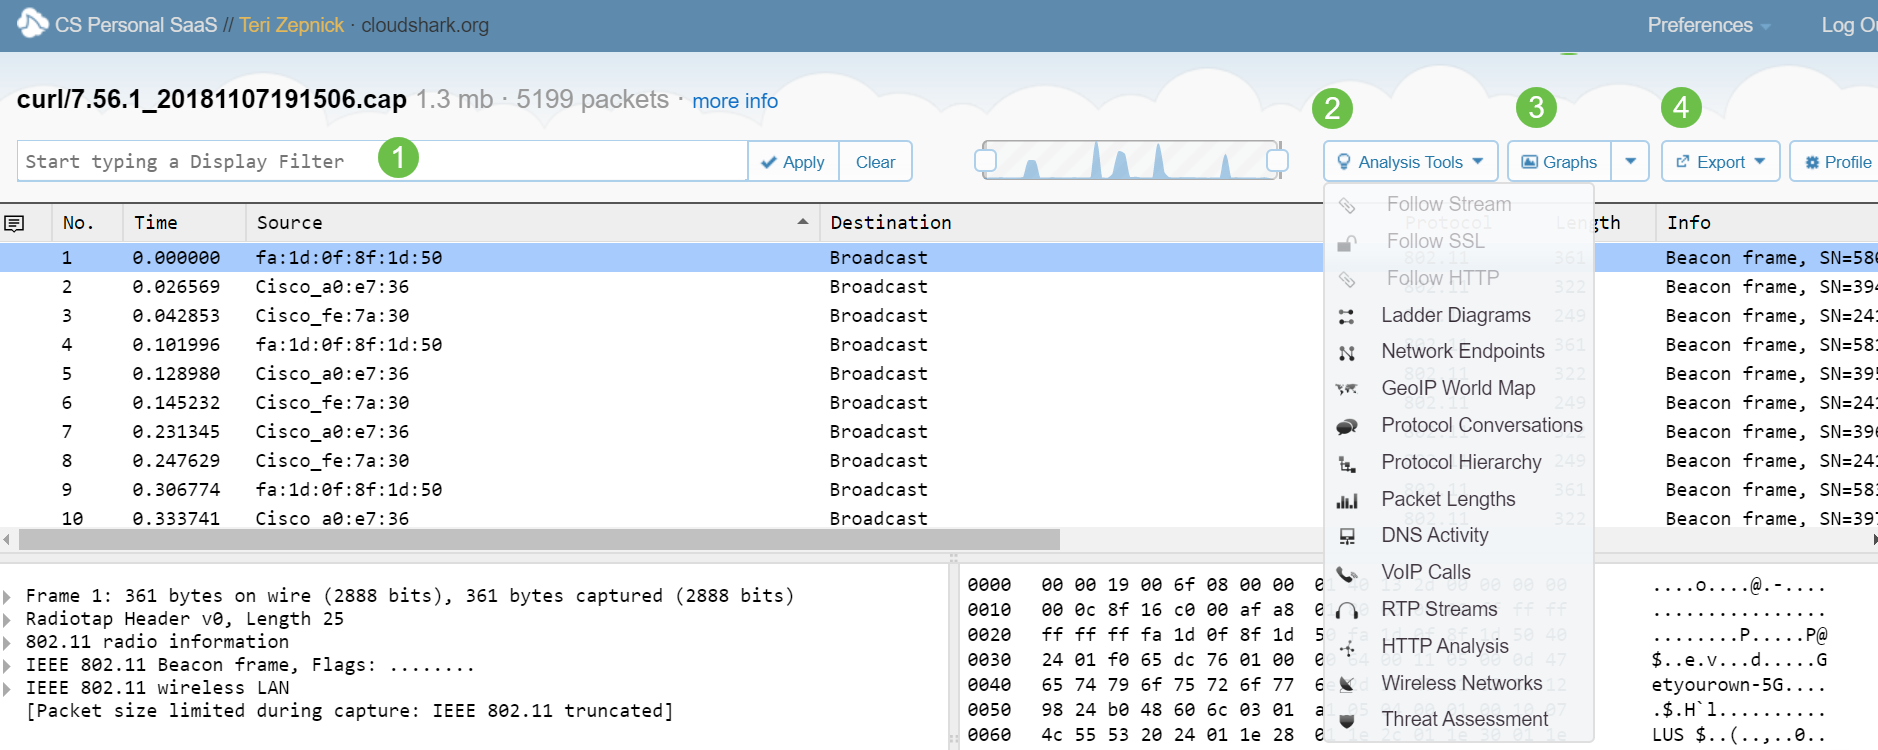
Step 3. Click on the file name and details will appear. Some details of the packet capture options for filtering, analysis, graphing and exporting are located on this screen.
- Select to enter and apply a display filter.
- Explore various analysis tools.
- Create graphs.
- Export PCAP files.
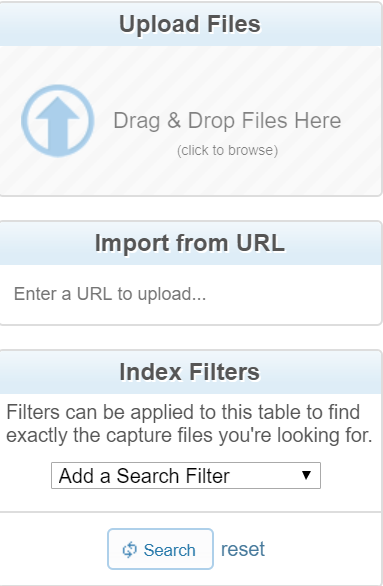
Step 5. To upload other PCAP files or from a URL, or to apply filters, navigate to the left side of the main screen and select your options.
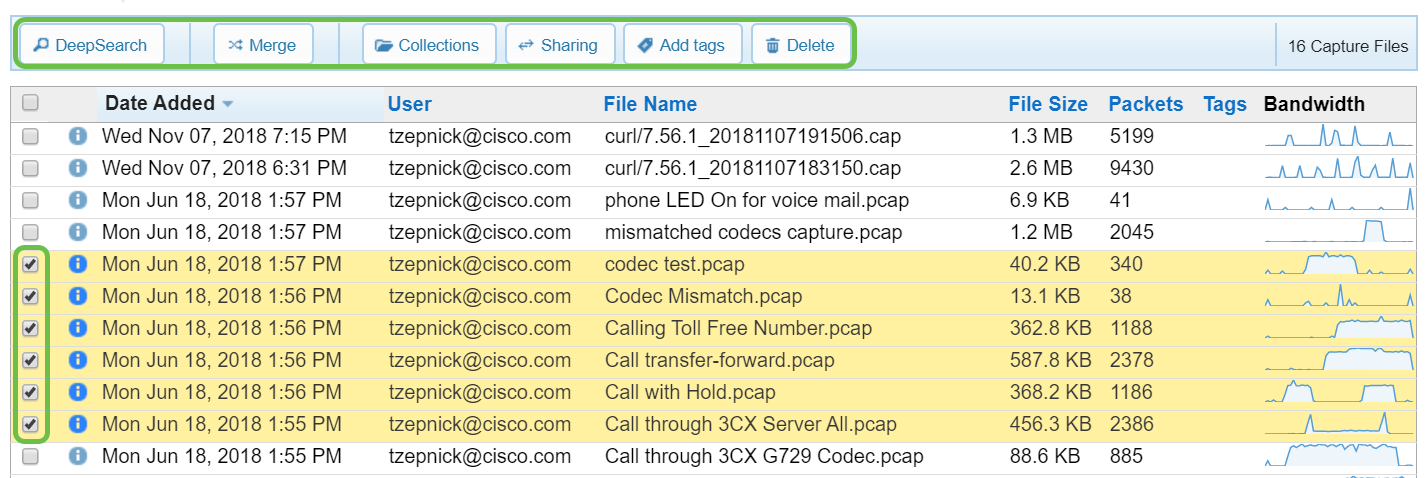
Step 6. This screen highlights the areas to search and merge groups of files. You can also create collections, share, or add tags from here.
Conclusion
You should now have successfully set up CloudShark.
To access a short video that highlights Cloudshark and other new features of the WAP125 or WAP581, click the link below.
Cisco Tech Talk: Discover The New Features on the Cisco WAP125 and WAP581
 Feedback