Bridge Group Names on a Cisco Business Wireless Mesh Network
Available Languages
Objective
This article is all about Bridge Group Names (BGNs) on a Cisco Business Wireless (CBW) mesh network. Topics include the purpose of BGNs, how they are created, how a mismatch can cause issues with connectivity, and how to view/edit them.
If you are unfamiliar with terms in this document, check out Cisco Business: Glossary of New Terms.
Applicable Devices | Firmware Version
- 140AC (Data Sheet) | 10.4.1.0 (Download latest)
- 141ACM (Data Sheet) | 10.4.1.0 (Download latest)
- 142ACM (Data Sheet) | 10.4.1.0 (Download latest)
- 143ACM (Data Sheet) | 10.4.1.0 (Download latest)
- 145AC (Data Sheet) | 10.4.1.0 (Download latest)
- 240AC (Data Sheet) | 10.4.1.0 (Download latest)
Introduction
BGNs are created to optimize connectivity between APs that are supposed to work together, even when the APs are in close proximity to another wireless network.
Table of Contents
- If you set up your network with all APs at factory default
- If you reset a Primary AP or moved a configured AP to a new network
- If you want to view or change a bridge group name on an AP
If you set up your network with all APs at factory default
When you conducted the Day Zero configurations for your mesh network, a BGN was automatically created. It is the same as the first Service Set Identifier (SSID) you entered, up to the first 10 characters. This BGN is used within APs to associate and make sure the APs are staying connected properly. If you set up your Primary AP and then join subordinate APs, the BGN should automatically match with no further configurations needed.
If you reset a Primary AP or moved a configured AP to a new network
If you perform a reset to factory default on the Primary AP, or move APs from one configured network to another, this can cause a mismatch of BGNs.
When an AP tries to join a network in a scenario where the BGN doesn’t match any networks available, the subordinate AP will attempt to temporarily join the network with the strongest signal. The AP will be able to join the network if it is Allow Listed and approved.
Once the AP has joined the network, since the BGN doesn’t match, the subordinate AP will continue to look for a matching BGN every 10 to 15 minutes. This will cause the connection to drop and then join again if a matching BGN isn’t found. This can cause a lot of problems with connectivity in the wireless network, especially when there might be a stronger wireless signal coming from another wireless network.
As a simple solution, for all APs to work together, you should make sure the BGN on all APs match exactly. To clear out the BGN on the other APs, you can do a Reset to Factory Default on them, or you can manually change each one to match.
If you want to view or change a bridge group name on an AP
Beginner Help
This toggled section highlights tips for beginners.
Logging In
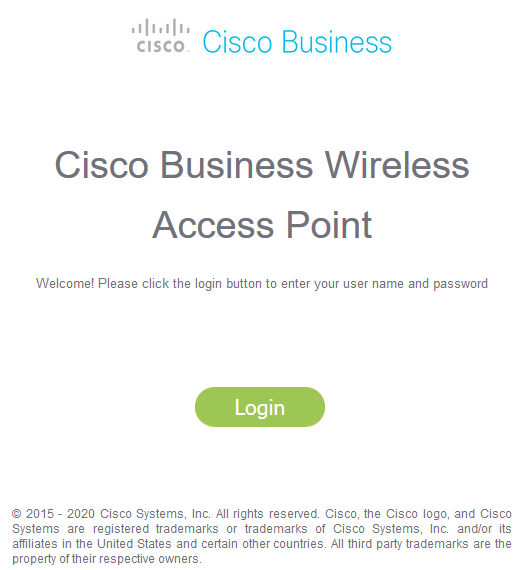
Log into the Web User Interface (UI) of the Primary AP. To do this, open a web browser and enter https://ciscobusiness.cisco.com You may receive a warning before proceeding. Enter your credentials.You can also access the Primary AP by entering https://[ipaddress] (of the Primary AP) into a web browser.
Tool Tips
If you have questions about a field in the user interface, check for a tool tip that looks like the
following: ![]()
Trouble locating the Expand Main Menu icon?
Navigate to the menu on the left-hand side of the screen, if you don’t see the menu button, click
this icon to open the side-bar menu.
Cisco Business App
These devices have companion apps that share some management features with the web user interface. Not all features in the Web user interface will be available in the App.
Frequently Asked Questions
If you still have unanswered questions, you can check our frequently asked questions document. FAQ
It is recommended that BGNs get assigned to the mesh extenders with the most hops be configured first, working up to the least number of hops. After that, the Primary Capable APs bridge group names should be assigned. The Primary AP BGN should be configured last. You can view and change them one at a time by performing the following steps.
Step 1
Log into the AP and enter your credentials.

Step 2
Switch to Expert View by clicking on the arrow icon.

Step 3
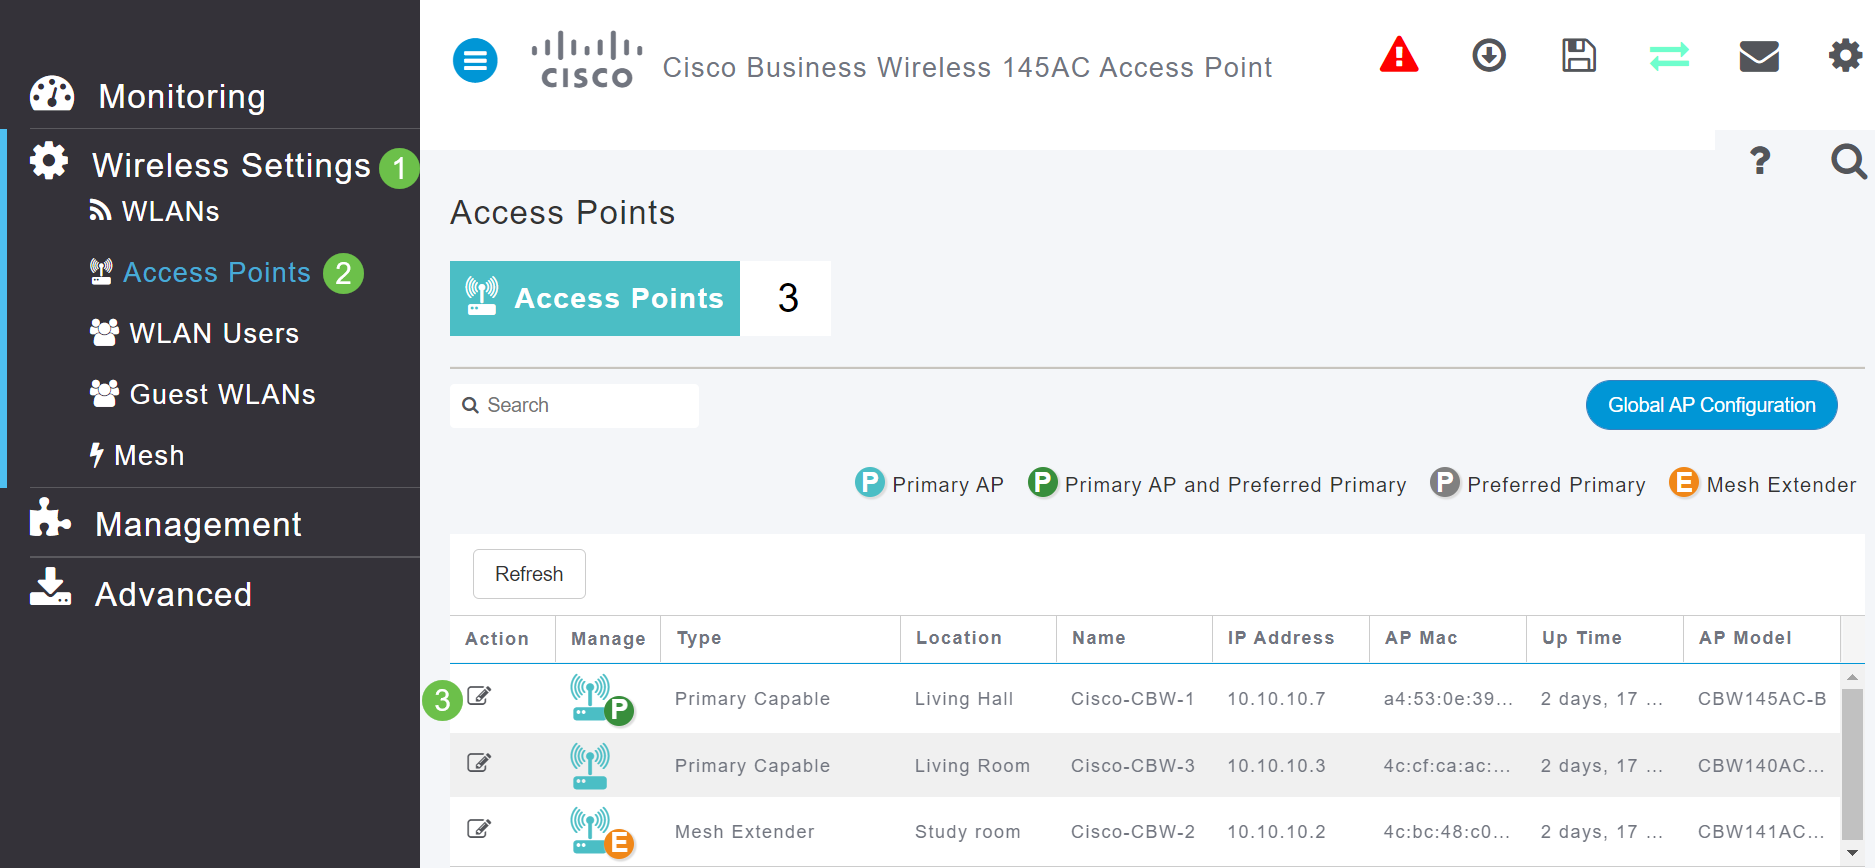
Navigate to Wireless Settings > Access Points. Click on the edit icon of the AP you want to edit or view.

Step 4
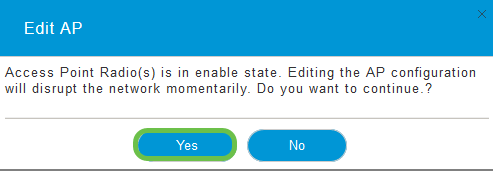
A pop-up will ask for confirmation that you want to edit the AP configuration. Select Yes.

Step 5
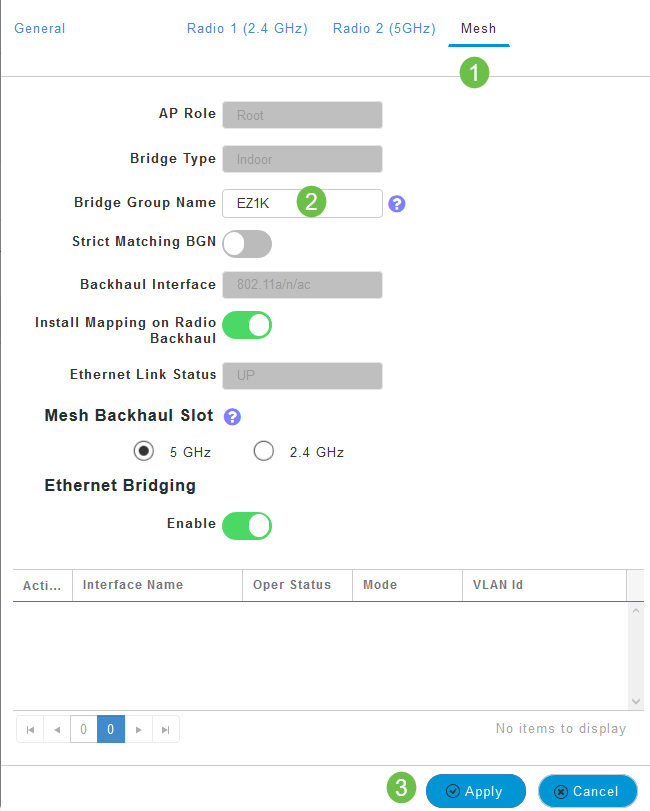
Click the Mesh tab. Here you can view and change the Bridge Group Name. If you make changes, be sure you click Apply.

Step 6
Repeat the steps for each AP in the network you want to check. Click the save icon to permanently save any changes. Keep in mind that when a bridge group name is assigned, the device performs a reboot. Since a reboot interrupts Wi-Fi, it is not recommended during business hours.

Conclusion
Congratulations, you now have a decent handle on Bridge Group Names. This knowledge can be used as another tool in your toolbox, helping to keep your wireless network connected. If you need more guidance, check out more articles below.