Direct Management of Cisco Business 220 Series Switches using Cisco Business Dashboard
Available Languages
Objective
The objective of this document is to show you how Cisco Business Dashboard (CBD) version 2.3.0 can support and manage Cisco Business 220 series switches.
Introduction
Cisco Business Dashboard provides tools that help you monitor and manage your Cisco Business network. Cisco Business Dashboard automatically discovers your network and allows you to configure and monitor all supported Cisco Business devices such as switches, routers, and wireless access points.
CBD 2.3.0 adds discovery and management of CBS220 switches. Additionally, CBD 2.3.0 can also support direct management of CBS220 switches as these switches lack performance to support an embedded probe. Direct management enables the management of a single device without needing a probe on the local network.
Prerequisites
- If a CBS220 switch is on a network with a local CBD probe, the probe must be version 2.3.0 as well.
- The CBD agent in CBS220 is version 2.3.0. So, the direct management feature should only be used with CBD version 2.3.0 or higher.
Applicable Devices | Software Version
- Cisco Business Dashboard | 2.3.0
- CBS220 series (Data Sheet) | 2.0.0.17
Table of Contents
- Configure Direct Management of CBS220 on CBD
- Configure CBD Settings on CBS220
- Verification
- What’s next?
Configure Direct Management of CBS220 on CBD
Step 1
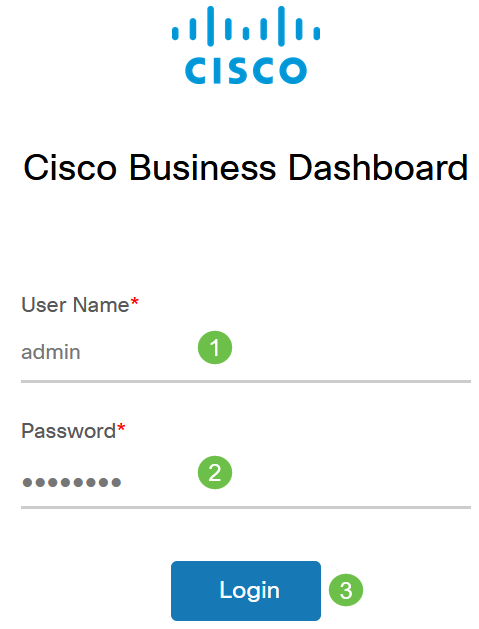
Log in to the CBD Administration User Interface (UI).
Step 2
Choose Administration > Users.
Step 3
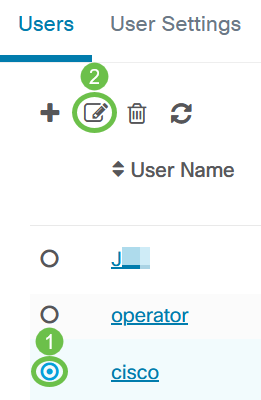
Select a user, or you may first create a new user by clicking on the plus icon and then select the user. Click Edit.
Step 4
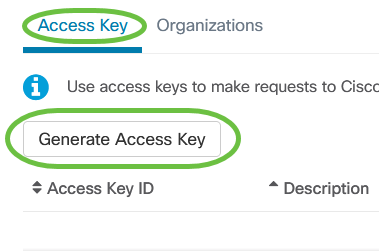
You will get to the user administration page. Scroll down towards the bottom of the page to see the Access Key tab. Click on Generate Access Key button to create a new Access Key.
Step 5
Enter a Description and select the option for when the access key should expire. Click Save.
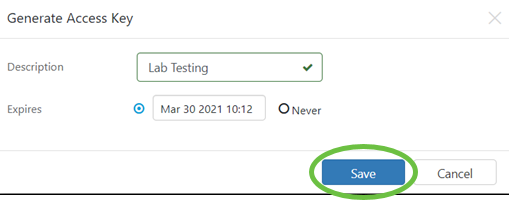
A pop-up window will display the new Access Key ID and its associated Secret. Copy and store the information. Click Done.
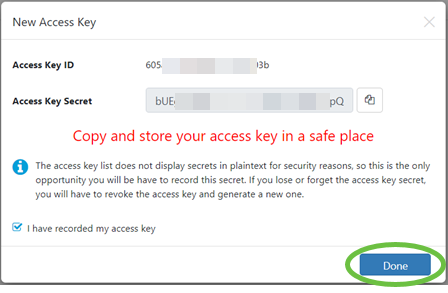
If the Access Key ID is lost, the Key Secret cannot be found, and you will need to generate a new access key. For direct management of CBS220, the Access Key and Secret are used only for the initial connection to the Dashboard. Once the connection is established, the settings will switch to using limited access keys that are auto generated and periodically refreshed.
Step 6
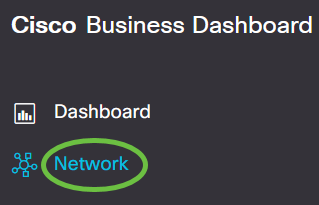
To configure a network, click on Network in the navigation pane.
Step 7
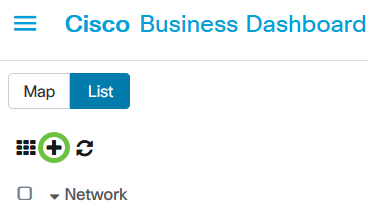
Click on the plus icon to add a network.
Step 8
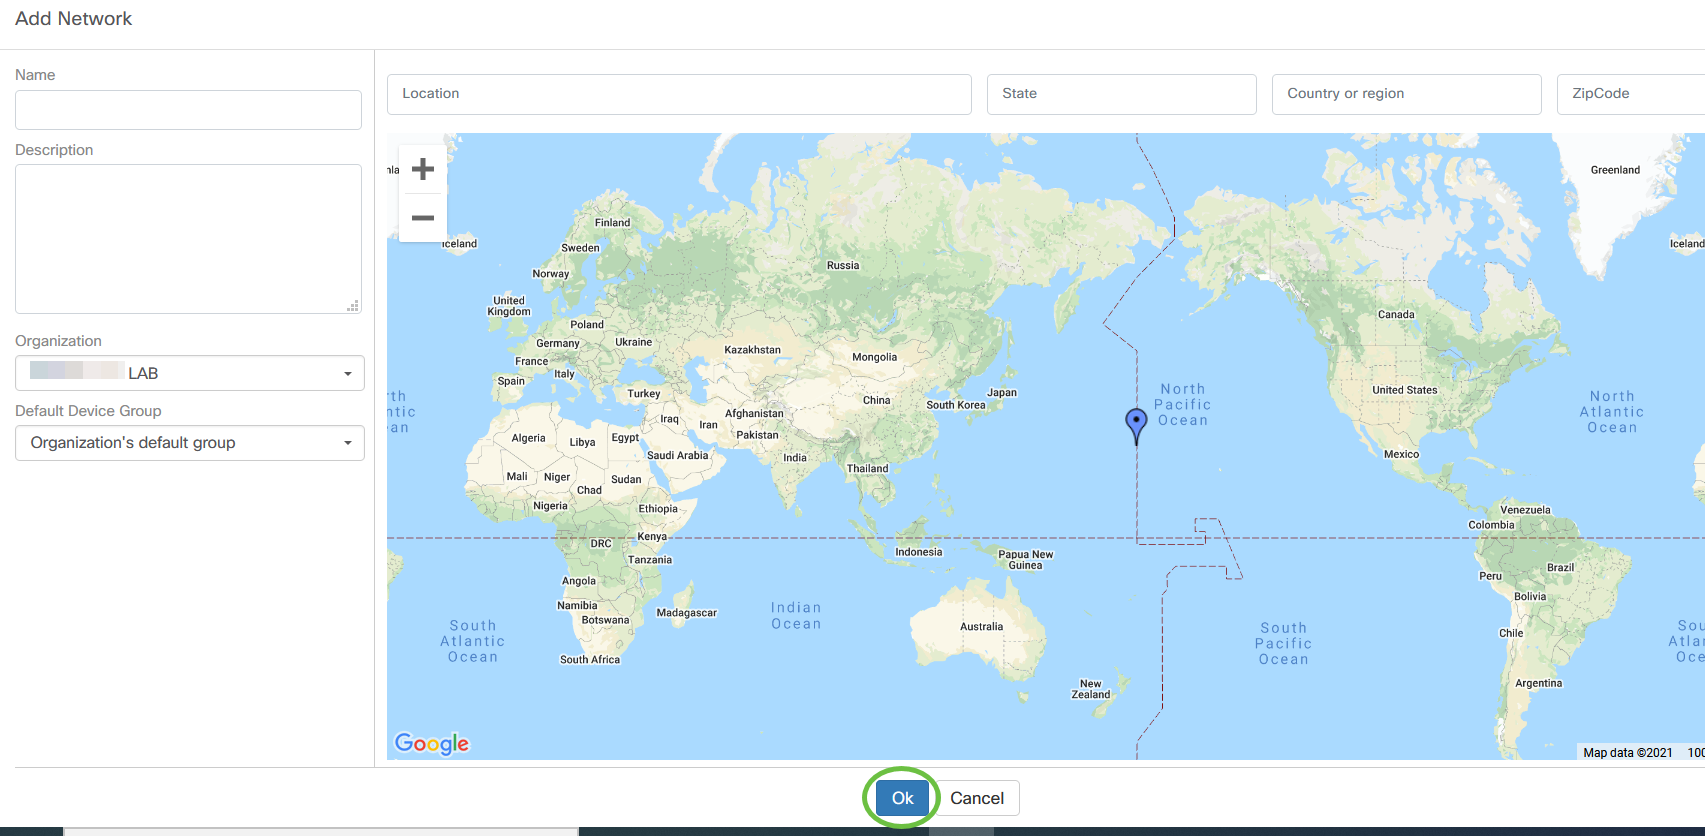
Enter the network details, including location information. Make note of the Organization and Default Device Group. Click Ok.
Configure CBD Settings on CBS220
Step 1
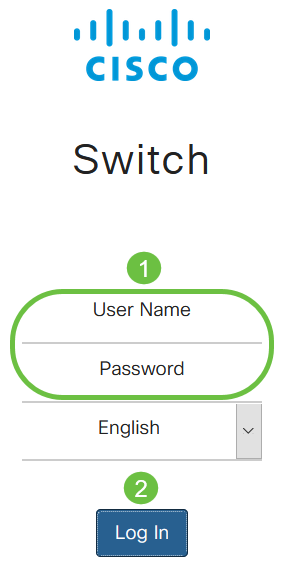
Log into the web UI of the switch.
Step 2
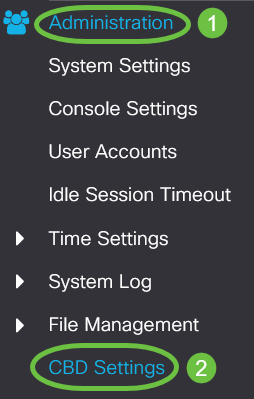
Navigate to Administration > CBD Settings.
Step 3
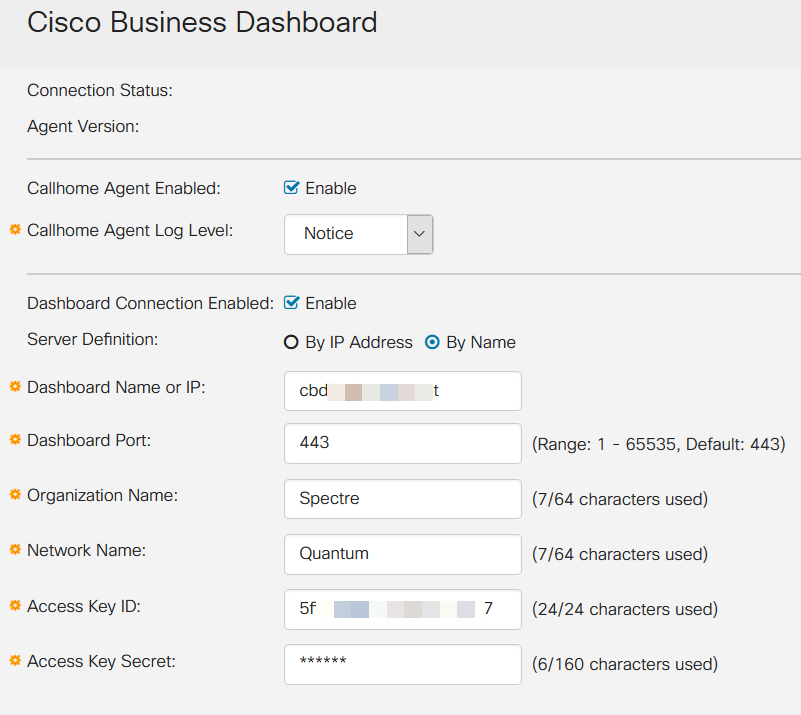
Configure the following:
- Connection Status - Displays the status of the Cisco Business Dashboard connection.
- Agent Version - Displays the version of the Cisco Business Dashboard callhome agent.
- Callhome Agent Enabled - Check to enable callhome agent for connecting to Cisco Business Dashboard
- Callhome Agent Log Level - Select the logging severity of callhome agent
- Dashboard Connection Enabled - Check to enable connectivity.
- Server Definition - Define the address of the Cisco Business Dashboard. Select one of the following:
- By IP Address - this option requires you to enter a valid IP address to the IP Address/Name field.
- By Name- this option requires you to enter a hostname to the IP Address/Name field
- Dashboard Name or IP - Enter the name or IP address of the Cisco Business Dashboard.
- Dashboard Port - Specify one of the following TCP ports to connect to the Dashboard.
- Use Default (443).
- User Defined (Range: 1-65535). This option is available only if a valid address is entered in the Dashboard Address field.
- Organization Name - Enter the organization name of the Cisco Business Dashboard Probe running on the device.
- Network Name - Enter the site name of the Cisco Business Dashboard Probe.
- Access Key ID - Specify the key ID to be used for the initial authentication between the Cisco Business Dashboard Probe running on the device and the Cisco Business Dashboard
- Access Key Secret - Specify the secret to use for authentication. It can be Encrypted or in Plaintext format. The Plaintext format is specified as an alphanumeric string without white spaces (up to 160 chars). The Key ID and Secret settings must be set together
Step 4
Click Apply.

Verification
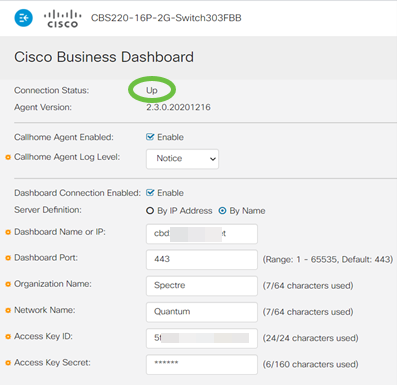
To check if the connection has been established, view the Connection Status under CBD Settings in the switch. It will show as Up.
If CBD has a self-signed certificate installed, you need to get it installed on the switch to establish proper connection.
What’s next?
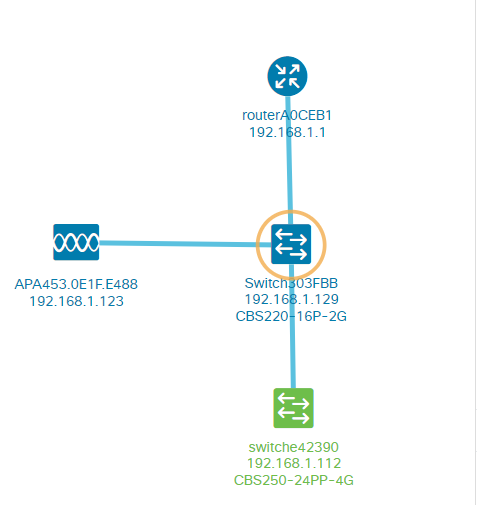
View the topology map to see an overview of your network. In this example, CBS220 switch was configured for direct management. CBS220 is directly connected to a router, a wireless AP, and another switch.
As there isn’t an embedded probe, there is no “discovery” of network devices. We can see the network devices directly connected to the CBS220 since these devices would be in the local CDP and LLDP neighbor tables of the switch. In other words, the CBS220 switch knows the devices directly attached to it but it won’t discover devices more than one hop away.
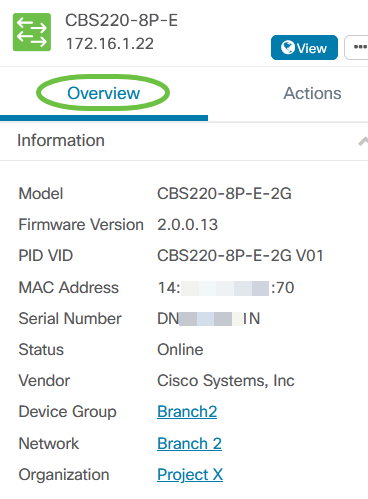
The switch Overview tab will display details like the model, firmware version, MAC address, and serial number.
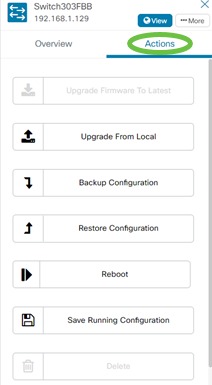
The Actions tab will show the management functions supported by the CBS220 switch.
If you try to connect to a CBD version lower than 2.3.0, you might see errors with the topology map and in the overview tab details. Also, actions available for the device will not function.
Conclusion
You did it! You have successfully configured your CBS220 switch to use direct management with CBD. Now enjoy the ease with which you can manage your devices and network.
Contact Cisco
- Open a Support Case

- (Requires a Cisco Service Contract)
 Feedback