Configure VLAN on Cisco Business 220 Series Switches
Available Languages
Objective
This article explains how to configure a Virtual Local Area Network (VLAN) on the Cisco Business 220 series switches.
Introduction
In scenarios where the division of traffic and security are priority, VLANs can be created to enhance the security of your network with the separation of traffic. Only users that belong to a VLAN are able to access and manipulate data traffic in the VLAN. This is also needed in scenarios where multiple subnets need to pass through an uplink for the device.
Applicable Devices | Software Version
- CBS220 series (Data Sheet) | 2.0.0.17
Default VLAN Settings
When using the factory default settings, the switch automatically creates VLAN 1 as the default VLAN. To change the default VLAN, complete the following steps:
Step 1
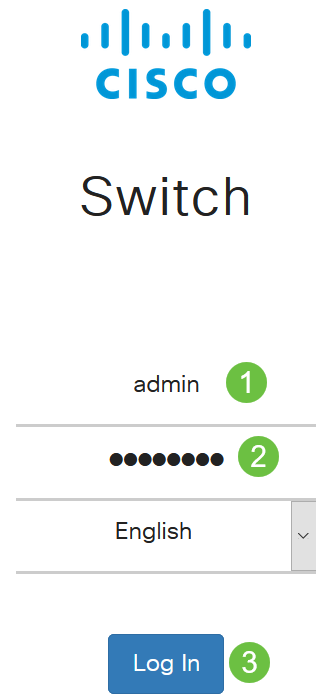
Log in to the web user interface (UI) of the switch.
Step 2
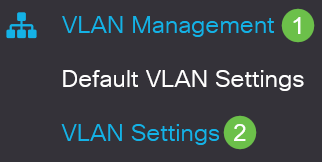
Choose VLAN Management > Default VLAN Settings.

Step 3
In the Default VLAN ID field, enter a new VLAN ID to replace the default VLAN ID.

Step 4
Click Apply.

VLAN Settings
To create a VLAN, follow these steps:
Step 1
Log in to the web UI and choose VLAN Management > VLAN Settings.
Step 2
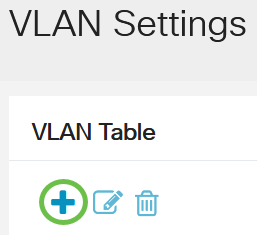
To add a VLAN, click the plus icon. The Add VLAN window appears.
Step 3
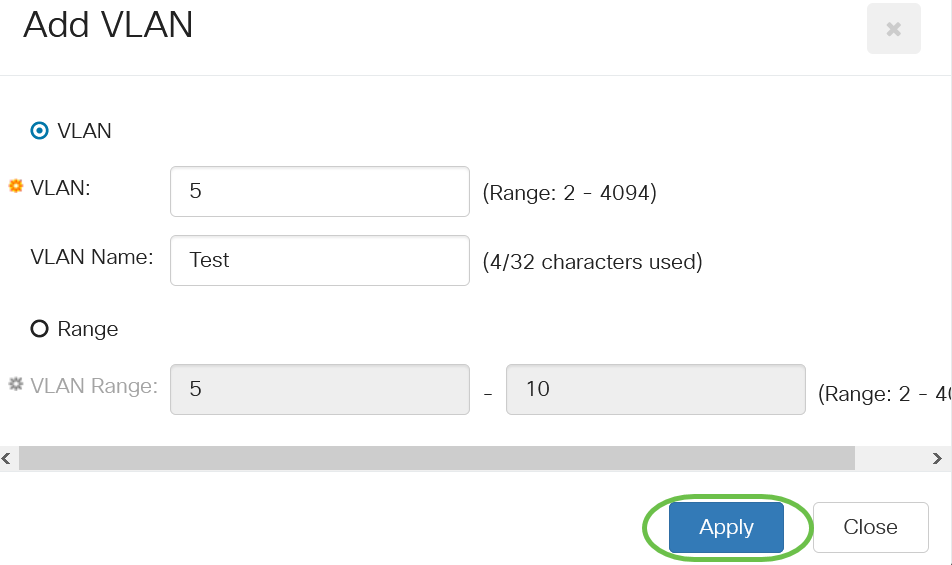
To create a single VLAN, select the VLAN radio button, enter the VLAN ID, and optionally the VLAN Name.
Step 4
To create a range of VLANs, click the Range radio button and enter a VLAN Range (Range 2 - 4094) in the VLAN range field.
Step 5
Click Apply to save your configuration.
Configuration of Port to VLAN
Once the VLANs are created, you need to assign the ports you wish to the appropriate VLAN. The next steps explain how to assign ports to VLANs.
Step 1
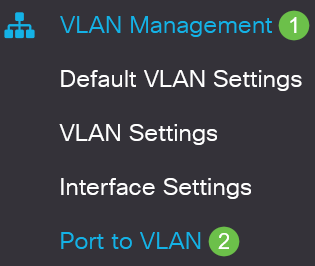
Log in to the web UI of the switch and choose VLAN Management > Port to VLAN.
Step 2
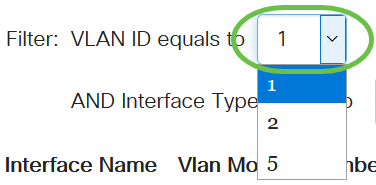
In the Filter field, from the VLAN ID equals to drop-down list, choose the appropriate VLAN.
Step 3
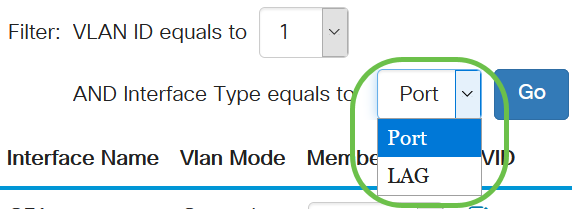
In the Filter field, from the Interface Type equals to drop-down list, choose the type of interface you would like to add to the VLAN. The available options are either a port or a LAG (Link Aggregation Group).
Step 4
Click Go.

Step 5
For each interface, choose the membership type from the drop-down menu. The available options are:
- Forbidden - The interface is not allowed to join the VLAN even from GVRP registration. When a port is not a member of any other VLAN, enabling this option on the port makes the port part of internal VLAN 4095 (a reserved VID).
- Excluded - The interface is currently not a member of the VLAN. This is the default for all the ports and LAGs when the VLAN is newly created.
- Tagged - The interface is a tagged member of the VLAN.
- Untagged - The interface is an untagged member of the VLAN. Frames of the VLAN are sent untagged to the interface VLAN.
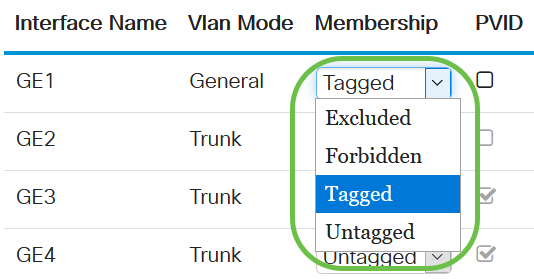
The options in the drop-down menu varies with the role of the port.
Step 6
(Optional) The Port VLAN Identifier (PVID) identifies the Default VLAN for the interface. Select the checkbox to set the PVID of the interface to the VID of the VLAN. PVID is a per-port setting.

Step 7
Click Apply to save the settings for the chosen VLAN and interface type.

Conclusion
Nice work! You have now learned the steps to configure VLAN and ports to VLAN on the Cisco Business 220 series switches.
For more configurations, refer to the Cisco Business 220 Series Switches Administration Guide.
Contact Cisco
- Open a Support Case

- (Requires a Cisco Service Contract)
 Feedback