Day Zero Setup of Catalyst 1200 and 1300 Switches Using the Web User Interface
Available Languages
Objective
The objective of this article is to go through the day zero setup of a Catalyst 1200 or 1300 switch using the web user interface (UI).
Applicable Devices | Software Version
- Catalyst 1200 | 4.0.0.91 (Data Sheet)
- Catalyst 1300 | 4.0.0.91 (Data Sheet)
Introduction
Are you looking for an affordable and easy to deploy switch for your small or medium-sized business? The Cisco Catalyst 1200 and 1300 switches fit the bill that also provide advanced switching capabilities, enhanced security, and can be easily managed using the Cisco Business Dashboard or the Cisco Business mobile App.
Check out the following pages for more information on the Catalyst 1200 and 1300 switches.
- Why Upgrade to Cisco Catalyst 1200 or 1300 Series Switches Feature Comparison
- Cisco Catalyst 1200 and 1300 Series Switches At-a-Glance
You can also refer to the following hardware installation guides to get started.
Let’s begin with the day zero setup of a Catalyst 1200 or 1300 switch using the web UI.
Day zero setup
Step 1
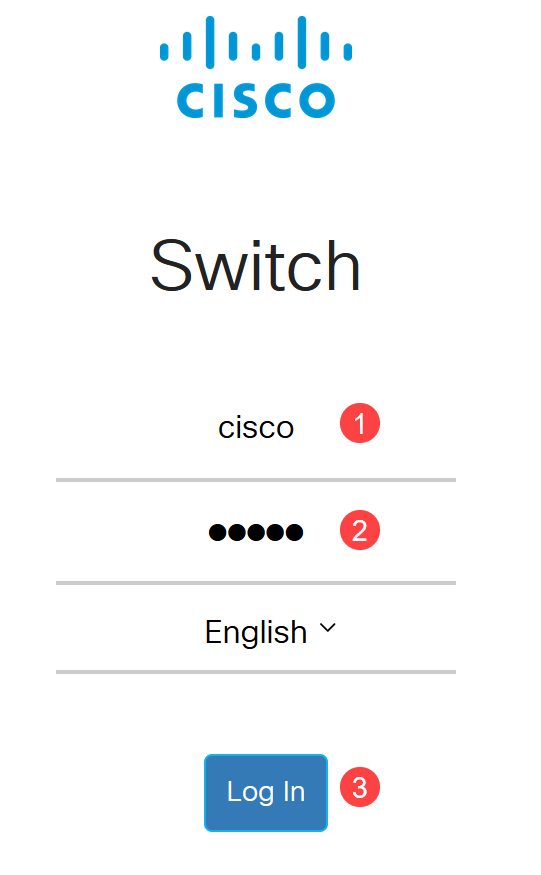
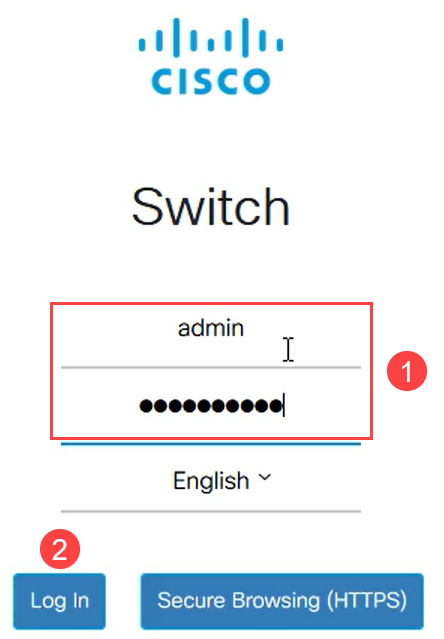
Log in to the switch by entering the username and password. As it’s a new out of the box switch, the default username and password is Cisco. Click Log In.
Step 2
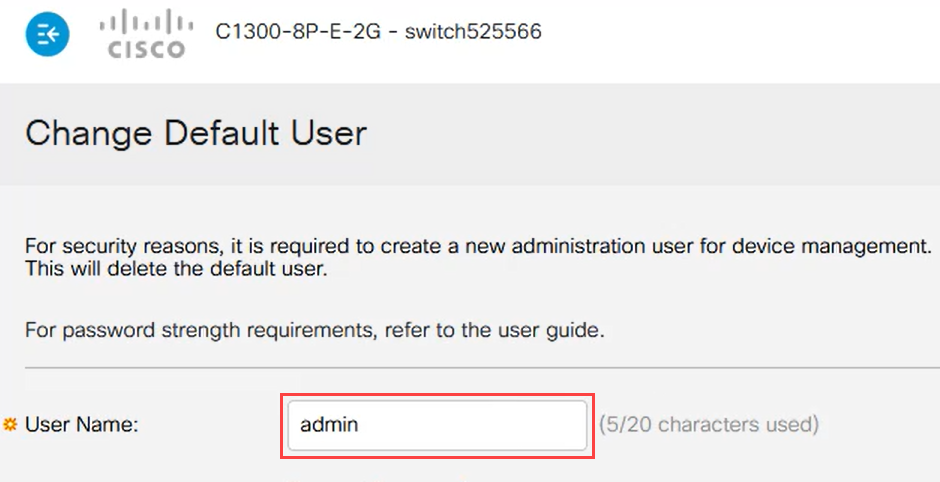
Once you are logged in, it’ll prompt you to set a new username and password. The new username must be something other than Cisco. In this example, it’s admin.
Step 3
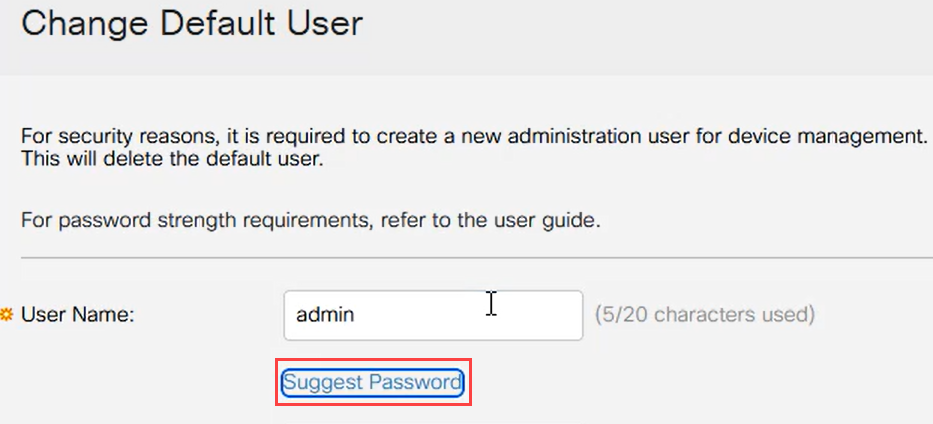
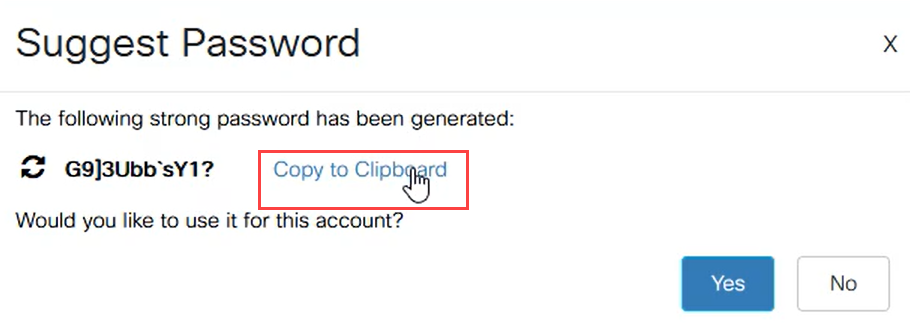
You could use the Suggest Password option by clicking on it. It’ll give you a strong password. Click on Copy to Clipboard and paste it in the Password field.
Step 4
Alternatively, you can also type your own password that meets the standard requirements.
- Cisco or variations of the word Cisco cannot be used.
- Well-known usernames and passwords will not be accepted.
- The word “password" or “Catalyst” cannot be used.
- Using more than three repeated characters in a row is not allowed. For example, 111 will not be accepted.
- Using more than two sequential characters in a row like 123 will not be allowed.
Enter the password in the provided field, re-enter the password one more time and click Apply.

Step 5
You will then be prompted to log in. Enter the username and password that was configured in the previous steps and click Log In.
Initial Configuration Options
If you want to set a static IP address as opposed to using DHCP, follow the steps below.
Step 1
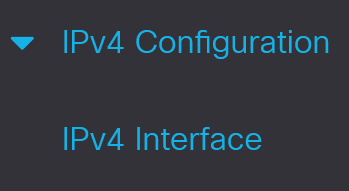
Navigate to IPv4 Configuration > IPv4 interface in the main menu.
Step 2
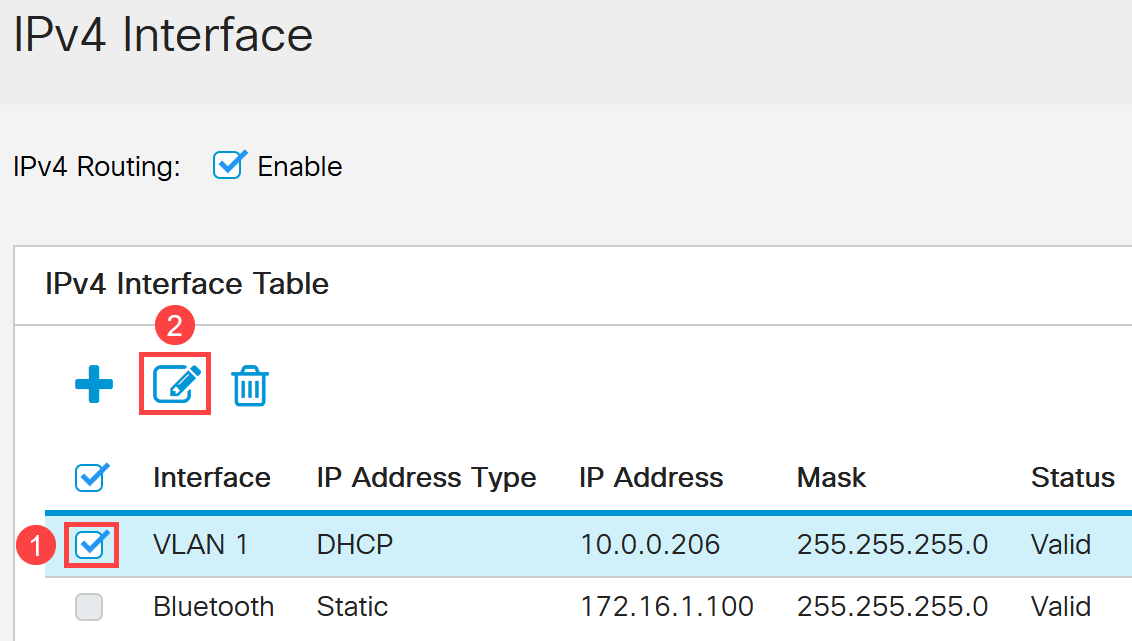
Select the interface and click edit.
Step 3
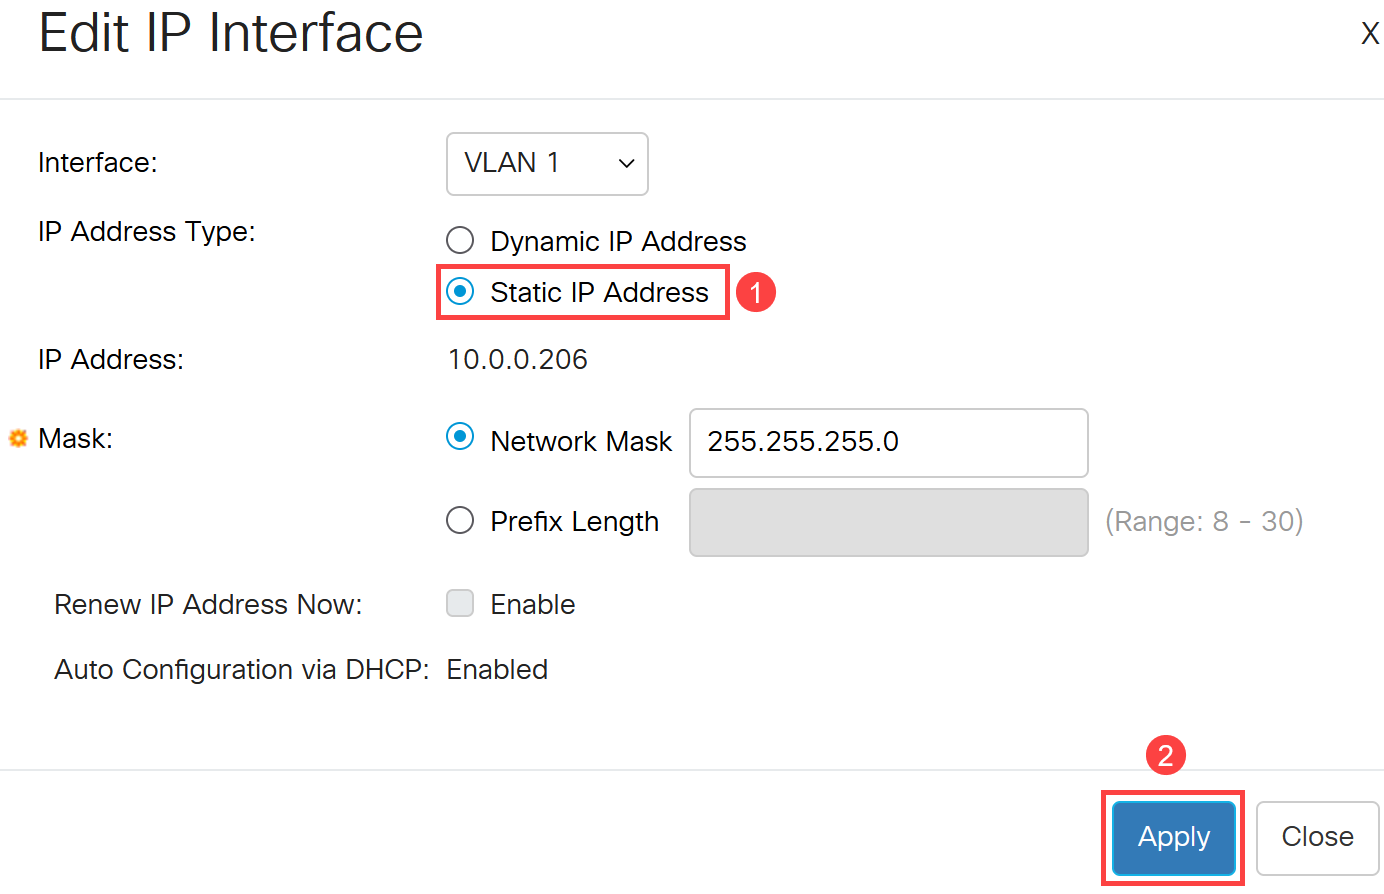
On the Edit IP Interface window, select Static IP Address under IP Address type and click Apply.
Step 4
If you want to change this address to something new, click on the plus icon to add an IP interface.

Step 5
Select the IP Address Type as Static and enter the IP Address of your choice in the field provided followed by the subnet mask. Click Apply.
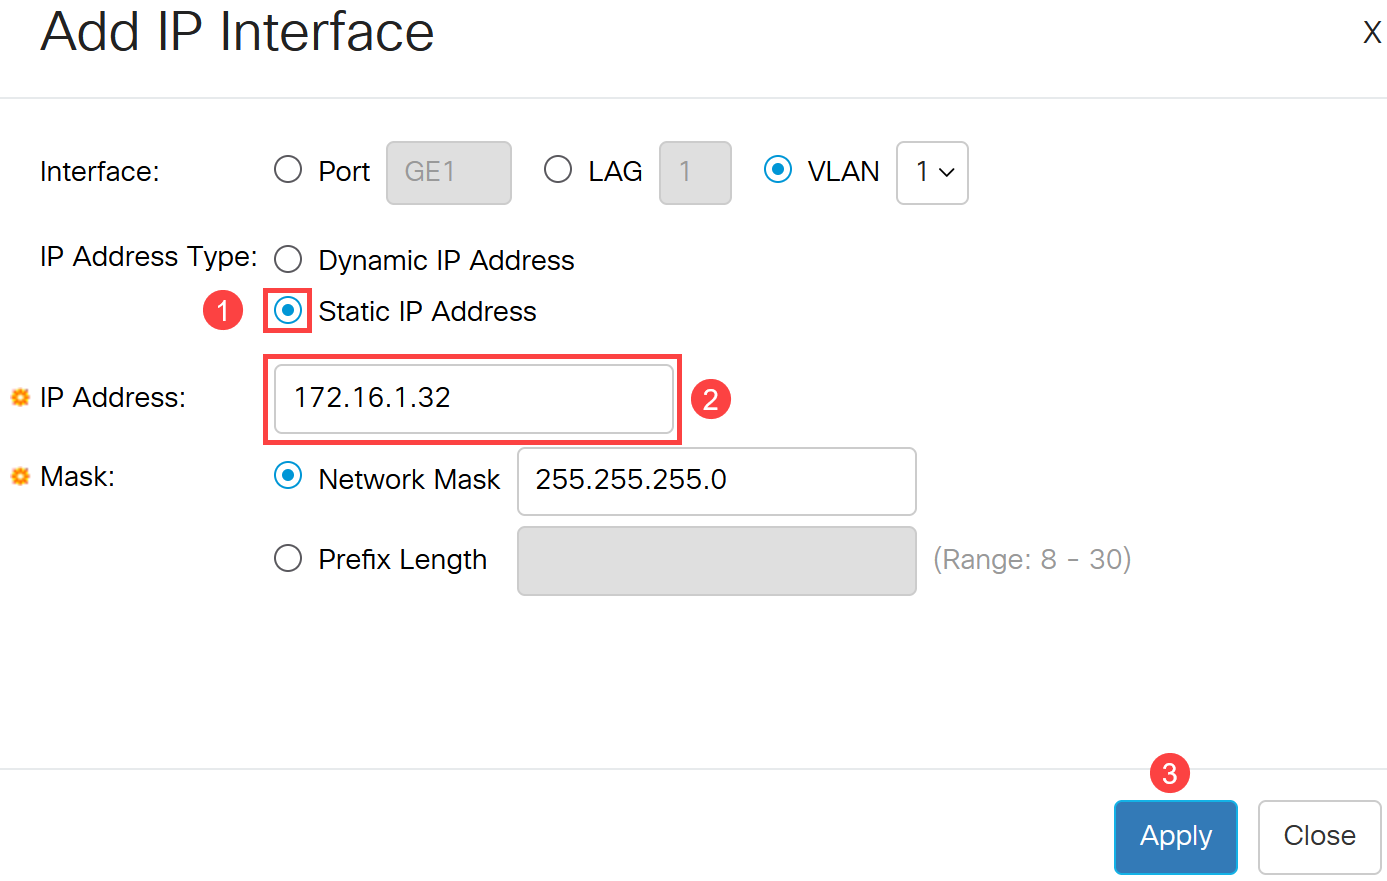
It’s important to remember that the IP address has changed. Disconnect from the current web browser session and log in using a different window.
Step 6
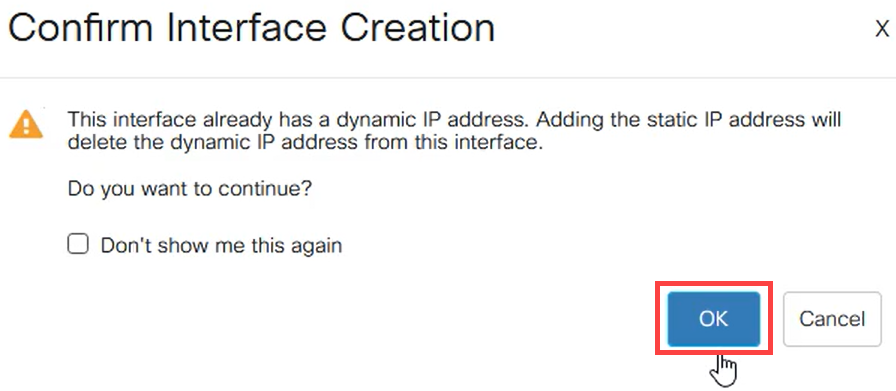
A pop-up window will appear with a warning stating that the DHCP address will be deleted while using a static address as both will be on the same VLAN and on the same subnet. Click OK to confirm.
Step 7
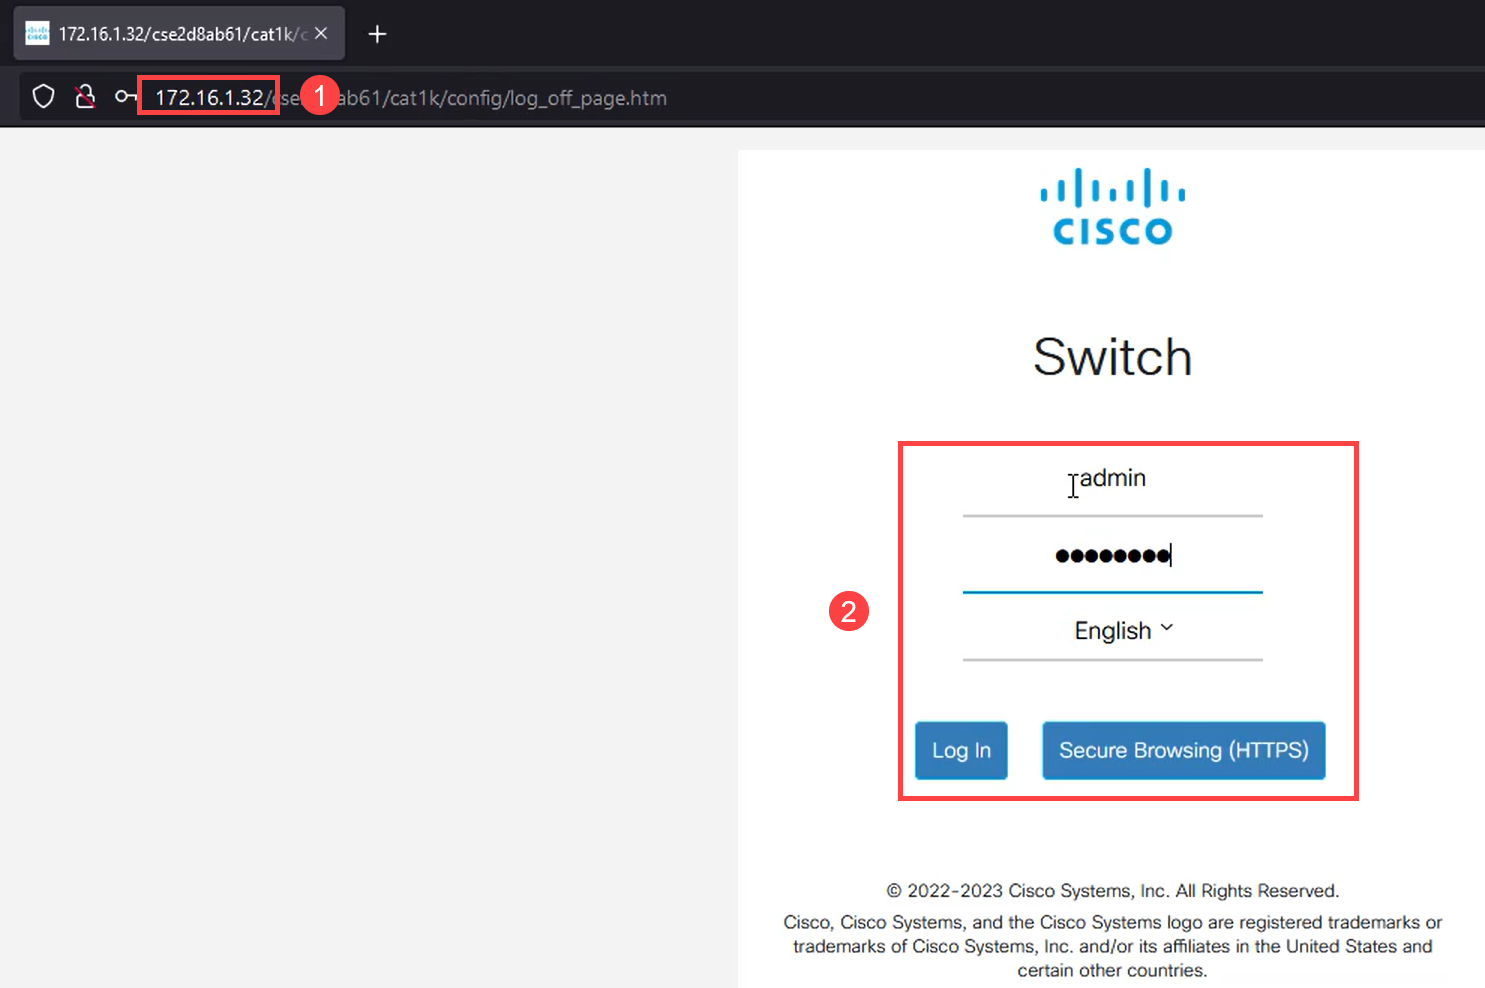
Login using the new IP address with the same username and password.
Step 8
Save the configuration one more time so that IP address stays the same and doesn't change if you reboot.

Step 9
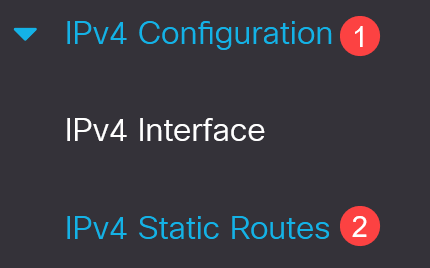
To add the IP address of your default gateway, go to IPv4 Configuration > IPv4 Static Routes.
Step 10
Click on the plus icon and enter the Destination IP Prefix, subnet mask, and the Next Hop Router IP Address. Click Apply.

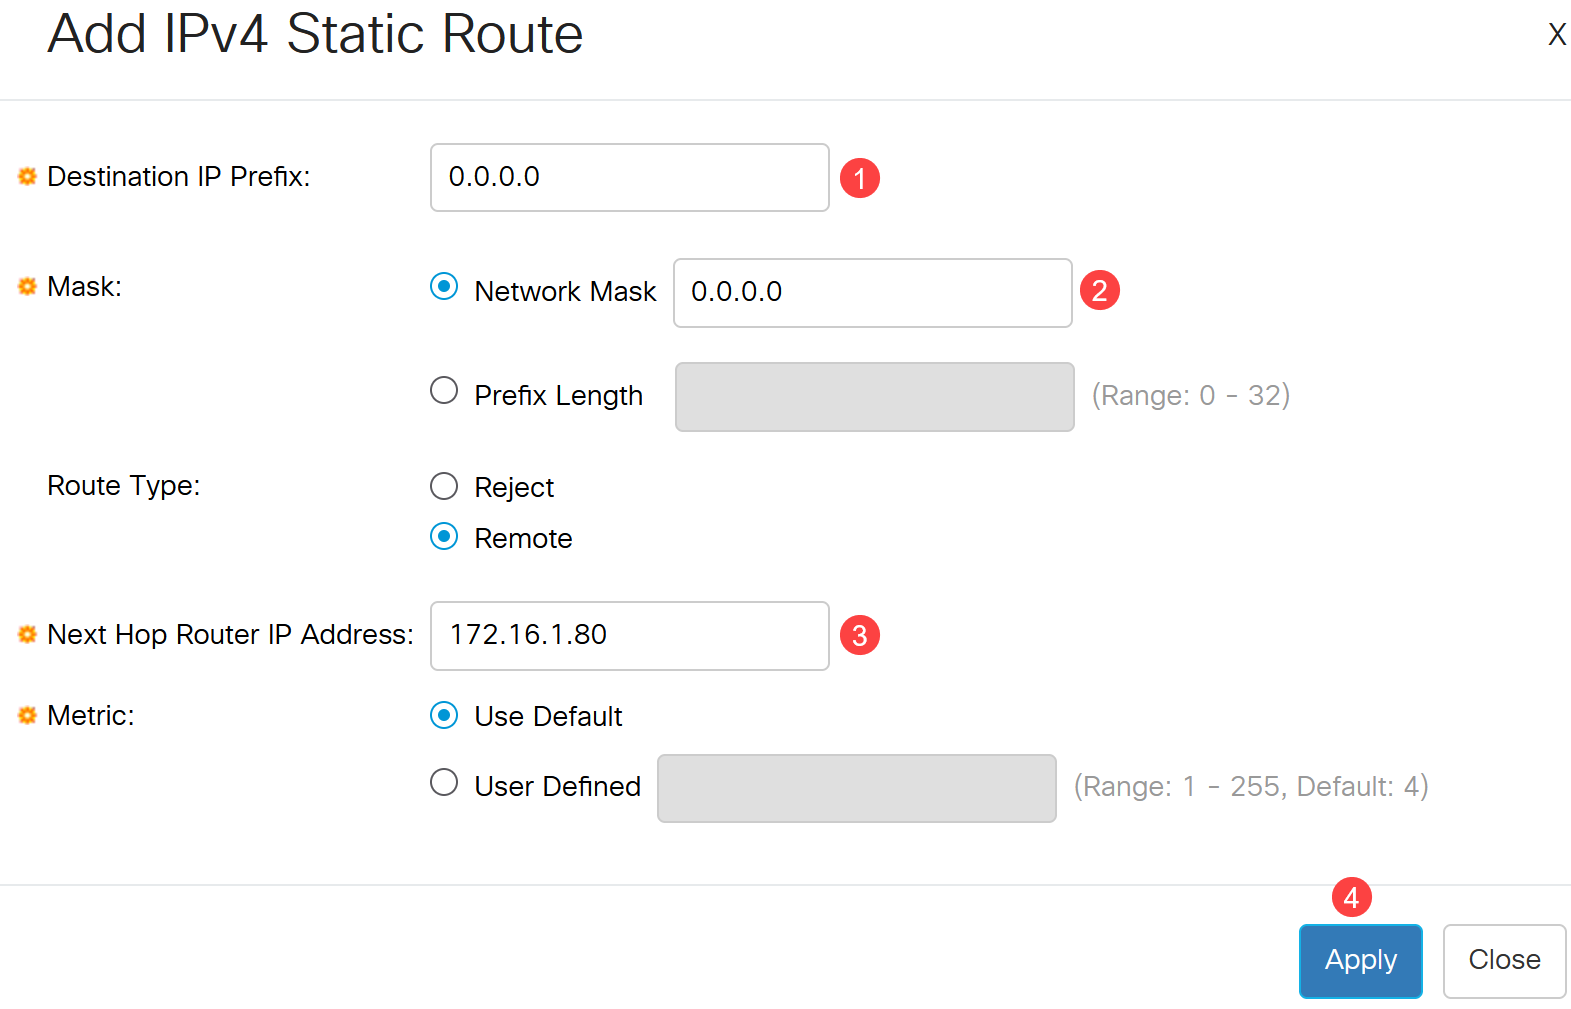
All zeros with a zero prefix mean it's the route of last resort.
Step 11
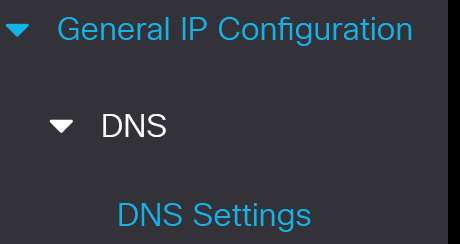
To configure the DNS server, navigate to General IP Configuration > DNS > DNS Settings.
Step 12
Enter the Server IP address and click Apply.

Conclusion
Now you are all set to manage the Catalyst 1200 or 1300 switch using the web user interface.
For other configurations and features, refer to the Catalyst series Administration Guide.
Revision History
| Revision | Publish Date | Comments |
|---|---|---|
1.0 |
07-Aug-2023 |
Initial Release |
Contact Cisco
- Open a Support Case

- (Requires a Cisco Service Contract)
 Feedback