Configure General Firewall Settings on the RV016, RV042, RV042G, and RV082
Available Languages
Objective
The built-in firewall for the RV016, RV042, RV042G, and RV082 by default blocks certain kinds of traffic. The kinds of traffic that is blocked, such as HTTPS, TCP and ICMP requests, and remote management traffic, can be adjusted. The firewall itself can also be enabled or disabled. In addition, certain aspects of websites that can be security vulnerabilities can also be blocked. These website features, when unblocked, can store potentially harmful data on your computer.
The objective of this document is to show you how to configure the general firewall settings on the RV016, RV042, RV042G, and RV082.
Applicable Devices
• RV016
• RV042
• RV042G
• RV082
Software Version
• v4.2.3.06
Configuring General Firewall Settings
Step 1. Log in to the web configuration utility and choose Firewall > General. The General page opens.

General Features
Step 1. In the Firewall field, select a radio button to either Enable or Disable the firewall. The firewall is enabled by default; disabling it is not recommended. Disabling the firewall also disables Access Rules and Content Filters.

Note: If you want to disable the firewall and are still using the default administrator password, a message will appear warning that you need to change the password; you will be unable to disable the firewall until you do so. Click OK to continue to the password page, or Cancel to stay on this page.
Step 2. In the SPI (Stateful Package Inspection) select either the Enable or Disable radio button. SPI is enabled by default. This feature allows the router to inspect all packets before sending them to be processed. This can only be enabled if the firewall is enabled.
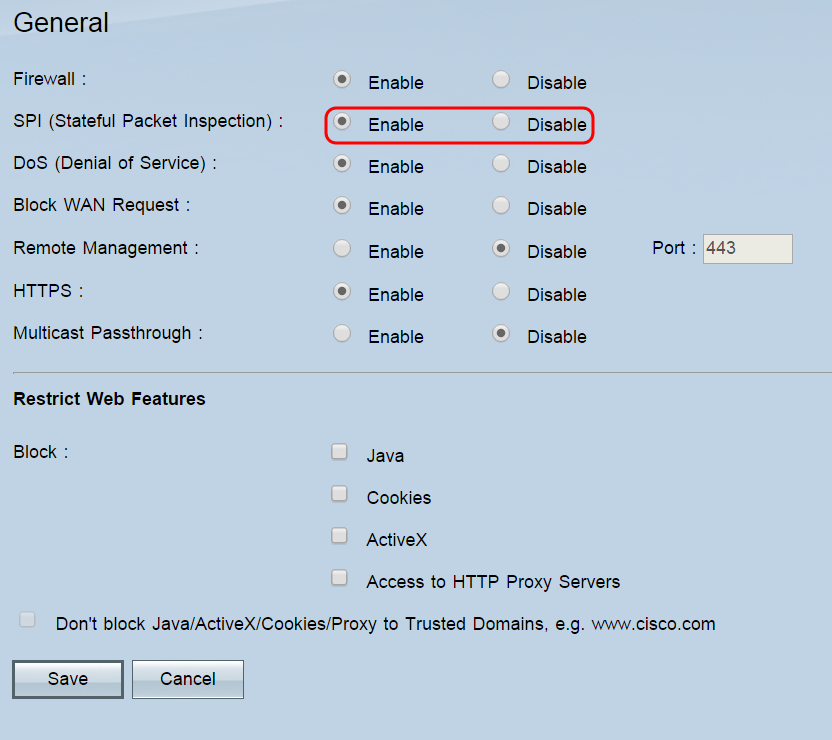
Step 3. In the DoS (Denial of Service) field, select either the Enable or Disable radio button. DoS is enabled by default. This feature prevents the internal network from external attacks (such as SYN Flooding, Smurf, LAND, Ping of Death, IP Spoofing, and reassembly attacks). This can only be enabled if the firewall is enabled.

Step 4. In the Block WAN Request field, select either the Enable or Disable radio button. Block WAN Request is enabled by default. This feature lets the router drop unaccepted TCP and ICMP requests from the WAN, preventing hackers from finding the router by pinging the WAN IP address. This can only be enabled if the firewall is enabled.

Step 5. In the Remote Management field, select either the Enable or Disable radio button. Remote Management is disabled by default. This feature allows you to connect to the router’s web configuration utility from anywhere on the Internet. If you enable this feature, you can set the port used for remote connections in the Port field. The default is 443.
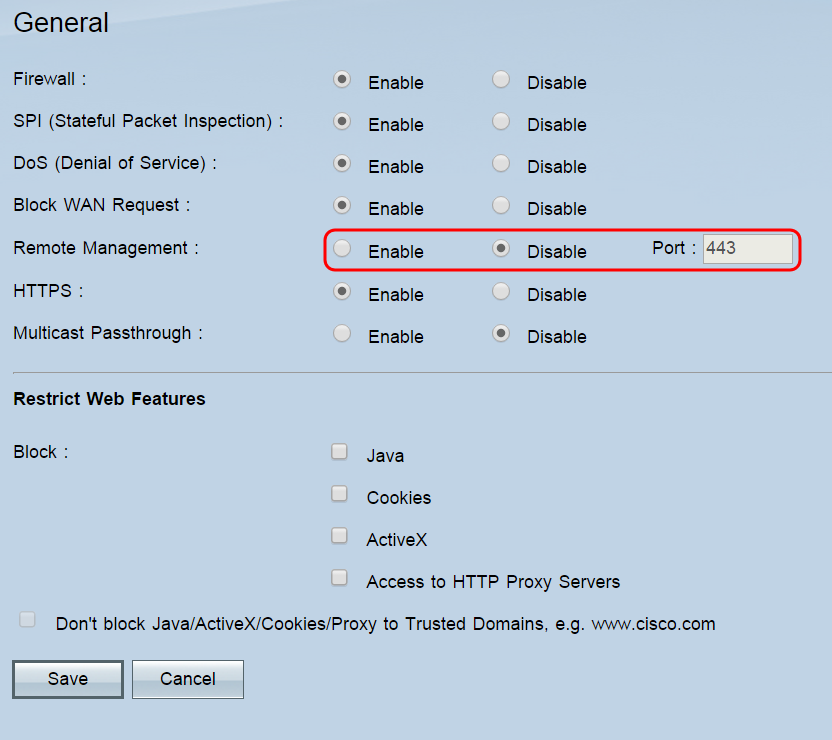
Note: If you are using the default administrator password, a message will appear warning that you need to change the password; click OK to continue to the password page, or Cancel to stay on this page. Changing the password is necessary to prevent unauthorized users from accessing the router with the default password.
Note: When remote management is enabled, you can access the web configuration utility from any browser by entering http://<WAN IP address of the router>:<port>. If HTTPS is enabled, enter https://<WAN IP address of the router>:<port> instead.
Step 6. In the HTTPS field, select either the Enable or Disable radio button. HTTPS is enabled by default. This feature allows secure HTTP sessions.
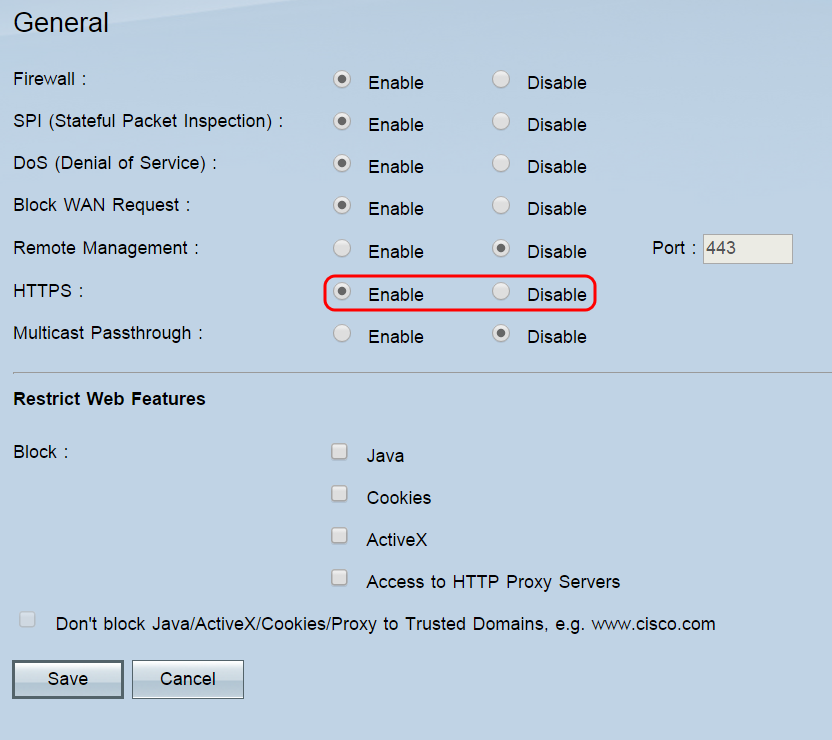
Note: If this feature is disabled, users can’t connect using QuickVPN.
Step 7. In the Multicast Passthrough field, select either the Enable or Disable radio button. Multicast Passthrough is disabled by default. This feature allows IP multicast packets to be broadcast to their corresponding LAN devices, and is used for Internet games, video conferencing, and multimedia applications.

Note: The RV016, RV042, RV042G, and RV082 do not support passing multicast traffic over an IPSec tunnel.
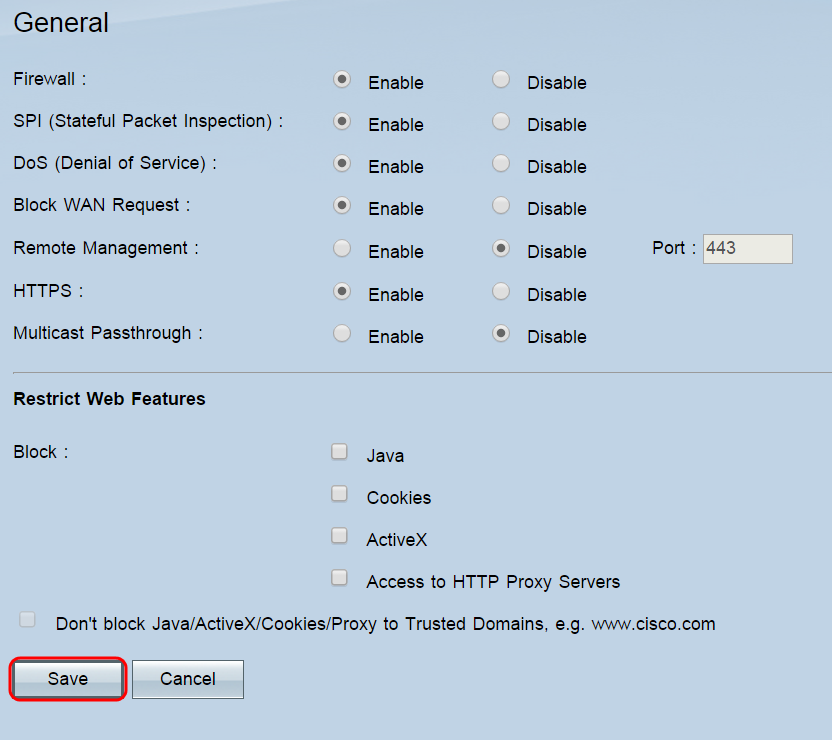
Step 8. Click Save.
Web Features
Step 1. In the Block field, check the checkboxes of the web features that you want to block at the firewall. If you want to allow blocked features for some domains, those domains can be added to an exception list in Step 2. None of the features are blocked by default.

The options are:
• Java — Java is a programming language for websites. Checking this box will block Java applets (small programs embedded in webpages but executed outside of the web browser), but may cause websites that use this feature to operate incorrectly.
• Cookies — A cookie is data that a website stores locally on a user’s PC. Blocking cookies may cause websites that rely on them to behave incorrectly.
• ActiveX — ActiveX is a software framework developed by Microsoft. This framework can be used to run certain parts of webpages. Checking this box will block these components, but may cause websites that use ActiveX to operate incorrectly.
• Access to HTTP Proxy servers — Check this box if you want to block access to HTTP proxy servers. The usage of WAN proxy servers may compromise the router’s security.
Step 2. Check the Don’t block Java/ActiveX/Cookies/Proxy to Trusted Domains checkbox to open the trusted domain list, where you can add or remove domains where blocked web features are allowed. This field is unchecked by default, and is only available if you checked a previous box to block a feature. If unchecked, the features are blocked for all websites.
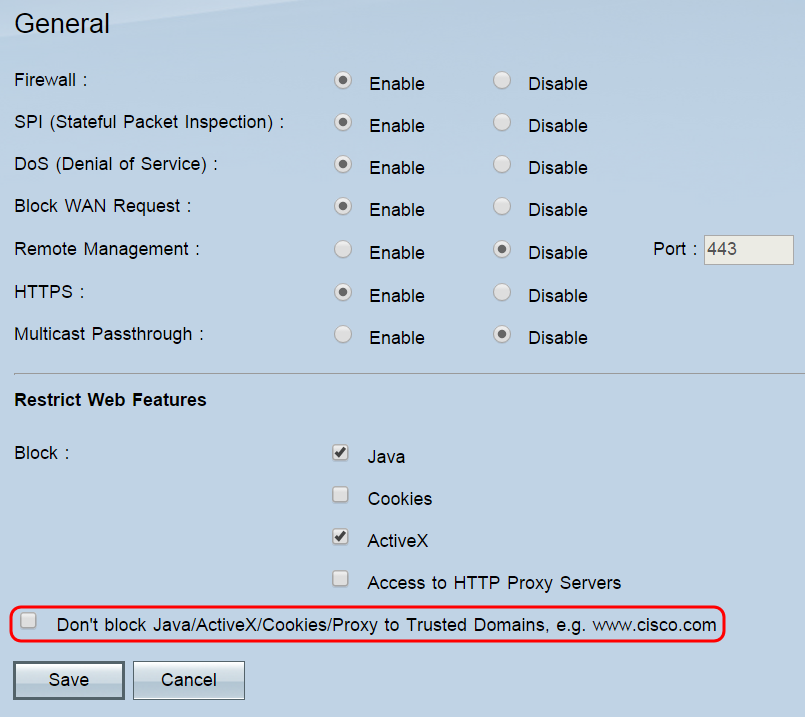
Step 3. (Optional) If you checked the Don’t block Java/ActiveX/Cookies/Proxy to Trusted Domains checkbox, a list of trusted domains will appear. To add a domain to the list, enter it into the Add field and click Add to List. If you want to modify an existing domain, click on it in the list, then edit it in the Add field, then click Update. To delete a domain from the list, click on it in the list, then click Delete.

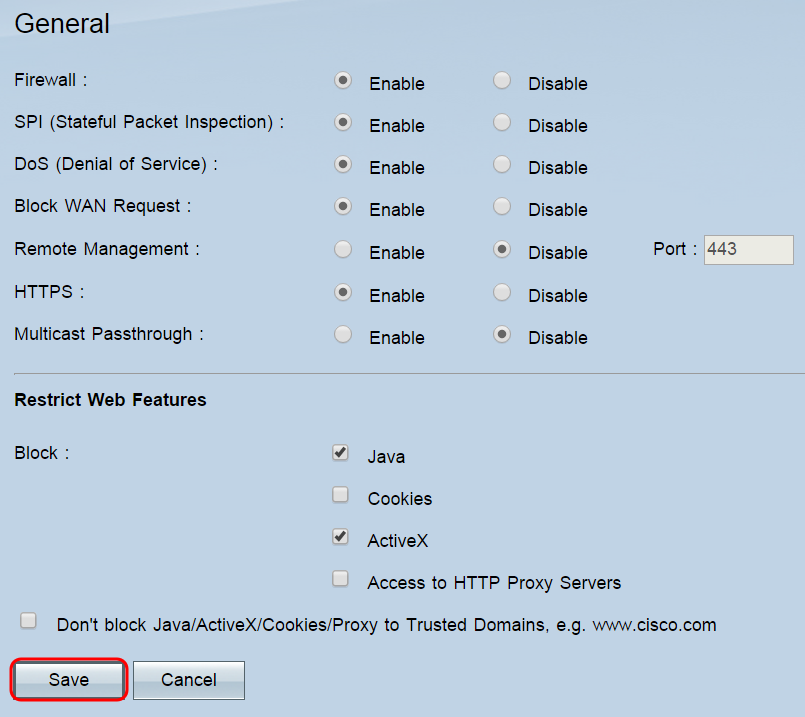
Step 4. Click Save.
Revision History
| Revision | Publish Date | Comments |
|---|---|---|
1.0 |
11-Dec-2018 |
Initial Release |
 Feedback