Add VPN Users to a PPTP VPN Server on RV130 and RV130W
Available Languages
Objective
Remote access VPNs let single users connect to a central site through a secure connection over a TCP/IP network such as the Internet. Point-to-Point Tunneling Protocol (PPTP) VPN servers are best suited for remote access applications, but they also support LAN internetworking as well.
The objective of this document is to show you how to configure a VPN server using Point-to-Point Tunneling Protocol and how to add new PPTP VPN Users on the RV130 and RV130W.
Applicable Devices
• RV130
• RV130W
PPTP Server Configuration
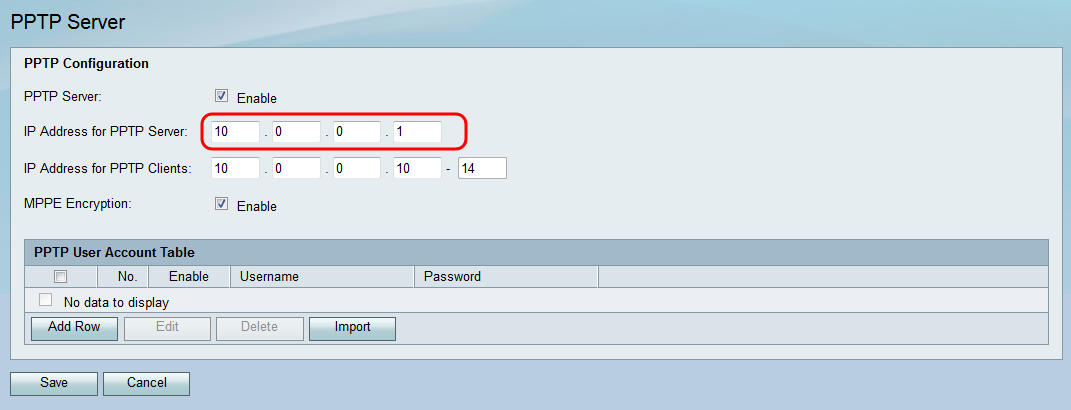
Note: Before beginning the PPTP Server Configuration process, it is recommended that you change the IP Address of your local network from the default settings. The default settings will likely overlap with the client's home network, causing connectivity issues. If left as the default, you will additionally be presented with an error message each time you add a user. In this guide, we will be using our network as the 10.0.0.0/24 network, with the router using the IP Address 10.0.0.1. For guidance on changing your network's IP Address, refer to Configuration of IPv4 LAN on RV130 and RV130W.
Step 1. Using the Configuration Utility, choose VPN > PPTP Server. The PPTP Server page opens:
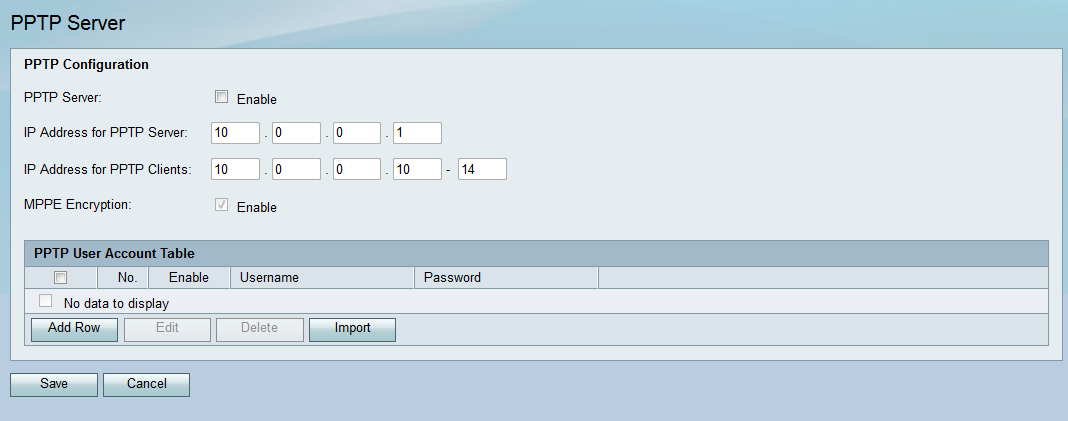
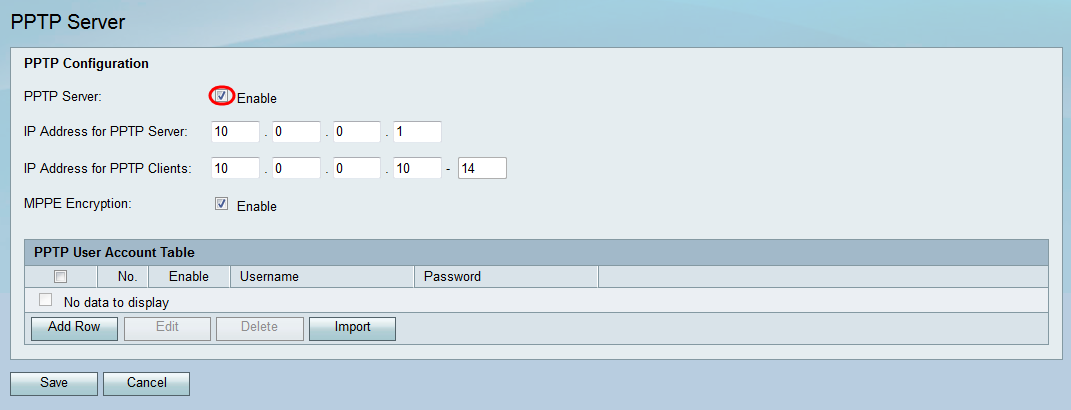
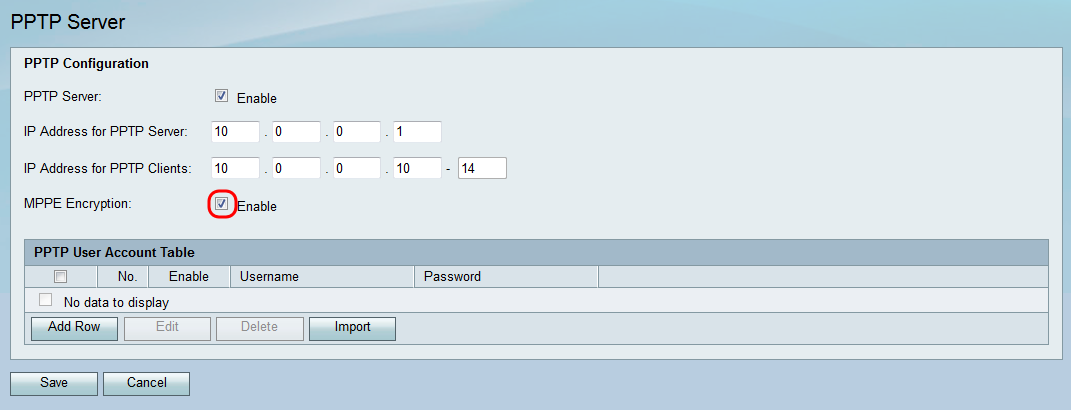
Step 2. Under the PPTP Configuration section, check the PPTP Server enable checkbox.
Step 3. In the IP Address for PPTP Server field, enter the LAN IP Address of the RV130 or RV130W.
Step 4. In the IP Address for PPTP Clients field, enter the IP address range to be assigned for your users.
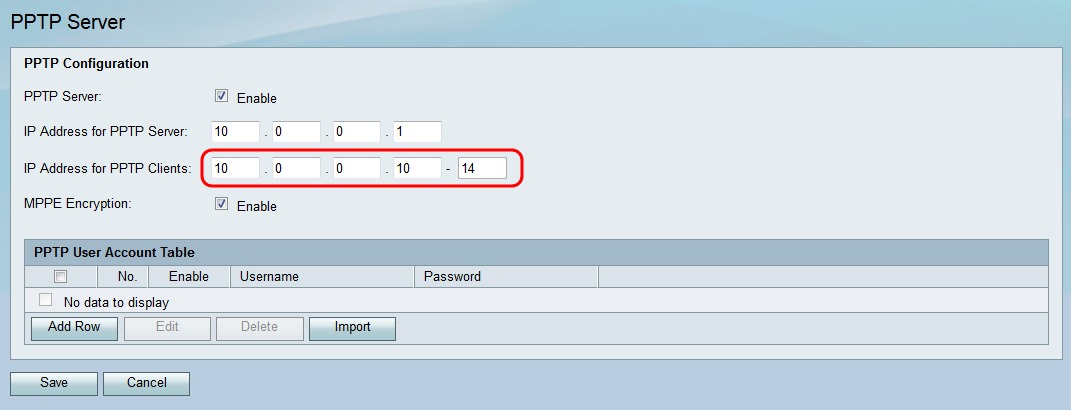
Step 5. Check the Enable check box for MPPE Encryption to encrypt point-to-point links. Microsoft Point-to-Point Encryption (MPPE) not only encrypts Point-to-Point Protocol (PPP) packets, but also uses a compression algorithm to optimize bandwidth utilization in order to support multiple simultaneous connections. This option can only be enabled or disabled if you enable the PPTP Server.
Adding New PPTP VPN Users
Step 1. Using the Configuration Utility, choose VPN > PPTP Server. The PPTP Server page opens:
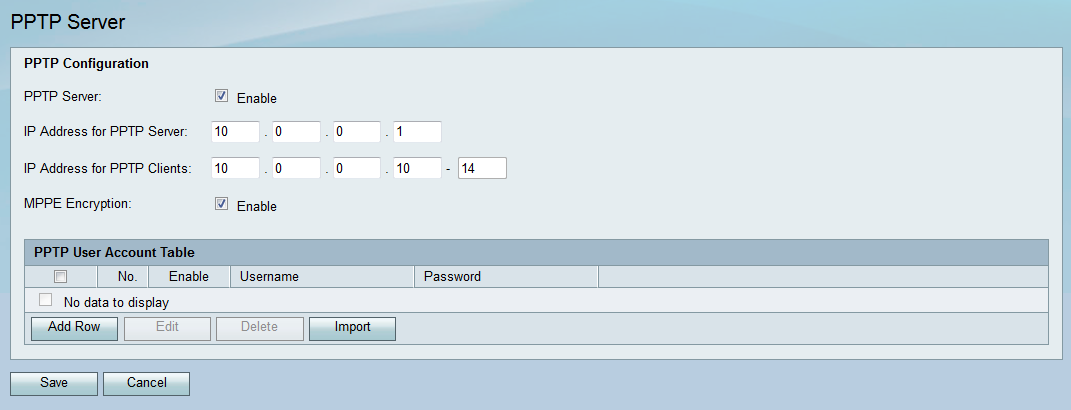
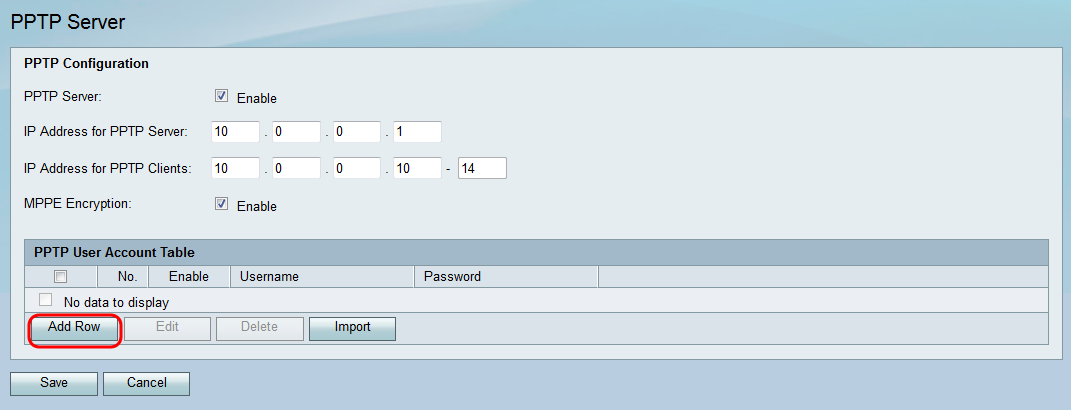
Step 2. In the PPTP User Account Table, click Add Row.
Step 3. Check the Enable checkbox for the new user account.

Step 4. Enter a username in the Username field, and enter a password for the user in the Password field.

Note: Repeat Steps 2 - 4 to add additional user accounts.
Step 5. Click Save to apply changes.

Revision History
| Revision | Publish Date | Comments |
|---|---|---|
1.0 |
10-Dec-2018 |
Initial Release |
 Feedback