Discovering the Network in the Cisco Business Dashboard
Available Languages
Objective
The objective of this article is to show you how to view and manage your Cisco devices in the Cisco Business Dashboard Probe. The Cisco Business Dashboard Probe allows you to view your network and your Cisco devices in it in a number of ways and these are through the following:
- Topology view - Displays a logical topology of all the discovered devices in the network. Information about each device is displayed, and you may perform actions on selected Cisco products by clicking on it.
- Inventory view - Displays a table listing all Cisco 100 to 500 Series devices in the network and information such as Model ID, Firmware Version, Serial Number, and IP address. This view also allows the same actions to be performed that are provided in the Topology view.
- Floor Plan view - Lets you document the physical location of your network devices in your environment.
The following are the additional controls provided in common for all the tasks that you perform in the Cisco Business Dashboard:
- Refresh button - Rediscovers the network and updates the topology.
- Actions button - This button allows selected actions to be performed on all devices in the network that support that task, all at the same time. For example, you may back up all network device configurations with a single click. This button also allows you to upload your inventory to Cisco Active Advisor.
For more information about Cisco Active Advisor, click here.
Applicable Software Version
- CBD (Data Sheet) | 2.2 (Download latest)
Topology View
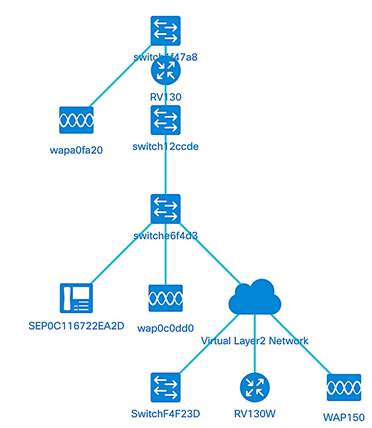
The Cisco Business Dashboard Probe discovers Cisco devices in the network and then creates a map based on all the device information it has gathered. This information includes Cisco Discovery Protocol (CDP) and Link Layer Discovery Protocol (LLDP) neighbor information, Media Access Control (MAC) Address tables, and Associated Device tables from Cisco 100 to 500 Series switches, routers, and wireless access points.
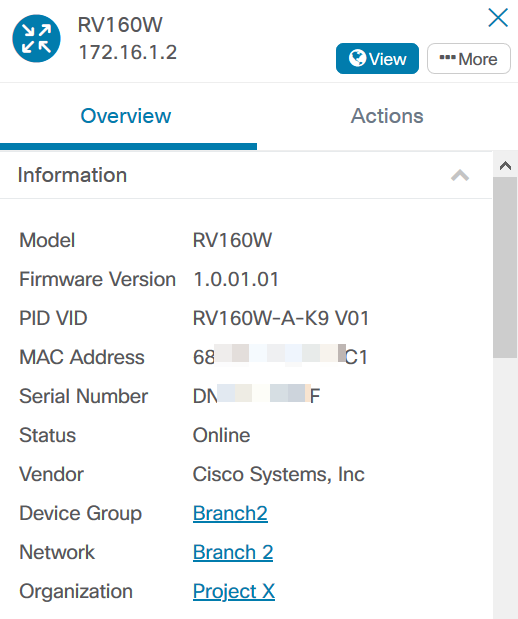
You can check out the details about any of the Cisco devices appearing in the Topology Map by clicking on it. This will display the Basic Info panel of the specific device. You can also perform different actions to the particular device such as firmware upgrade, back up or restore configuration, reboot, or save running configuration by clicking on the Actions tab.
Note: In some cases, there are Cisco devices in your network that would not appear due to missing Simple Network Management Protocol (SNMP) settings. In case this happens, you need to configure SNMP on these devices for them to appear in the Topology Map. To learn how to do this, click here.
Accessing the Topology Map
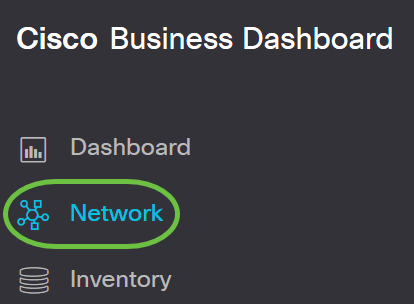
Step 1. Launch the Cisco Business Dashboard Probe then click Network from the Navigation pane.
Step 2. Click on Map to choose your network and click Manage.


The Topology Map of the network will then be displayed, as it is the default window in the Cisco Business Dashboard.
Topology Controls
| Icon | Icon Name | Description |
|---|---|---|
 |
Zoom in | Maximizes the view of the map. |
 |
Zoom out | Minimizes the view of the map. |
 |
Relayout Topology | Re-enable automatic layout of the topology after it has been disabled by manual changes. Redraw the topology using the automatic layout algorithm. |
 |
Zoom by selection | Click and drag to zoom in a specific area within the Topology Map. |

|
Fit stage | Zoom until the entire network fills the viewing area. |
 |
Enter full screen mode | Sets the entire Cisco Business Dashboard network GUI to full screen. |

|
Export Topology | Export the current topology view as an image in PNG format. The image will be saved to the default download location for the browser. |

|
Topology Settings | Adjust the labels displayed for the topology icons. |
Topology Icons
| Icon | Network Element | Description |
|---|---|---|
|
|
Access Point | Represents a Cisco Wireless Access Point (WAP). |
|
|
Cloud | Represents a network or part of a network that is not managed by Cisco Business Dashboard Probe. |
|
|
Links | Represents the connection lines between devices.
A thin line represents the speed of the connection with 100 Mbps or below and a thick line represents 1 Gbps or above. |
|
|
Router | Represents a Cisco Router. |
|
|
Switch | Represents a Cisco Switch. |
| VoIP Phone | Represents a Cisco VoIP Phone. | |
| Host | Represents a host device. |
Viewing Device Information
To view basic information of the device:
Step 1. Click on a specific device or a link connecting two devices in the Topology Map.
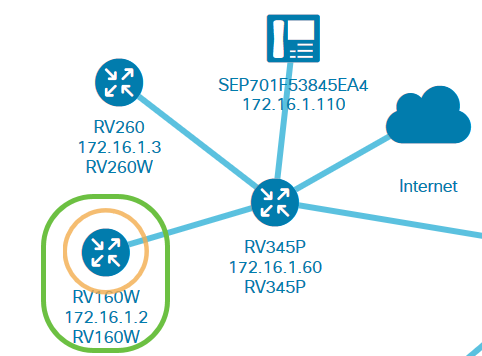
The basic information about the device or link will then be displayed. This includes the exact model, description, the current firmware version on the device and the latest firmware available, and so on.
(Optional) To view complete information of the device:
Step 1. Click on a specific device or a link connecting two devices in the Topology Map.

Step 2. When the Basic Info panel appears, click on the three-dot More icon at the upper right corner.
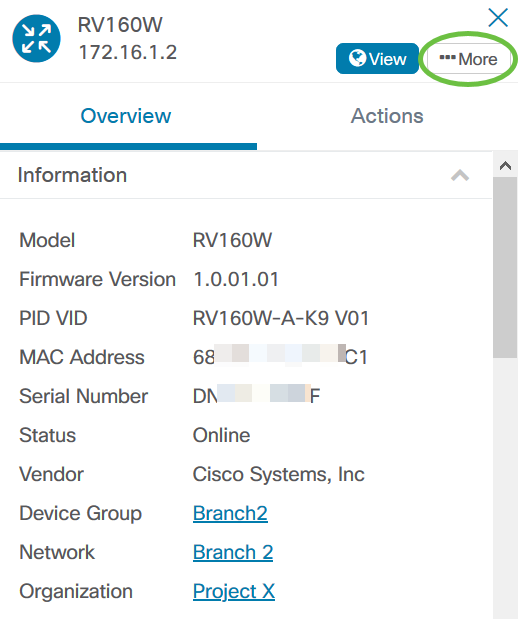
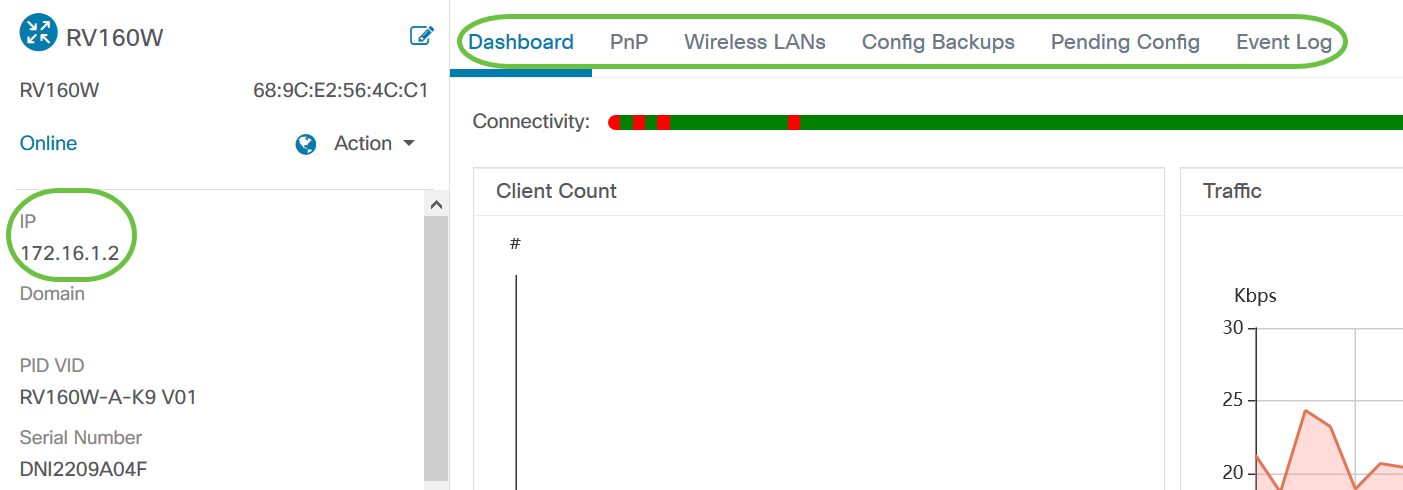
More detailed information about the selected device will then be displayed including the IP address. You can also access the following tabs:
- Dashboard
- PnP
- Wireless LANs
- Config Backups
- Pending Config
- Event Log
Performing Device Action
Step 1. Click on a specific device in the Topology Map.

Step 2. When the Basic Info panel appears, click on Actions.
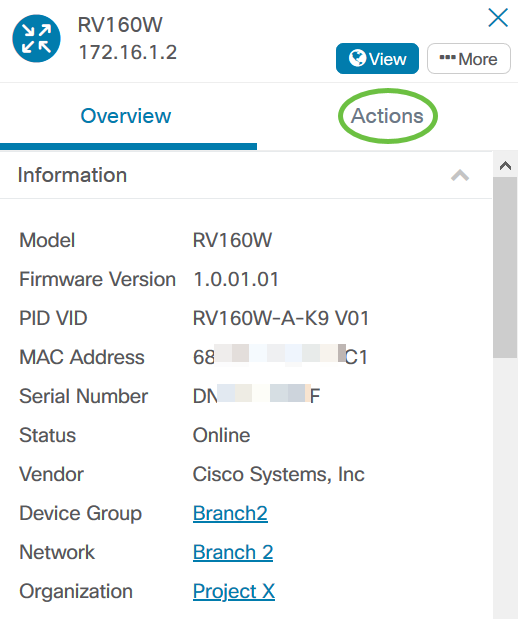
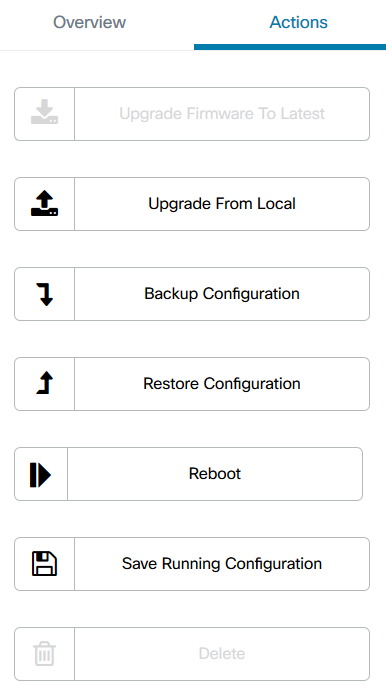
The page where you can perform device actions will then appear.
Step 3. Click on any of the following options.
- Upgrade firmware to latest – Allows you to install the latest firmware on the device. The Probe will automatically download the latest update, apply it to the device, and then reboots it once the update has been completed.
- Upgrade From Local — Allows you to manually install the latest firmware on the device from your local drive. The device will reboot after the update has been completed.
- Backup Configuration — Allows you to save a copy of the current device configuration on the Cisco Business Dashboard Network Probe.
- Restore Configuration — Allows you to reload a previously saved configuration to the device.
- Reboot — Restarts the device.
- Save Running Configuration — For devices that support separate running and startup configurations, this action copies the current running configuration to the startup configuration. This ensures any configuration changes that are retained when the device next reboots.
You should now have successfully viewed your network and devices via the Topology view.
Inventory View
The Inventory window displays a complete list of the network devices and their details in a tabular view. Additionally, it also provides action buttons to perform configuration tasks and apply the latest firmware updates for a device.
Accessing the Inventory View
Step 1. Navigate to Inventoryin the Cisco Business Dashboard navigation pane.
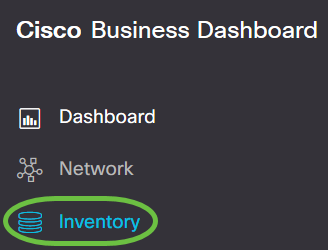
The complete information about the devices in the network as well as the action icons for any configuration task for the device will then be displayed in a tabular form.

Inventory Details
| Item | Description |
|---|---|
| Hostname | Displays the device host name. |
| Type | The type of device. |
| Model | Model number or SKU of the device. |
| Version | The current firmware version of the device. |
| SN | The serial number of the device. |
| IP | The Internet Protocol (IP) address of the device. |
| Actions | Lets you perform any of the following actions on the device:
|
You should now have successfully viewed your network and devices via the Inventory view.
Floor Plan View
The Floor Plan view allows you to keep track of the physical locations of your network equipment. You may upload a plan for each floor in the building and position each of the network devices on the plan. This helps you easily locate devices if maintenance is required. The Floor Plan is similar in operation to the Topology Map, and devices placed on the Floor Plan may be operated in the same way as devices in the Topology Map.
Note: To learn how to create and manage the floor plans and devices in your network, click here.
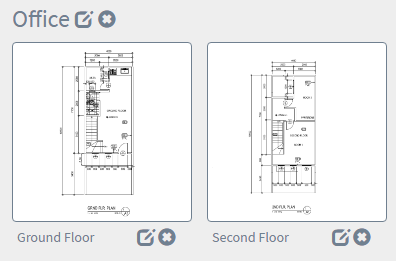
In the example below, WAP150 device icon is clicked and its corresponding basic information is displayed beside it.
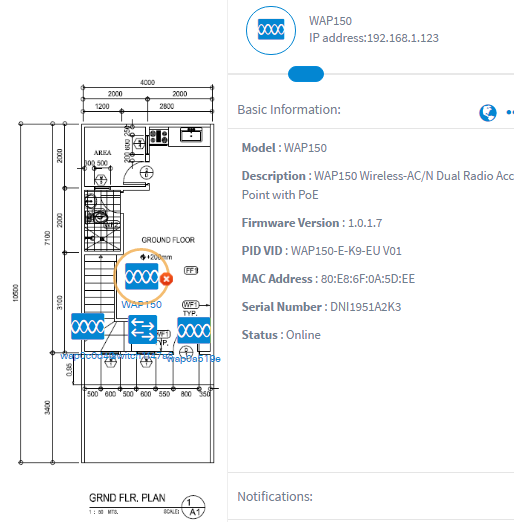
You should now have successfully viewed your network and devices via the Floor Plan view.
Contact Cisco
- Open a Support Case

- (Requires a Cisco Service Contract)
 Feedback