Introduction
This document describes the procedure to create a Cisco Security Manager (CSM) backup file and how to restore it on a CSM Server.
Prerequisites

Caution: Event data used by Event Manager service is not included when performing a CSM database backup.

Tip: If reporting database needs to be excluded from complete backup file, the backup.properties file must be changed under property called SKIP_RPT_DB_BACKUP to YES.
When performing either backup or restore activities, both Common Services and Security Manager processes are turned off and restarted.
Create a Backup on CSM Server on GUI
These steps describe how to create a Backup for a CSM Server through Graphical User Interface:
Step 1.Open a Web browser and enter the IP address of the CSM server:
https://IP_Address_of_CSM_Server_Here
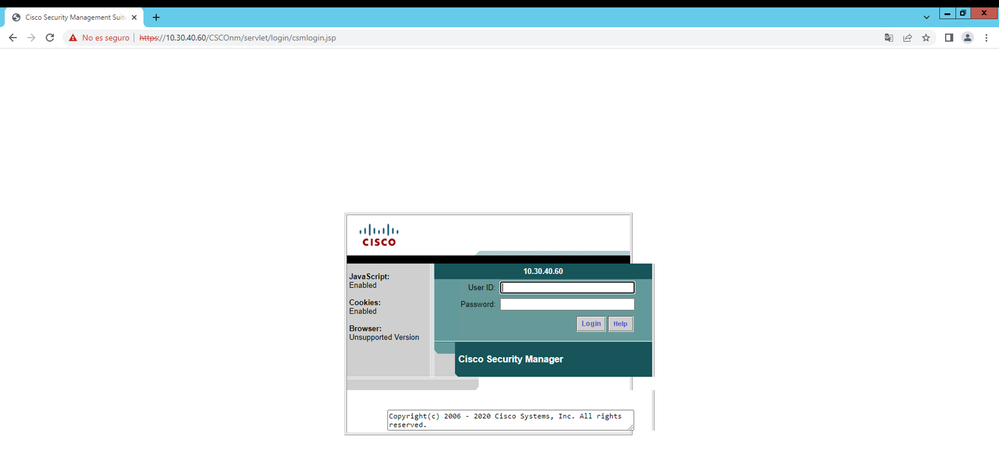
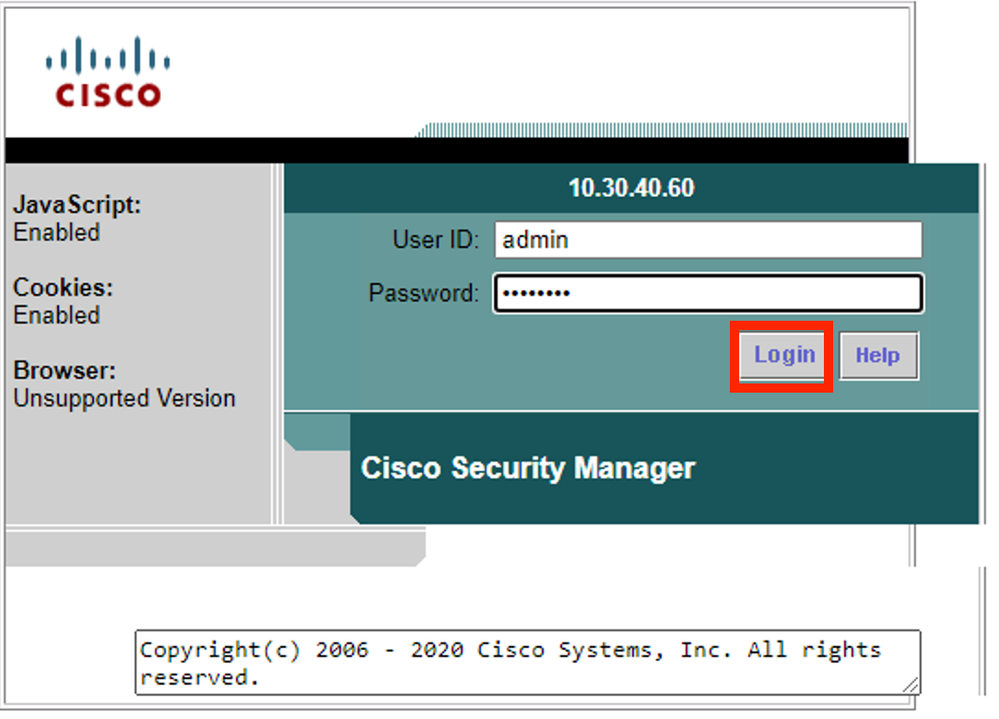
Step 2.Enter the credentials to access CSM Administration and then click the login button.
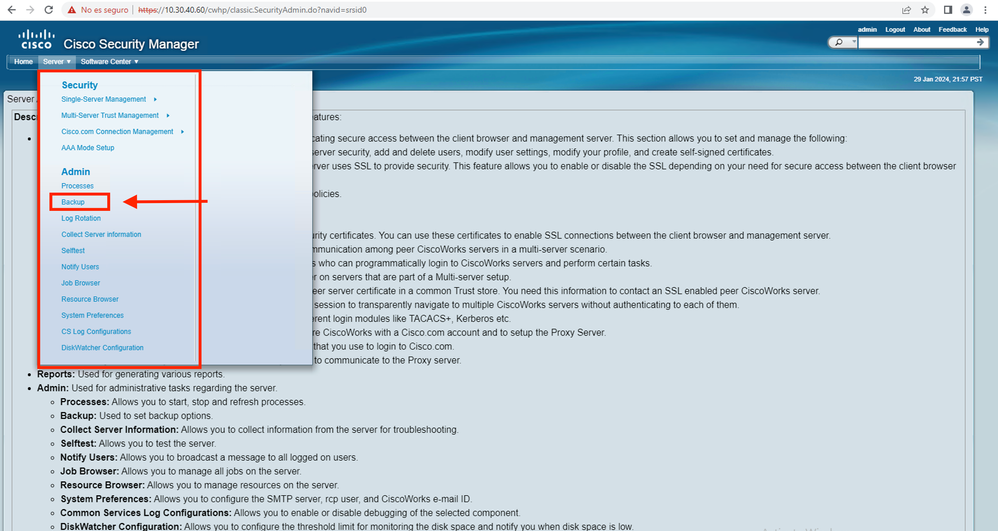
Step 3.Navigate to Server Administration > Server > Backup.

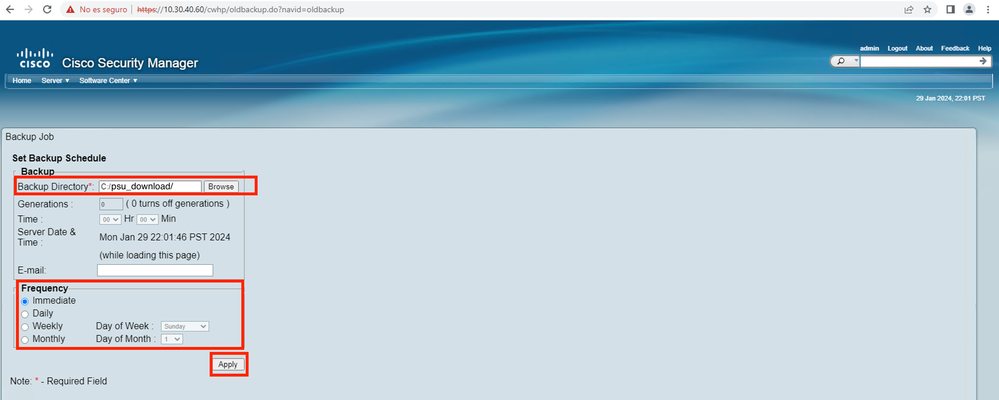
Step 4.Choose the desired directory for backup to be saved, then select the frequency of the backup, and finally click Apply.
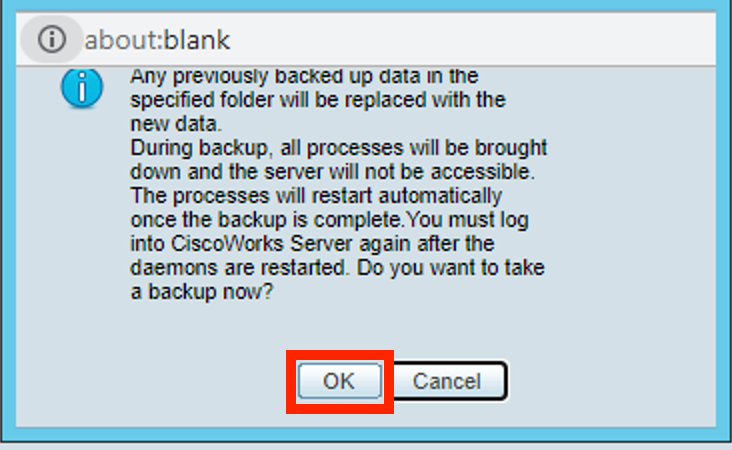
Step 5.A popup Window appears asking if you want to proceed with backup now. Click OK.
Step 6.Once the backup is complete, go to the folder that you defined on step 4 and verify the Backup file is in there. The default name of the backup folder created is 0.
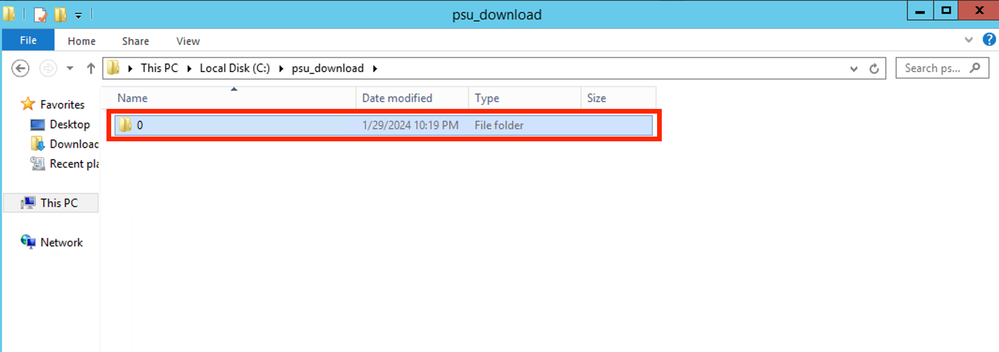

Note: Inside folder 0, there are three subfolders:
-CMF
-RPT
-VMS (This folder contains the CSM database information)
The total size of backup depends on the configuration and the number of devices managed by the CSM.
Create a Backup on CSM Server on CLI
These steps describe how to do a backup of a CSM server through Command Line Interface (CLI):

Note: The next steps assume that the default installation folder is:
C:\Program Files (x86)\CSCOpx\
Step 1.Open a command line on Windows and enter this command to start backup CSM task:
C:\PROGRA~2\CSCOpx\bin\perl C:\PROGRA~2\CSCOpx\bin\backup.pl C:\psu_download 0 compress


Note:
The compress parameter on that command is optional and helps to compress the backup file.
Additionally, there are two other optional parameters:
email =email_address.- Specify the email address if you want to receive notifications. But remember you must configure SMTP settings in CiscoWorks Common Services to receive these notifications.
log_filename.- This is important if you want to verify the logs messages generated during backup for troubleshooting purposes.
The order of these parameters on backup command is:
[path ]perl [path ]backup.pl backup_directory [log_filename [email=email_address [number_of_generations [compress]]]]

Warning:
You cannot restore a backup from an earlier version of Security Manager if that backup contains any pending data, which is data that has not been committed to the database. Before upgrading to a new version of Cisco Security Manager, it is recommended that you commit or discard all uncommitted changes and then create a backup of your database.
Step 2.Verify that the file is generated in the destination folder previously configured.
Restore a Backup on CSM Server
These steps describe how to restore a CSM Backup through CLI:

Note: There is a script that helps to restore your CSM database backup from CLI. These steps show how to use it.
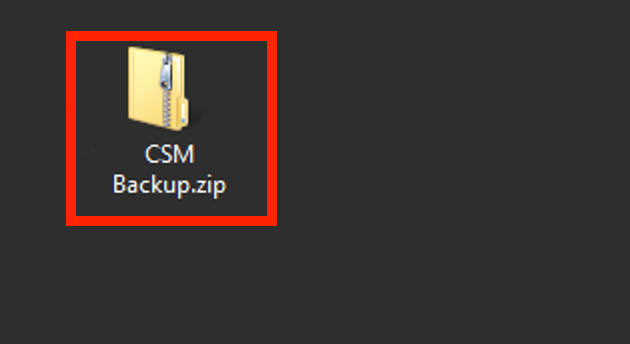
Step 1.Make sure the proper backup file is already on the CSM server before starting the restore.
Step 2.Open a command line on Windows Server and enter this command to stop CSM processes:
net stop crmdmgtd

Step 3.Restore the previous backup file with this command on CLI:
C:\PROGRA~2\CSCOpx\bin\perl C:\PROGRA~2\CSCOpx\bin\restorebackup.pl -d C:\8

Note: This command contains the path of the perl.exe and the restorebackup.pl files, and also the directory where you desire to save the backup on the example is C:\8.
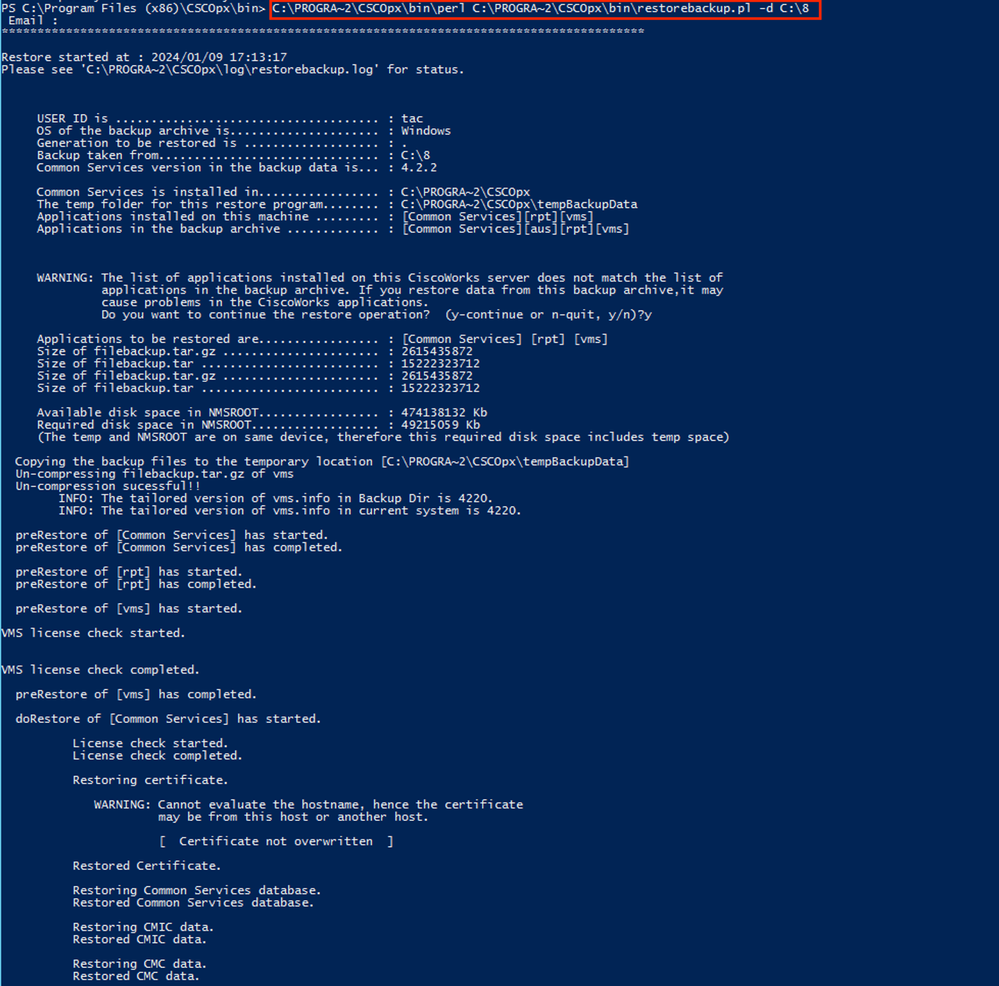

Note: If everything is ok you receive a Restored Successfully message when the script finishes executing.
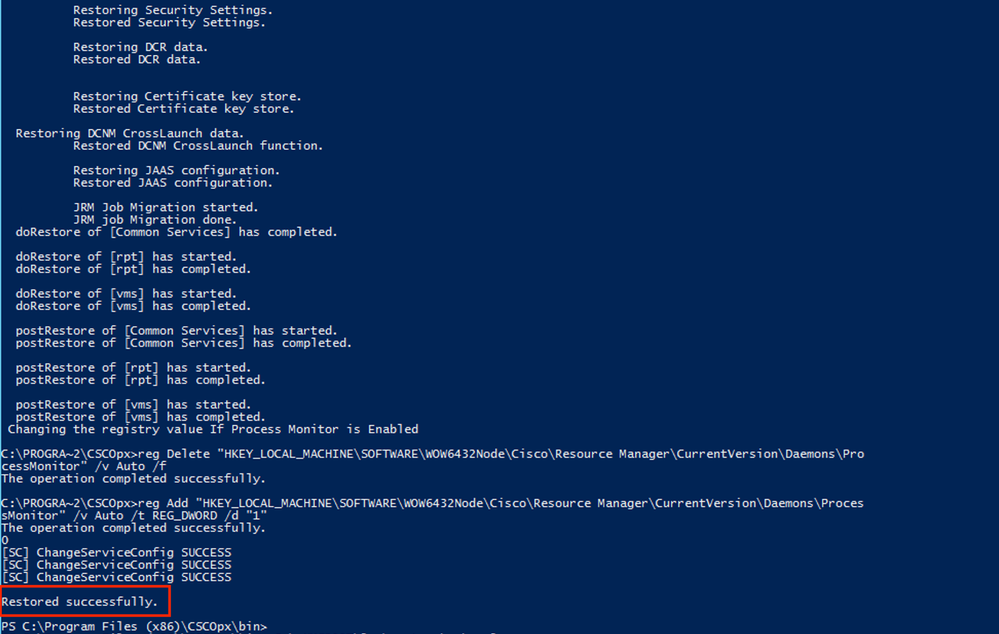

Note: Other optional parameters you can use on the restore command path are:
CSM_path\bin\perl CSM_path\bin\restorebackup.pl [-t temporary_directory ] [-gen generationNumber ] -d backup_directory [-h]
-t temporary_directory Restore program stores its temporary files. By default this directory is $NMSROOT \tempBackupData.
-gen generationNumber The backup generation number you want to recover. By default, it is the latest generation. If generations 1 through 5 exist, then 5 is the latest.
-d backup_directory The backup path that contains the backup to restore.
-h Provides help for this restore command.
Step 4.Restart the CSM processes again with this command:
net start crmdmgtd

Related Information


 Feedback