Introduction
This document describes how to troubleshoot and fix the Certificate Authority (CA) import error on Firepower Threat Defense devices managed by FMC.
Prerequisites
Requirements
Cisco recommends that you have knowledge of these topics:
- Public Key Infrastructure (PKI)
- Firepower Management Center (FMC)
- Firepower Threat Defense (FTD)
- OpenSSL
Components used
The information in this document is based on these software versions:
- MacOS x 10.14.6
- FMC 6.4
- OpenSSL
The information in this document was created from the devices in a specific lab environment. All of the devices used in this document started with a cleared (default) configuration. If your network is live, make sure that you understand the potential impact of any command.
Background information
Note: On FTD-managed devices, the CA certificate is required before the Certificate Signing Request (CSR) is generated.
- If the CSR is generated in an external server (such as Windows Server or OpenSSL), the manual enrollment method is intended to fail, since FTD does not support manual key enrollment. A different method must be used such as PKCS12.
Problem
In this particular scenario, the FMC displays a red cross in the CA certificate status (as shown in the image), which states that the certificate enrollment failed to install the CA certificate with the message: "Fail to configure CA certificate." This error is commonly seen when the certificate has not been properly packaged or the PKCS12 file does not contain the correct issuer certificate as shown in the image.

Note: In newer FMC versions, this problem has been addressed to match the ASA behavior that creates an additional trustpoint with the root CA included in the chain of trust of the .pfx cert.
Solution
Step 1. Locate the .pfx Certificate
Get the pfx certificate that was enrolled in the FMC GUI, save it and locate the file in the Mac Terminal (CLI).
 ls
ls
Step 2. Extract the Certificates and Key from the .pfx File
Extract the client certificate (not CA certificates) from the pfx file (the passphrase that was used to generate the .pfx file is required).
openssl pkcs12 -in cert.pfx -clcerts -nokeys -out id.pem
 identity export
Extract the CA certificates (not client Certificates).
openssl pkcs12 -in cert.pfx -cacerts -nokeys -out certs.pem
 cacerts export
Extract the private key from the pfx file (the same passphrase from Step 2 is required).
openssl pkcs12 -in cert.pfx -nocerts -out key.pem
 key export
Four files now exist: cert.pfx (the original pfx bundle), certs.pem (the CA certificates), id.pem (client certificate), and key.pem (the private key).
 ls after export
Step 3. Verify the Certificates in a Text Editor
Verify the certificates with the use of a text editor (for instance: nano certs.pem).
For this particular scenario, certs.pem only contained the sub CA (issuing CA).
Starting in step 5, this article addresses the procedure for the scenario where the file certs.pem contains 2 certificates (one root CA and one sub CA).
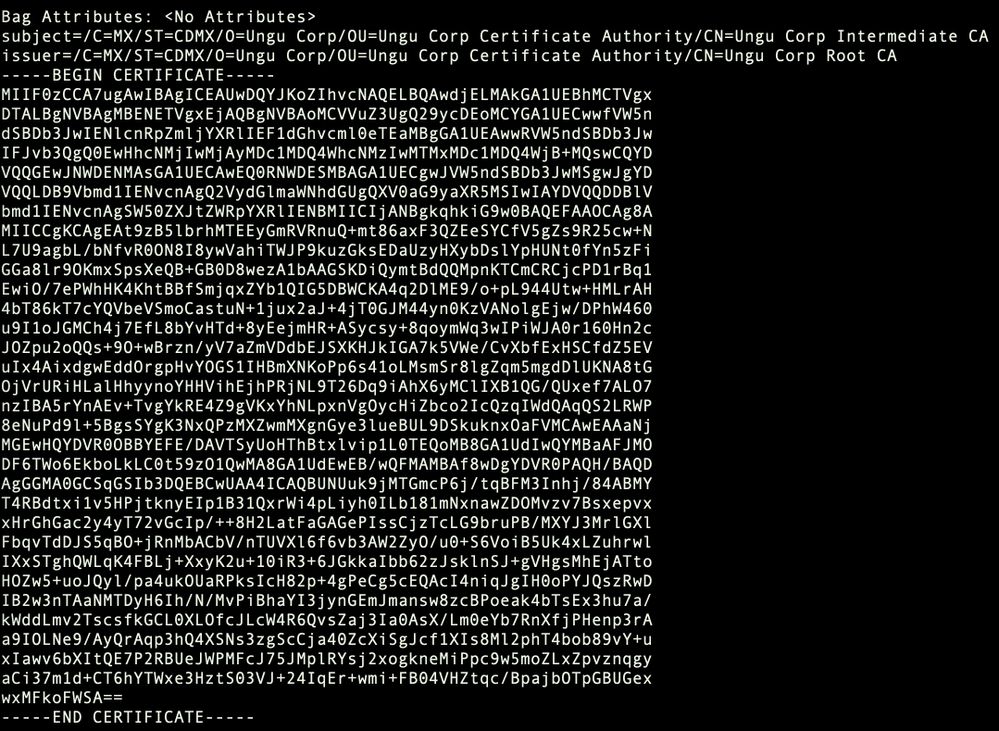 certs view
Step 4. Verify the Private Key in a Notepad
Verify the content of the key.pem file with the use of a text editor (for instance: nano certs.pem).
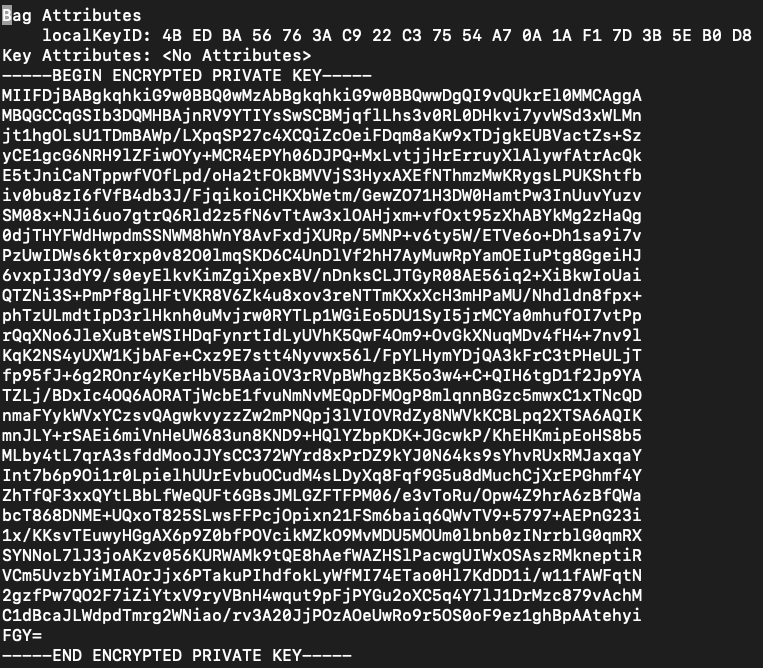
Step 5. Split the CA Certs
For the case that the certs.pem file has 2 certificates (1 root CA and 1 sub CA), the root CA needs to be removed from the chain of trust in order to be able to import the pfx-formatted certificate in the FMC, leaving only the sub-CA in the chain for validation purposes.
Split the certs.pem in multiple files, the next command renames the certs as cacert-XX.
split -p "-----BEGIN CERTIFICATE-----" certs.pem cacert-
 split
split ls after split
Add the .pem extension to these new files with the command described below.
for i in cacert-*;do mv "$i" "$i.pem";done
 rename script
Review the two new files and determine which one contains the root CA, and which contains the sub CA with the commands described.
First, find the issuer of the id.pem file (which is the identity certificate).
openssl x509 -in id.pem -issuer -noout
 issuer view
Now, find the subject of the two cacert- files (CA certificates).
openssl x509 -in cacert-aa.pem -subject -noout
openssl x509 -in cacert-ab.pem -subject -noout
 subject check
The cacert file that matches the Subject with the Issuer of the id.pem file (as shown in the previous images), is the Sub CA that is later used to create the PFX cert.
Delete the cacert file that does not have the matching Subject. In this case, that cert was cacert-aa.pem.
rm -f cacert-aa.pem
Step 6. Merge the Certificates in a PKCS12 File
Merge the sub CA certificate (for this case, the name was cacert-ab.pem) along with the ID certificate (id.pem) and private key (key.pem) in a new pfx file. You must protect this file with a passphrase. If needed, change the cacert-ab.pem file name to match your file.
openssl pkcs12 -export -in id.pem -certfile cacert-ab.pem -inkey key.pem -out new-cert.pfx
 pfx-creation
Step 7. Import the PKCS12 File in the FMC
In the FMC, navigate to Device > Certificates and import the certificate to the desired firewall as shown in the image.
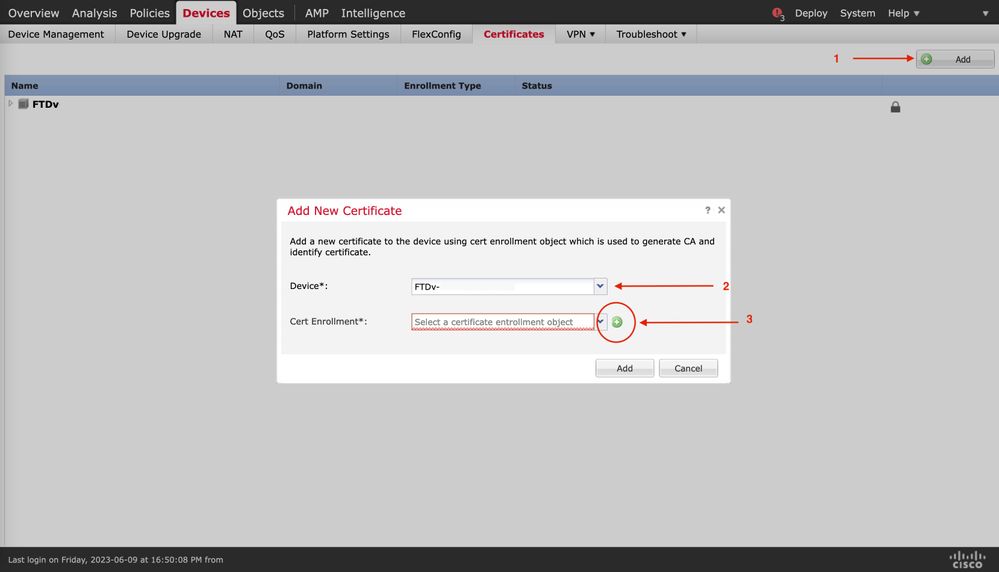 cert enrollment
Insert a name for the new cert.
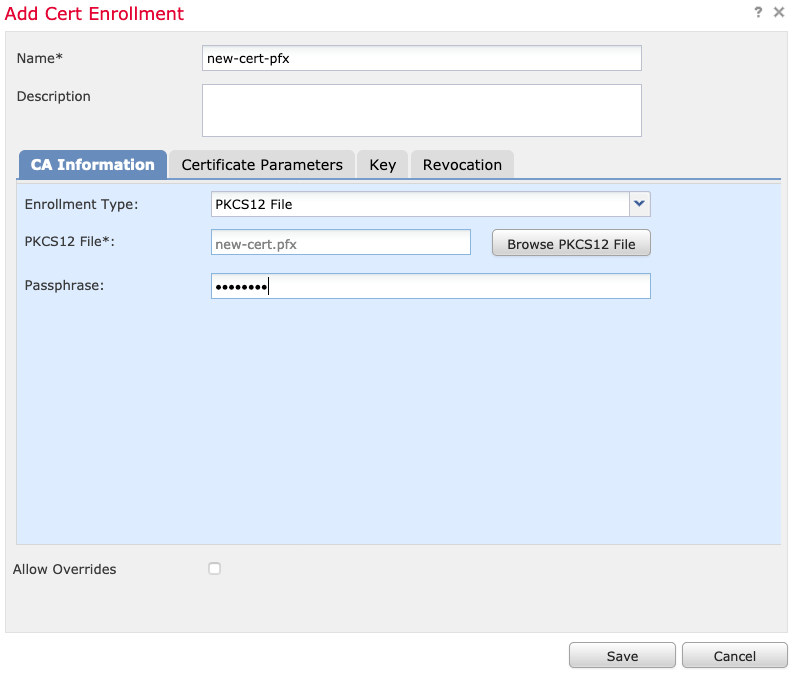 Enrollment
Add the new certificate, and wait for the enrollment process to deploy the new cert to the FTD.
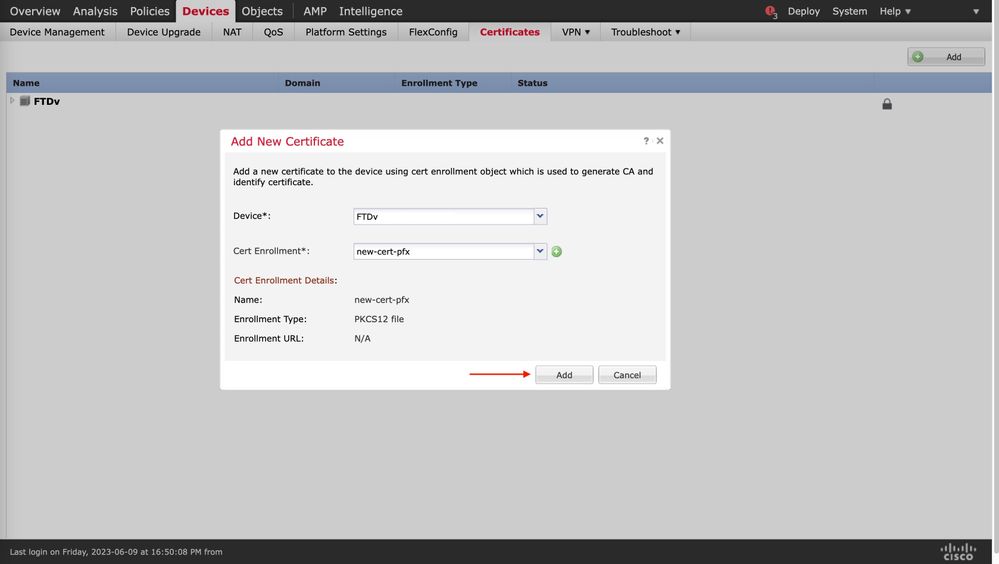 new-cert
The new certificate must be visible without a red cross in the CA field.
Verify
Use this section to confirm that your configuration works properly.
In Windows, you can encounter an issue where the OS displays the whole chain for the certificate even though the .pfx file only contains the ID certificate, in the case it has the subCA, CA chain in its store.
In order to check the list of the certificates in a .pfx file, tools like certutil or openssl can be used.
certutil -dump cert.pfx
The certutil is a command line utility that provides the list of certificates in a .pfx file. You must see the whole chain with ID, SubCA, CA included (if any).
Alternatively, you can use an openssl command, as shown in the command below.
openssl pkcs12 -info -in cert.pfx
In order to verify the certificate status along with the CA and ID information, you can select the icons and confirm it was successfully imported:


 Feedback