Introduction
This document describes how to do a Packet Capture on a Cisco SD-WAN vManage.
Prerequisites
Requirements
Cisco recommends that you have knowledge of these topics:
- Cisco Software-defined Wide Area Network (SD-WAN)
- Packet analyzer
Components Used
This document is based on these software and hardware versions:
The information in this document was created from the devices in a specific lab environment. All of the devices used in this document started with a cleared (default) configuration. If your network is live, ensure that you understand the potential impact of any command.
Background Information
Background information contains the explanation of what is the Packet Capture feature on a vManage, the benefits to use this tool and the number protocols that can be used to filter the interested traffic.
The Packet Capture on the vManage allows to capture and analyze packet traffic on the SD-WAN network. Here are some important benefits to use this tool:
Problem Diagnosis: Packet capture is a valuable tool for troubleshooting network problems. This can be used to analyze packets and determine the cause of performance, latency, or packet loss issues.
Filtering and Selective Capture: vManage allows you to configure filters to capture only relevant traffic, which reduces the load on the network and makes it easier to analyze specific packets.
Security: This feature can be used to identify malicious traffic patterns or suspicious activity on the network.
|
Decimal
|
Initials
|
Protocol
|
RFC
|
|
1
|
ICMP
|
Internet Control Message Protocol
|
RFC 792
|
|
2
|
IGMP
|
Internet Group Management Protocol
|
RFC 1112
|
|
4
|
IP
|
IP en IP (encapsulación)
|
RFC 2003
|
|
6
|
TCP
|
Transmission Control Protocol
|
RFC 793
|
|
8
|
EGP
|
Exterior Gateway Protocol
|
RFC 888
|
|
9
|
IGP
|
Interior Gateway Protocol
|
|
|
17
|
UDP
|
User Datagram Protocol
|
RFC 768
|
|
41
|
IPv6
|
Encapsulación IPv6
|
RFC 2460
|
|
47
|
GRE
|
Generic Route Encapsulation
|
|
|
50
|
ESP
|
Encapsulating Security Payload
|
RFC 2406
|
|
88
|
EIGRP
|
EIGRP
|
|
|
89
|
OSPF
|
Open Shortest Path First
|
RFC 1583
|
|
112
|
VRRP
|
Virtual Router Redundancy Protocol
|
RFC 3768
|
Procedure
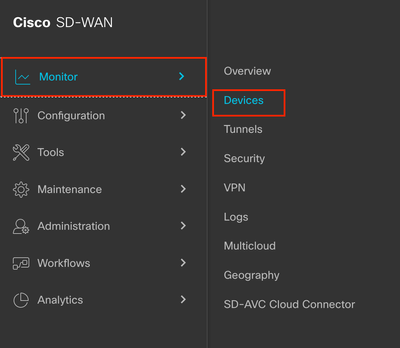
Step 1. Navigate to Monitor > Devices.
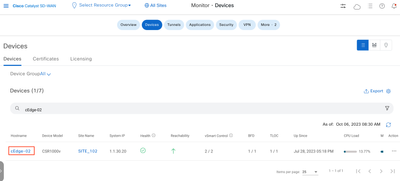
Step 2. Filter the device and click on the blue letters.

Note:
For 20.8.x and older releases bidirectional option is not present. Therefore, there are two scenarios to use packet capture feature:
Unidirectional: If Source IP, Destination IP, or both are filtered, the packets are captured only in one direction (from source to destination).
Bidirectional: If none of Traffic Filter options are used, the packets are captured in both directions.
For 20.9.x and later releases: Bidirectional option is present in these versions. Therefore, if Source IP, Destination IP, or both are filtered, the direction can be selected as Unidirectional or Bidirectional.
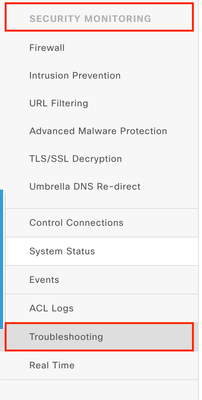
Step 3. Navigate to Security Monitoring > Troubleshooting.
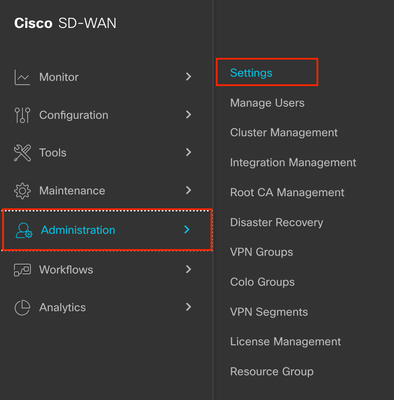
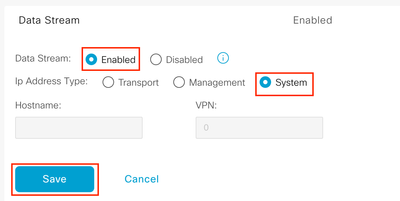
Step 4. If you do not see the Packet Capture option you need to enable the Data Stream Feature from Administration > Settings > Data Stream > Click on the Pencil > Enabled > System > Save.

Note: On Administration > Settings > Data Stream > the options Transport, Management and System exists, you can also enable them, note that for the Transport VPN you need to use a VPN 0 IP address and for Management VPN a VPN 512 IP address.
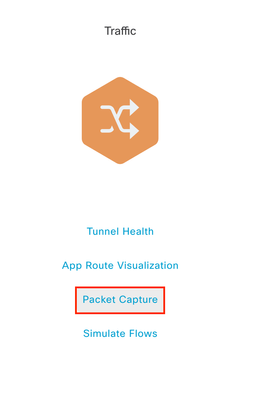
Step 5. Now you are able to see the Packet Capture option on the Traffic section, click on it.
Step 6. Select the values that you need to do the capture as shown here.
VPN: Choose from what VPN you do the capture
Interface: Choose the Interface inside of this VPN
Traffic Filter: Here you can choose different options to Filter the traffic from that Interface and VPN such as:
- Source IP: Source IP address
- Source Port: Source Port
- Protocol: Such as UDP, TCP, ICMP, and so on.
- Destination IP: Destination IP
- Destination Port: Destination Port

Note: For this document the protocol 17 (UDP) was selected but you can use the protocol needed, to do this please refer to the list of the most important protocols on this document.

Step 7. Once you have all the needed values to do the capture click on Start.

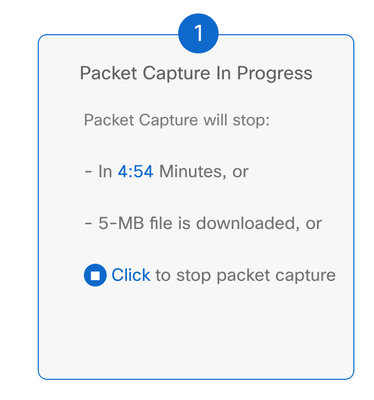
Step 8. The vManage then starts to capture the packets with the filters specified, you can stop it as soon as you get enough packets sent.
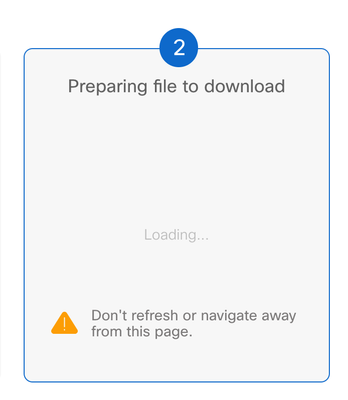
Step 9. Wait the vManage to prepare the file to be downloaded.
Step 10. Then Download the Packet Capture file.
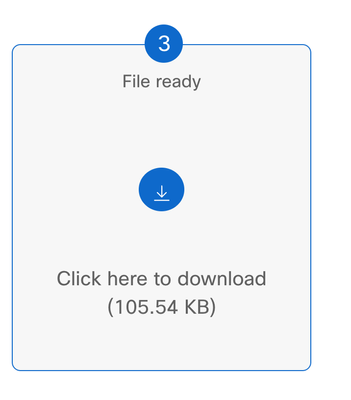
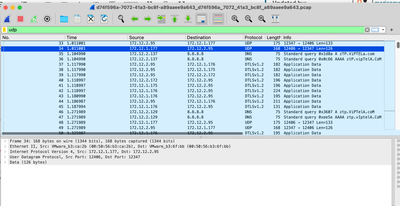
Step 11. The capture is now on your files, open it with a Packet analyzer suck as Wireshark.

As you can see, there is a lot useful information that the capture can give, here the UDP packets were captured as expected.
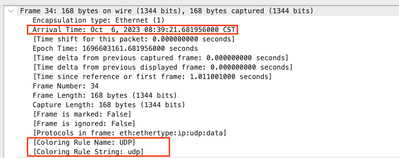
When you open the UDP packet you see the information contained on it.

On frame information you can see information such Arrival Time, Coloring Rule Name, Coloring Rule String.
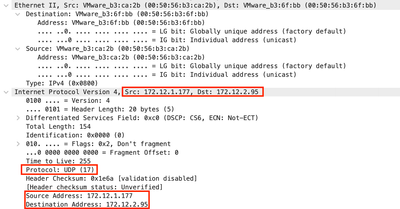
You can see also the Source, Destination IP addresses such as the Source and Destination ports that you set previously.

Related Information
Cisco vManage How-Tos for Cisco IOS XE SD-WAN Devices


 Feedback