DAP and HostScan Migration from ASA to FDM through REST API
Available Languages
Download Options
Bias-Free Language
The documentation set for this product strives to use bias-free language. For the purposes of this documentation set, bias-free is defined as language that does not imply discrimination based on age, disability, gender, racial identity, ethnic identity, sexual orientation, socioeconomic status, and intersectionality. Exceptions may be present in the documentation due to language that is hardcoded in the user interfaces of the product software, language used based on RFP documentation, or language that is used by a referenced third-party product. Learn more about how Cisco is using Inclusive Language.
Contents
Introduction
This document describes the migration of Dynamic Access Policies (DAP) and HostScan configuration from Cisco Adaptive Security Appliances (ASA) to Cisco Firepower Threat Defense (FTD) managed locally by Firepower Device Manager (FDM).
Prerequisites
Requirements
Cisco recommends that you have knowledge of these topics:
- Basic knowledge of RA VPN configuration on FDM.
- Working of DAP and Hostscan on ASA.
- Basic knowledge of REST API and FDM Rest API Explorer.
Components Used
The information in this document is based on these software and hardware versions:
- Cisco FTD running version 6.7.0
- Cisco AnyConnect Secure Mobility Clientversion 4.9.00086
- Postman or any other API development tool
Note: The information in this document was created from devices in a specific lab environment. All of the devices used in this document started with a cleared (default) configuration. If your network is live, make sure that you understand the potential impact of any configuration change.
Even though FTD has Remote Access VPN (RAVPN) configuration support, it lacks support for DAP. As of release 6.7.0, API support is added for DAP on the FTD. It is intended to support the very basic use case of migration from ASA to FTD. Users who have DAP configured on their ASA's and are in the process of migrating to FTD's now have a path to migrate their DAP configuration along with their RA VPN configuration.
In order to successfully migrate DAP configuration from ASA to FTD, ensure these conditions:
- ASA with DAP/Hostscan configured.
- TFTP/FTP server access from the ASA or ASDM access to the ASA.
- Cisco FTD running version 6.7.0 and above managed by Firepower Device Manager (FDM).
- RA VPN configured and working on FTD.
Licensing
- FTD registered to the smart licensing portal with Export Controlled Features enabled (in order to allow RA VPN configuration tab to be enabled).
- Any one of the AnyConnect Licenses enabled (APEX, Plus, or VPN-Only).
In order to check the licensing: Navigate to Devices > Smart Licenses

Feature Limitations
- These features are only supported via FDM/FTD REST API interface.
- DAP name cannot contain space characters with REST API.
Configuration
Step 1. Copy dap.xml from ASA to your local PC / TFTP Server. There are two ways to achieve the same:
ASDM:
Navigate to Tools > File Management > FIle Transfer >Between Local PC and Flash.

CLI:
ASA# copy flash: tftp:
Source filename []? dap.xml

Address or name of remote host []? 10.197.161.160

Destination filename [dap.xml]?

440 bytes copied in 0.40 secs
Step 2. Copy the hostscan config file (data.xml) and hostscan image from ASA to the local device.
ASDM:
Navigate to Tools > File Management > FIle Transfer >Between Local PC and Flash.

CLI:
ASA# copy flash: tftp:
Source filename []? data.xml

Address or name of remote host []? 10.197.161.160

Destination filename [data.xml]?

500 bytes copied in 0.40 secs

ASA# copy flash: tftp:

Source filename []? hostscan_4.9.03047-k9.pkg

Address or name of remote host []? 10.197.161.160

Destination filename [hostscan_4.9.03047-k9.pkg]?
!!!!!!!!!!!!!!!!!!!!!!!!!!!!!!!!!!!!!!!!!!!!!!!!!!!!!
56202408 bytes copied in 34.830 secs (1653012 bytes/sec)
ASA#
Step 3. Get the base64-encoded value of dap.xml and data.xml.
On Mac: base64 -i <file>

On Windows powershell: certutil -encode dap.xml tmp.b64 ; findstr /v /c:- tmp.b64 > dap.b64

Follow the same procedure for data.xml.
Step 4. Launch the API Explorer of the FTD on a Browser Window.
Navigate to https://<FTD Management IP>/api-explorer
This contains the entire list of API's available on the FTD. It is divided based on the main feature with multiple GET/POST/PUT/DELETE requests which is supported by the FDM.
DAPXml and HostScanPackageFile are the API used.

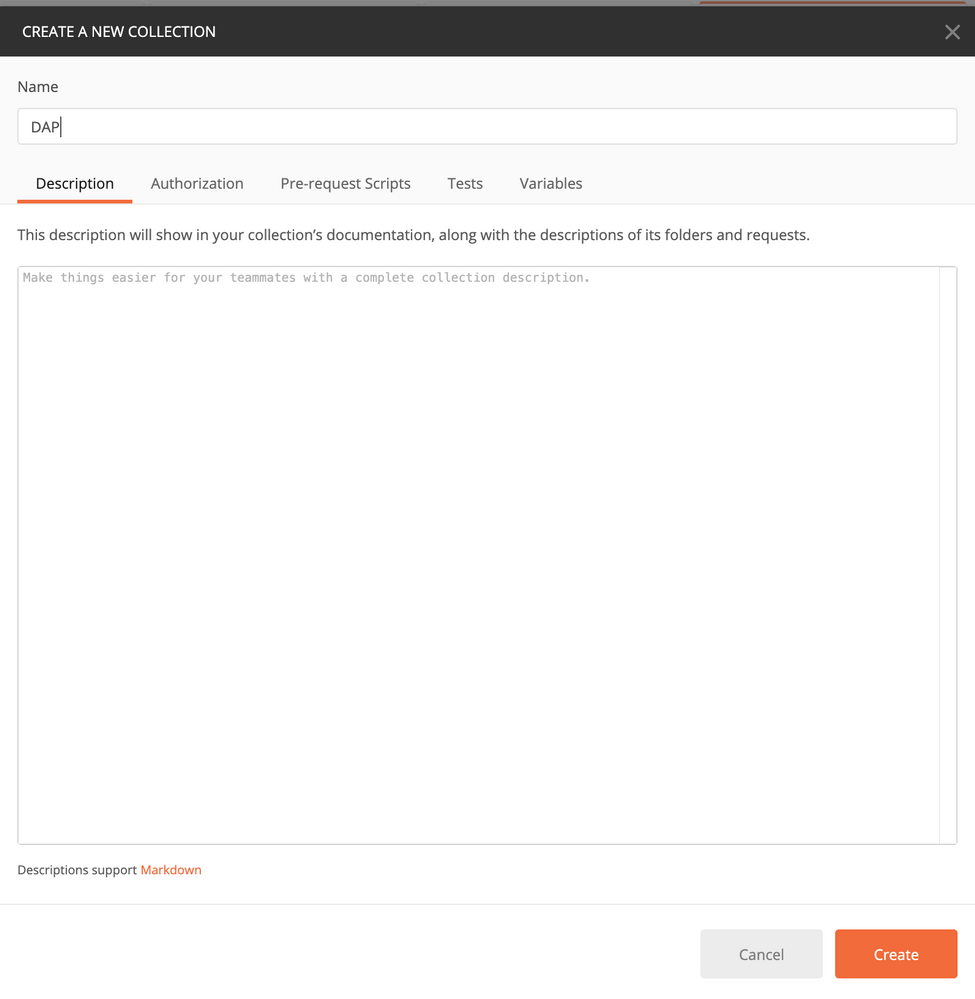
Step 5. Add a Postman collection for DAP.
Provide a Name for the collection. Click on Create, as shown in this image.
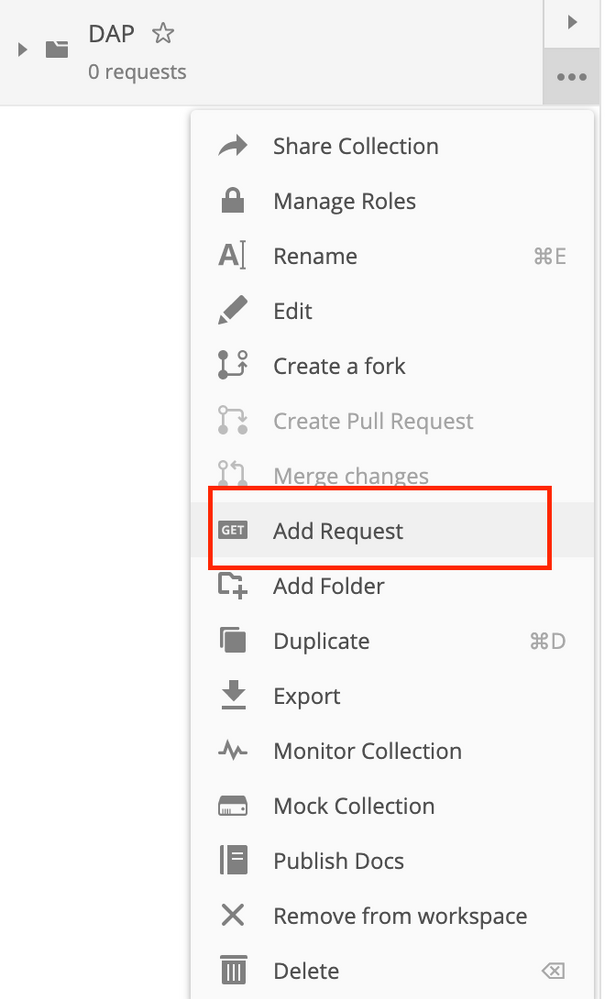
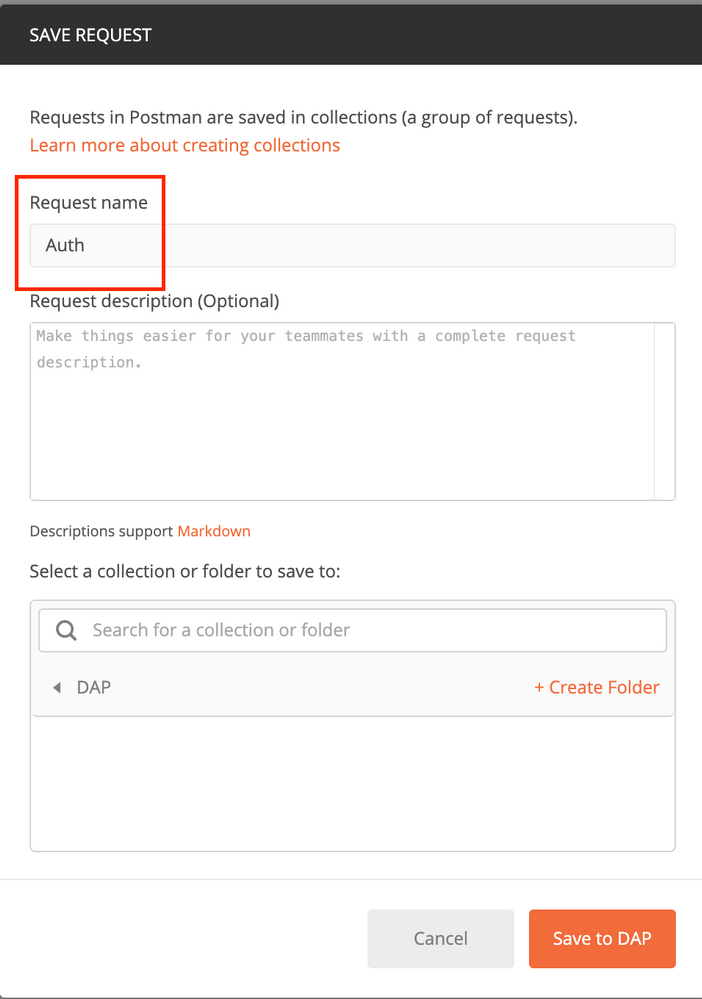
Step 6. Add a new request Auth to create a login POST request to the FTD in order to get the token to authorize any POST/GET/PUT requests. Click on Save.
The Body of the POST request must contain this:
| Type | raw - JSON (application/json) |
| grant_type | password |
| username | Admin Username in order to log in to the FTD |
| password | The password associated with the admin user account |
POST Request: https://<FTD Management IP>/api/fdm/latest/fdm/token

The Body of the Response contains the access token which is used in order to send any PUT/GET/POST requests to/from the FTD.

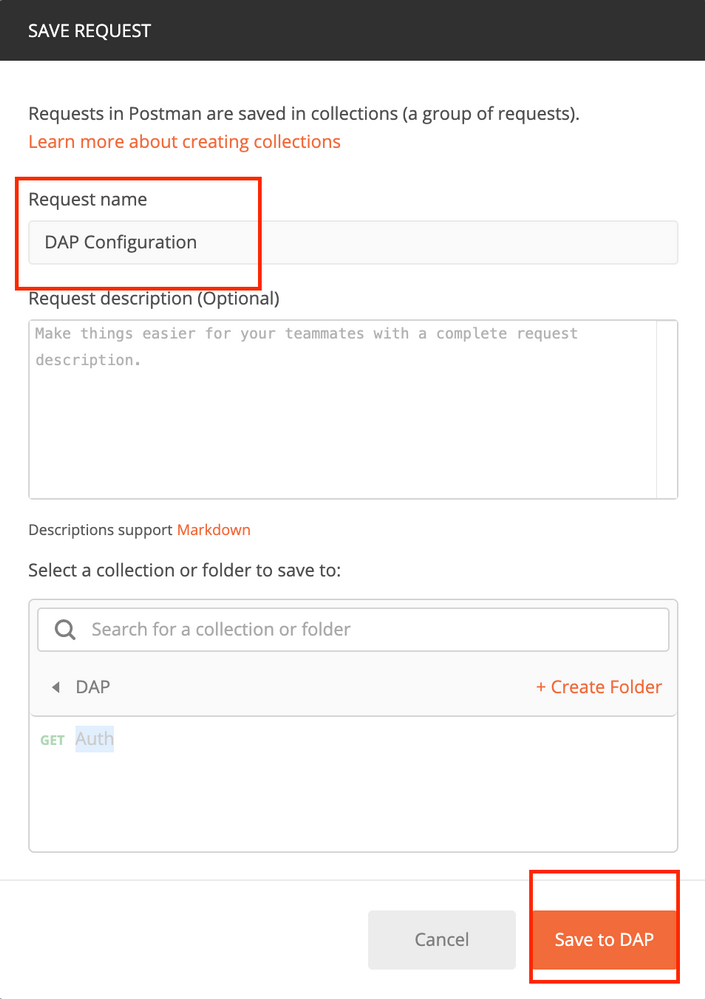
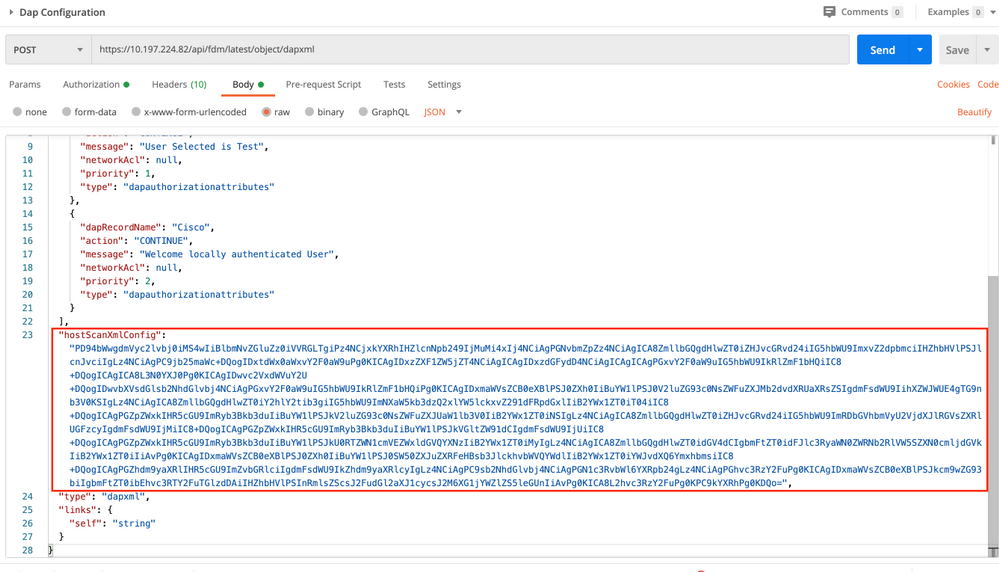
Step 7. Create a DAP Configuration request to add DAP configuration. Click on Save to DAP, as shown in this image.
 The Authorization tab must contain this for all subsequent POST requests:
| Type | Bearer Token |
| Token | The access token received by running the Auth POST Request |
POST REQUEST:https://<FTD Management IP>/api/fdm/latest/object/dapxml
The Body of the Request must contain the base64 encoded value of dap.xml and data.xml converted in Step 3. Authorization attributes need to be manually added and should have DAP Record name, Action, Network ACL, and priority.
| dapXMLConfig | base64 encoded value of dap.xml |
| dapRecordName | Name of DAP recorded |
| message | Type the message shown to the user if DAP is selected |
| priority |
Add the priority for DAP |
| networkAcl |
Add ACL object if needed |
|
hostScanXmlConfig
|
base64 encoded value of data.xml |

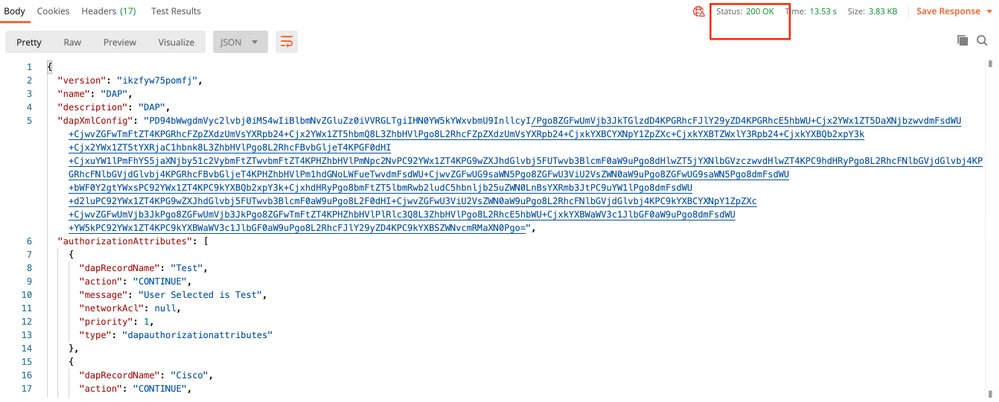
The Body of the response shows the DAP configuration ready to be pushed to the device.
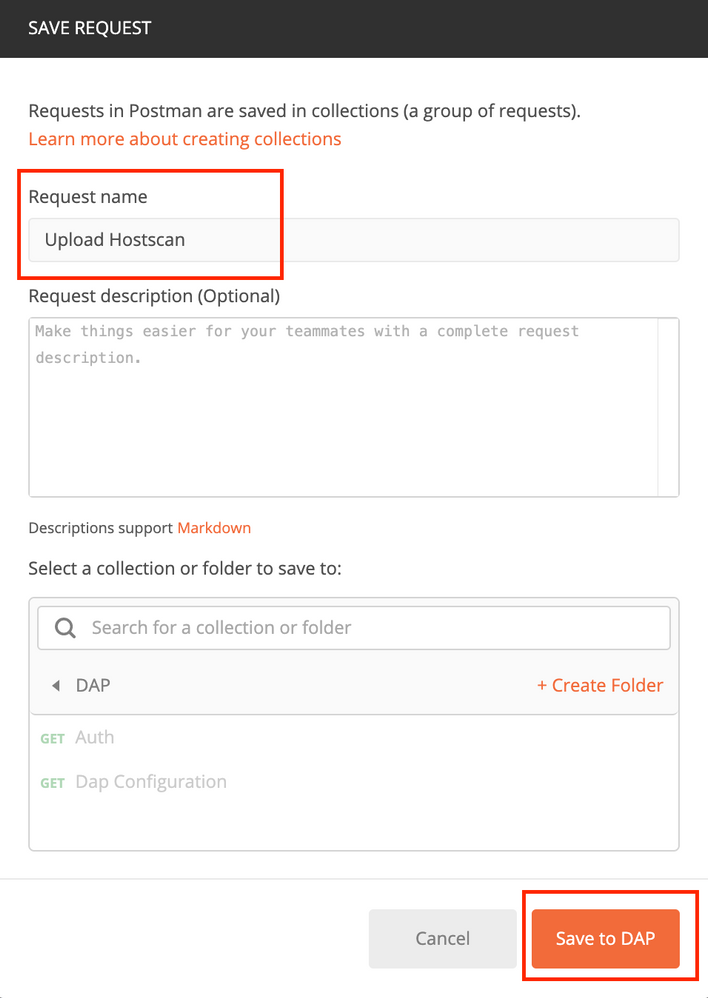
Step 8. Create a request to Upload the hostscan image. Click on Save to DAP, as shown in this image.
Upload the hostscan file in filetoUpload section.
POST REQUEST:https://<FTD Management IP>/api/fdm/latest/action/uploaddiskfile
The Body of the Request must contain the hostscan file added in Body in form-data format. Hostscan file can be downloaded from HostScan Download or you can use the hostscan image copied from ASA in Step 2.
Key type should be File for filetoUpload.

The body of the response gives an id/filename which is used to create hostscan configuration.

Step 9. Create a request for hostscan package configuration. Click on Save.
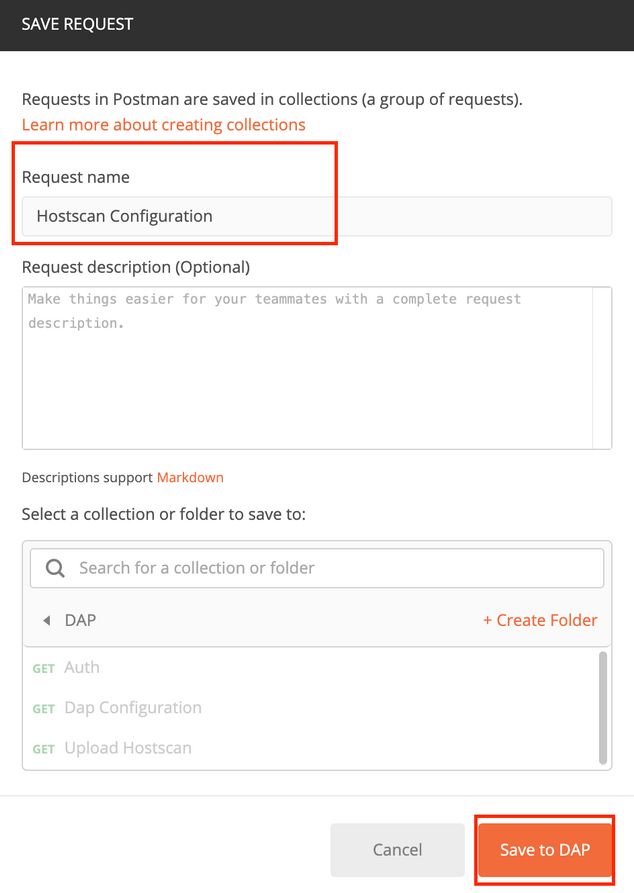
POST REQUEST: https://<FDM IP>/api/fdm/latest/object/hostscanpackagefiles
The body of the request contains id/filename obtained in the previous step as diskFileName. Add the hostscan package name as Name which is shown in running-config.

The Body of the response shows Hostscan file ready to be pushed to the device.

Step 12. Deploy the configuration to the device. Configuration can be deployed through FDM. Pending changes show DAP and Hostscan authorization attributes to be pushed.
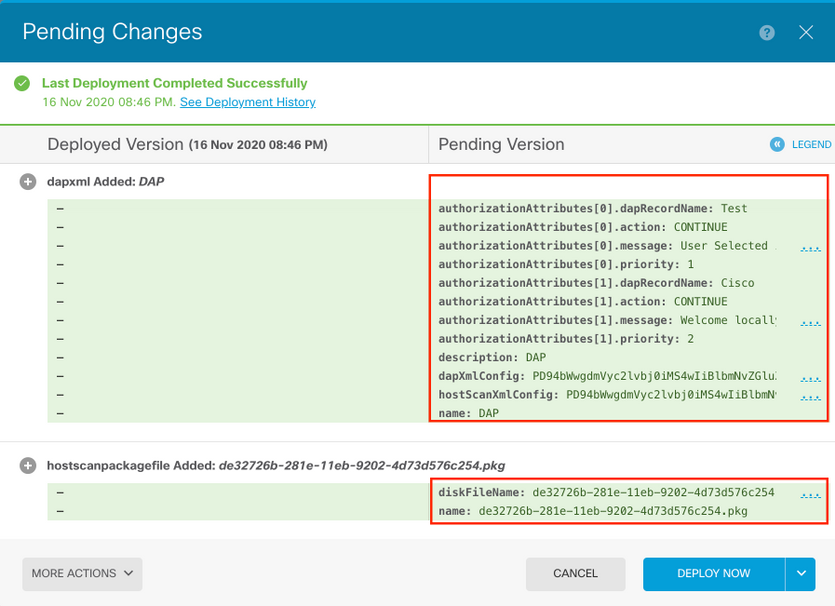
Configuration pushed to the FTD CLI after successful deployment:
!--- RA VPN Configuration ---!

webvpn
 enable outside
 hostscan image disk0:/hostscan_4.9.03047-k9.pkg
 hostscan enable
 anyconnect image disk0:/anyconnpkgs/anyconnect-win-4.9.00086-webdeploy-k9.pkg 2
 anyconnect profiles defaultClientProfile disk0:/anyconncprofs/defaultClientProfile.xml
 anyconnect enable
 tunnel-group-list enable

!--- DAP Authorization Configuration ---!

dynamic-access-policy-record Test
 user-message "User Selected is Test"
 priority 1
dynamic-access-policy-record DfltAccessPolicy
dynamic-access-policy-record Cisco
 user-message "Welcome locally authenticated User"
 priority 2
Verify
Deployment Verification from FTD GUI
Navigate to Deployment Tab (on Upper Right corner) > Deployment History.
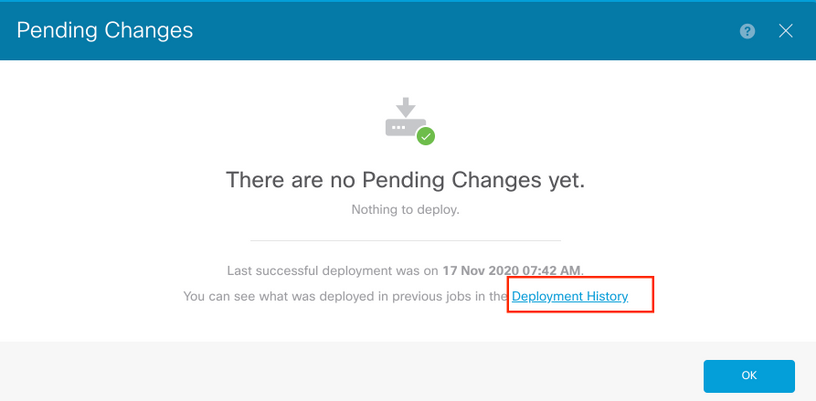

Deployment Verification from FTD CLI
show run webvpn
show run all dynamic-access-policy-record
show flash: | inc dap.xml
show flash: | inc data.xml
Troubleshoot
This section provides the information you can use in order to troubleshoot your configuration.
Dap Debugs
Note: On the FTD, you can set various debug levels; by default, level 1 is used. If you change the debug level, the verbosity of the debugs might increase. Do this with caution, especially in production environments.
debug dap trace 127
debug dap errors 127
Contributed by Cisco Engineers
- Tazy KhanCisco TAC Engineer
Contact Cisco
- Open a Support Case

- (Requires a Cisco Service Contract)
 Feedback