Introduction
This document describes how to configure the Webex Contact Center (WxCC) APIs with Postman as an application
Prerequisites
Requirements
Cisco recommends that you have knowledge of these topics:
- Webex Contact Center (WxCC) 2.0
- Customer Administrator account into a your tenant
- Use Postman API platform
Components Used
The information in this document is based on these software versions:
- WxCC 2.0
- Postman API platform
- Webex Developer portal
The information in this document was created from the devices in a specific lab environment. All of the devices used in this document started with a cleared (default) configuration. If your network is live, ensure that you understand the potential impact of any command.
Configure
Step 1: Log in to the Developer portal with your customer administrator access:
Contact Center for Developers
Step 2: Select the Create a New App icon.

Step 3: Enter a new name for the integration, description, Redirected URI, and the Scope as shown:
If you use Postman as an App, redirect URL for Postman: https://oauth.pstmn.io/v1/callback
If you use Postman in the browser, redirect URL for Postman: https://oauth.pstmn.io/v1/browser-callback
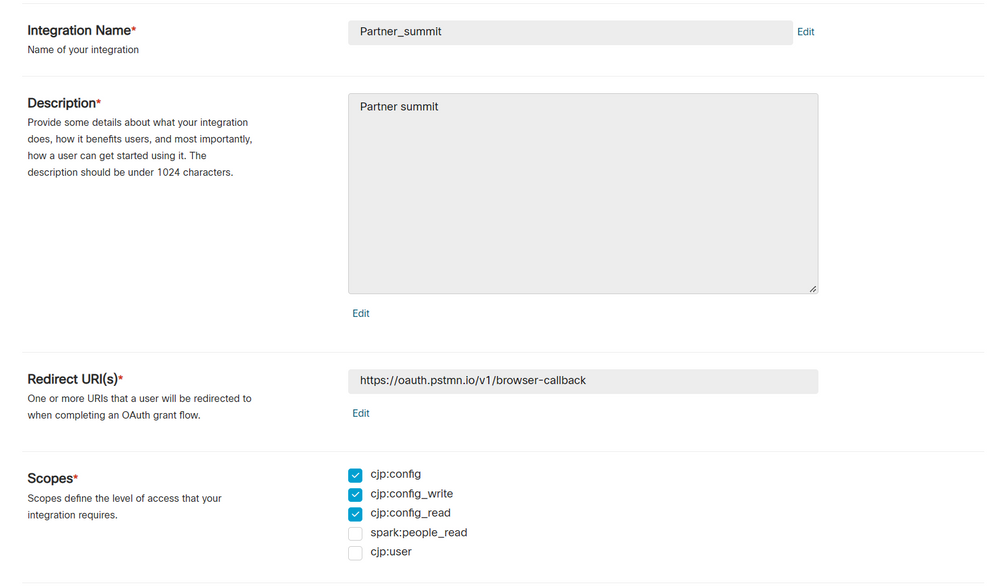
Step 4: On Postman, create the Environment variables.
The variables can be global (applied to all that use these variables) or it can be local. This is the screen shot environments of all the variables created to be used locally:
Variables to be passed are:
- datacenter - The Datacenter is us1 for ProdUS1, eu1 and eu2 for ProdEU1 and ProdEU2, anz1 for ProdANZ1
- org_id - Enter the Org ID of the tenant
- client_id - Enter the client ID generated on the Webex App on the Developer portal
- client_secret - Enter the Client Secret generated on the Webex App on Developer portal

Step 5: Download the Post Collection from the link.
To download the collection, please navigate toSample Postman APIs.
Step 6: Import the JSON file into Postman.
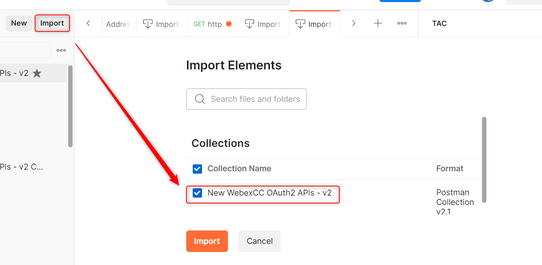
Step 7: Once imported, select the collection and navigate to the Authorization page.
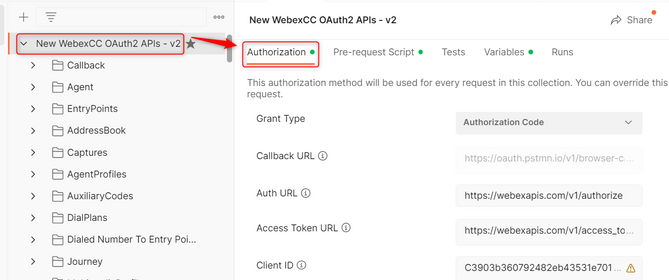
Step 8: Select the collection you created and navigate to the Authorization section.
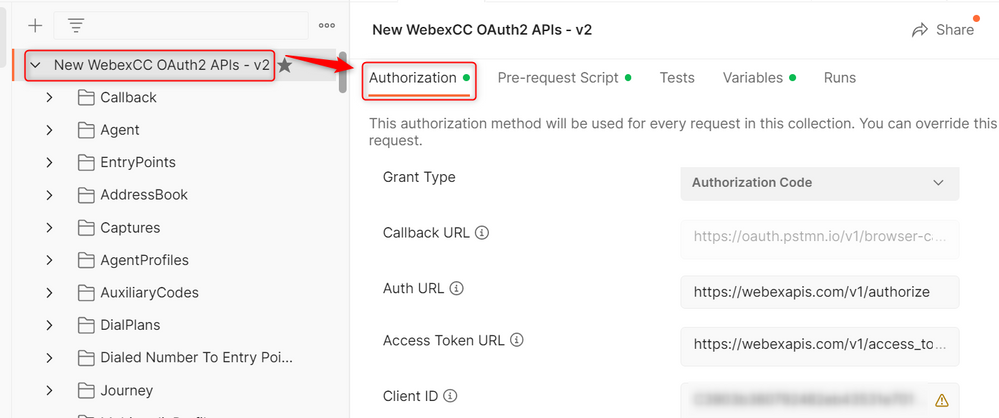
Step 9: Select Get New Access Token.
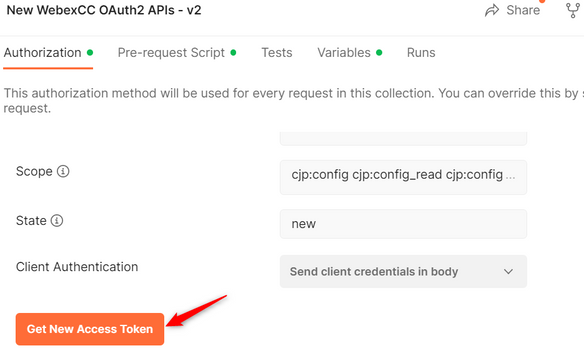
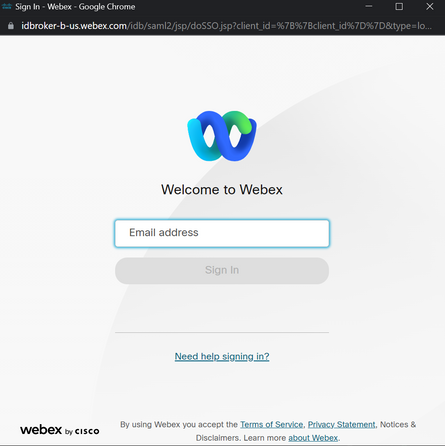
Step 10: Once that is finished, you get a prompt to log in to Webex. Sign in with the your administrator access to the customer tenant (the same log in credentials used to log in to the Developer portal in Step 1).
Step 11: Once that is finished, you see the Success message:
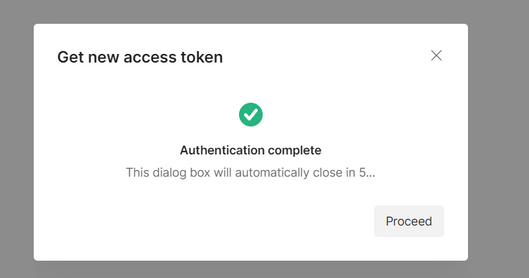
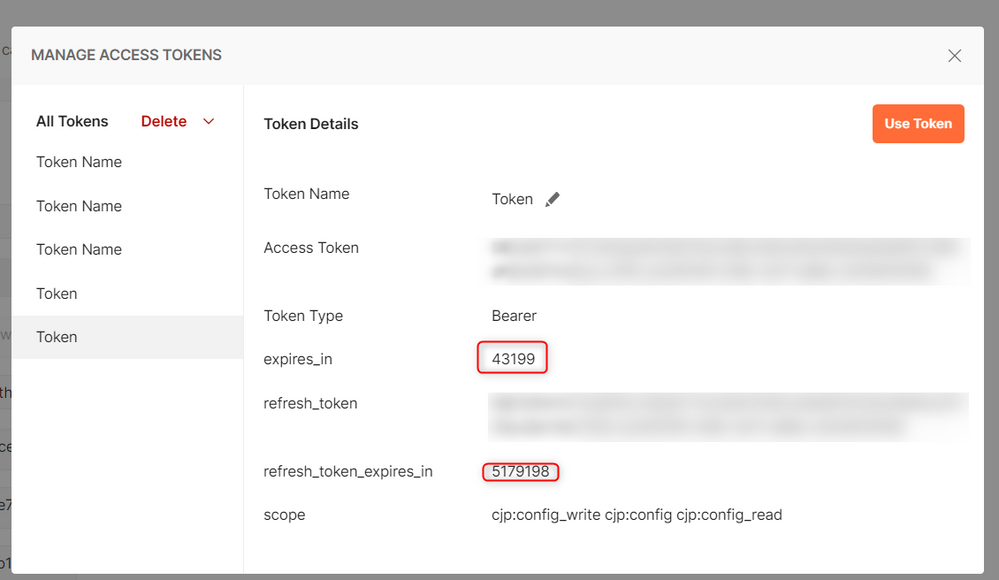
Step 12: After 5 seconds, the access token is generated. Select Use Token.
Verify
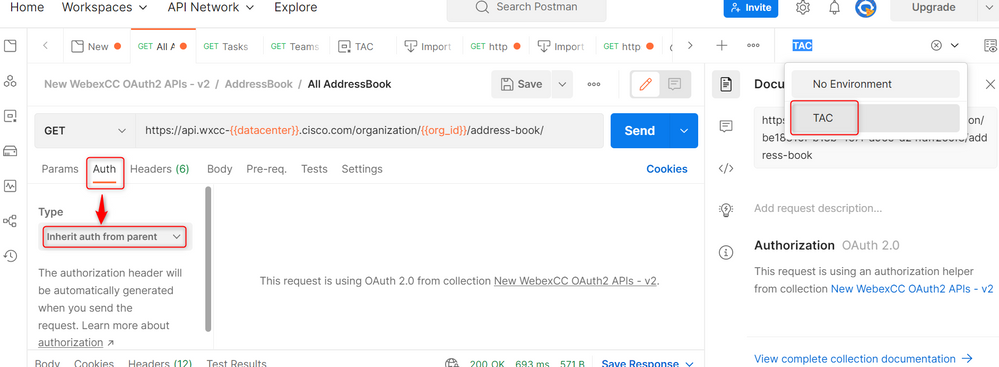
Once this finished, run an API from the list imported.
- Under Auth, please make sure to select Inherit Auth from Parent.
- Make sure the Environment created in the previous step is selected. If the variables created were global, ignore this step.


 Feedback