Introduction
This document describes configuration steps so adminsitrators can make agents as superviros via Cisco Unified Contact Center Management Portal (CCMP).
Prerequisites
Requirements
Cisco recommends that you have knowledge of these topics:
- Unified Contact Center Enterprise (UCCE)
- CCMP
Components Used
The information in this document is based on these software and hardware versions:
The information in this document was created from the devices in a specific lab environment. All of the devices used in this document started with a cleared (default) configuration. If your network is live, ensure that you understand the potential impact of any command.
Background Information
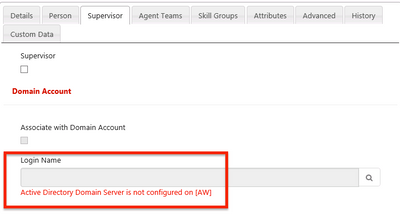
In order for an administrator to be able to elevate an agent account to Supervisor ; it is important that the steps for Supervisor Active Directory (AD) Intregration are completed using the CCMP Integrated Configuration Environment (ICE). Without this configuration if a CCMP administrator tries to make an agent a supervisor, error "Active Directory Domain Server is not configured on [AW]" pops up as shown in the image;
Configure
Note: Confguration steps here assume that in CCMP ICE Cisco CCE integration has been completed and basic operations can be performed successfully. Also ensure below steps are done in a maintenance window.
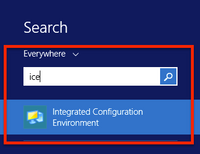
1. Open ICE ; search it CCMP node and launch the application ;
2. Complete Database Connection and login.
3. While in Cluster Configuration Mode ; click Configure Cisco Unified CCE Servers ; as shown in the image ;

4. Select "Modify an existing instance" under Select Task , and click Next ,as shown in the image;

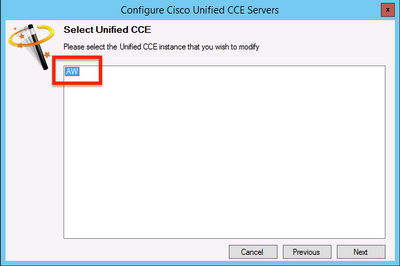
5. Select the applicable instance name and then click Next , as shown in the image ;
Note: Here "AW" is the instance name from test lab used for this document.
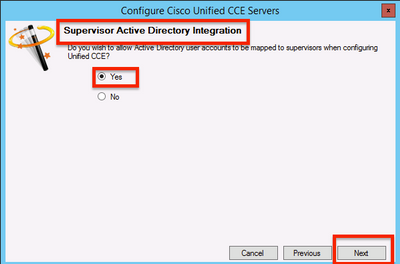
6. Select click Next until the option Screen " Supervisor Active Directory Integration" comes up and select "Yes" followed by selecting Next , as shown in the image;
7. Ensure to provide the Primary Domain Controller and Secondary Domain Controller details along with Port Number and click Next , as shown in the image;
Note: Here based on lab configuration only primary domain controller/global catalogue and its port number has been provided. The format will be <FQDN/IP>:<PortNumber>

8. Select the location in AD where supervisors user domain accounts are located, and then click Next as shown in the image

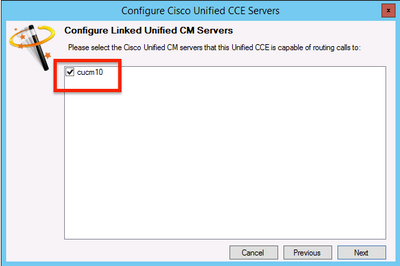
9. Select the Linked Unified CM servers and click Next , as shown in the image ;
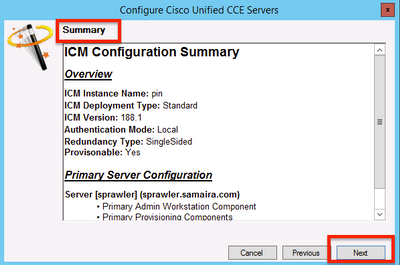
10. Click Next in the Summary screen , as shown in the image;
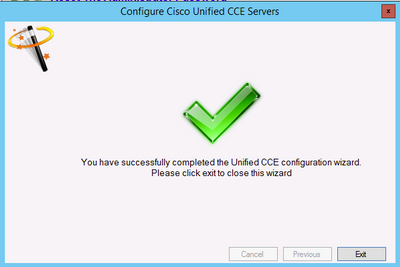
11. Ensure you see the Successfull screen, as shown in the image , click Exit;
12. Ensure to click Save in ICE (by selecting the Save Icon) , as shown in the image;

Verify
Use this section in order to confirm that your configuration works properly.
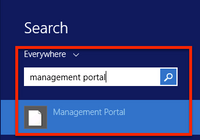
1. Search and click Management Portal ; as shown in the image;
2. Login to Management Portal,

3. Select Agent from Resource Manager and then click Supervisor Tab and then select Supervisor option followed by searching for the login name and click find and then verify message "Domain account found" . Click Save to make this account a Supervisor account. , as shown in the image;

4. First the system will say Agent update request submitted ; with a yellow indicator also stating "Pending Active" , as shown in the image;

5. Finally in a few seconds the status will change to Ready and the change will be commited.

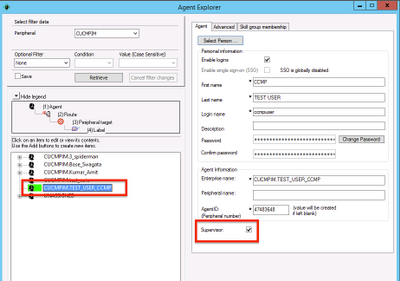
6. Even Configuration Manager in Administration & Data Server (AW) node will now confirm that this agent account is now a Supervisor, as shown in the image;
Troubleshoot
There is currently no specific troubleshooting information available for this configuration.
