Introduction
This document describes how to enable directory synchronization from the Webex control hub.
Background Information
Cisco Directory Connector is an on-premise application used for synchronization of user account information into WebEx Control Hub.
The Directory Connector dashboard shows the synchronization progress when you are bringing users, groups, or avatars from Active Directory to Webex.
Prerequisites
Requirements
- Knowledge of Cisco Directory Connector application
- Full admin account on Webex Control Hub; same account must be used on Directory connector application
- Domain claimed on control hub; bound to the Cisco Directory Connector app
- Active Directory connector must be installed on a server that is on the domain.
Components Used
The information in this document is based on these software and hardware versions:
- Cisco Directory Connector app
- Cisco Webex Control Hub
- Virtual machine using Windows server
You need a separate instance of ActiveDirectory Connector installed for every different domain.
The information in this document was created from the devices in a specific lab environment. All of the devices used in this document started with a cleared (default) configuration. If your network is live, ensure that you understand the potential impact of any command.
Procedure
Open the Webex control hub and navigate to Manage Users.
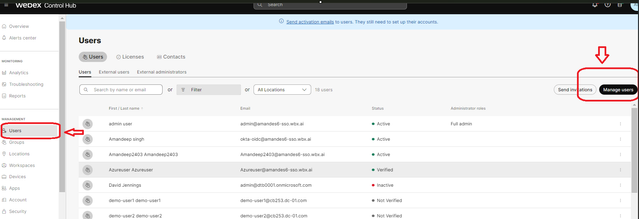 1 Manage Users
Click Turn on Directory synchronization:
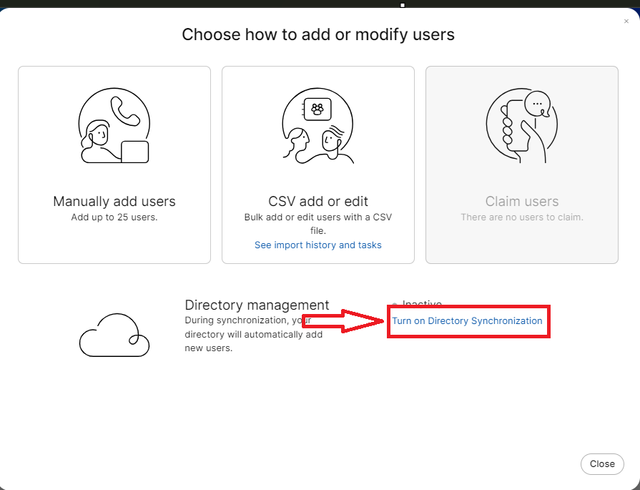 2 Add or Modify Users
Click Next.
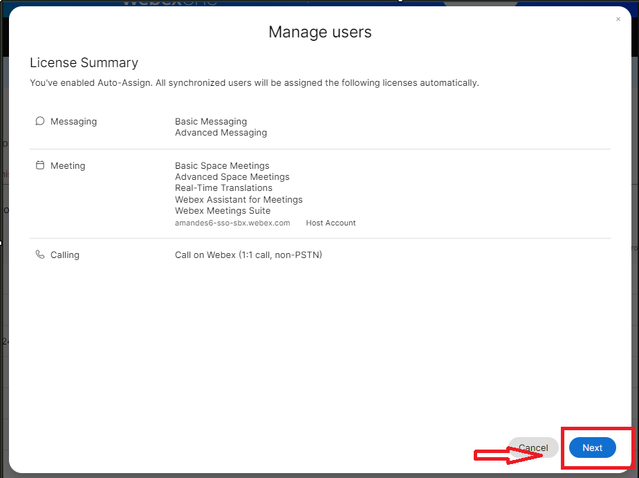 3 Manage Users Next
Click Download then Install Directory Connector.
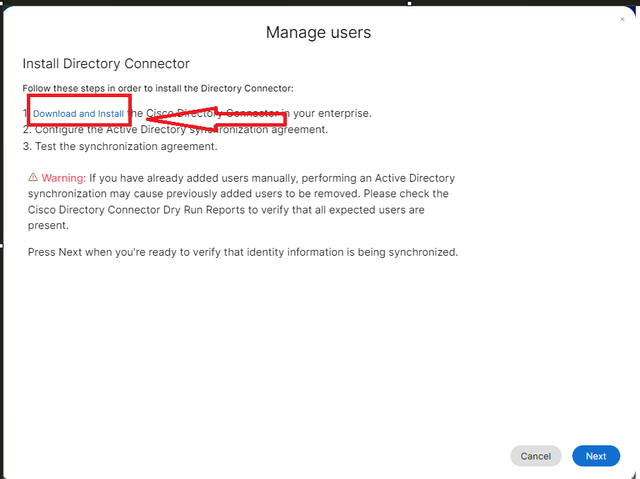 4 Manage Users Download Install
The directory connector has been installed using the setup file.
 5 Directory Connector Folder
 6 Directory Connector file
Choose the type of service account to use and perform the installation with an admin account:
- LOCAL SYSTEM system or Domain Account.
The default option is LOCAL SYSTEM (in this account)
Click Next.
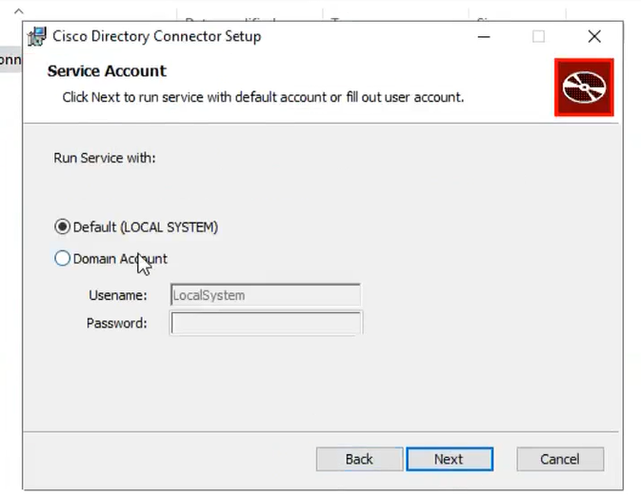 7 Default Local System
Click Install and then click Finish.
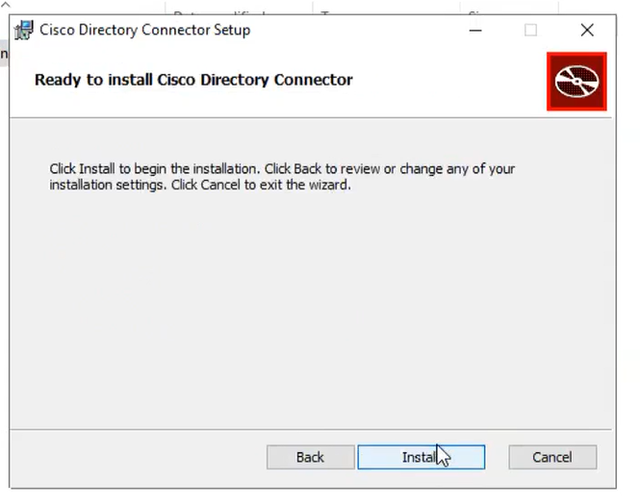 8 Ready to Install
This runs the network environment test.
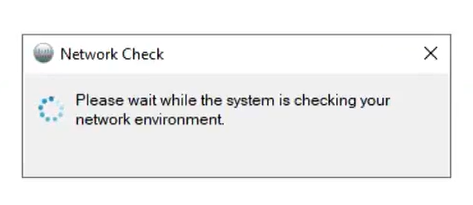 9 Network Check
This then yields a verification prompt.
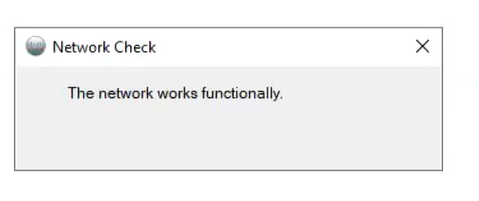 10 Network functions
Log in to Cisco Directory Connector on the machine.
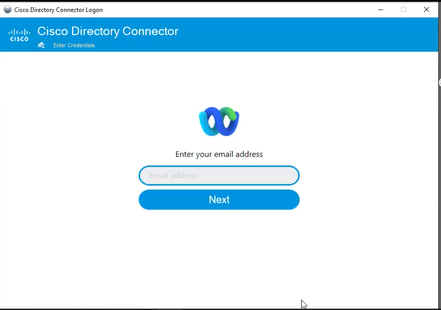 11 Enter Email address
Select the AD DS radio button then click Load Domain.
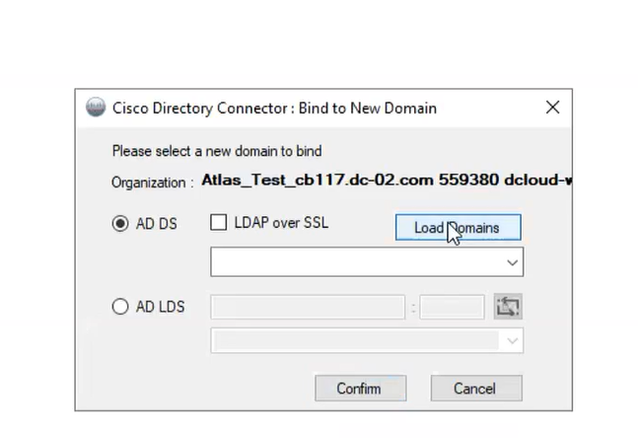 12 Bind to Domain
Choose the default domain (in this case, dcloud.cisco.com, as shown here) and click Confirm.
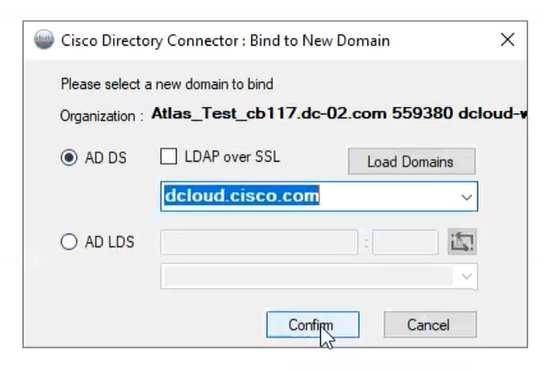 13 Confirm Domain
When the Cisco Directory Connector is launched, it prompts you to upgrade to the latest connector version.
Click Yes.
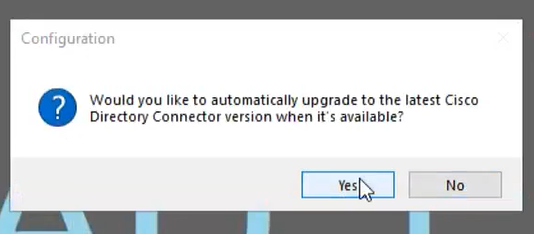 14 Confirm Upgrade
You are prompted to perform dry run. Choose either Perform or Not Now as shown:
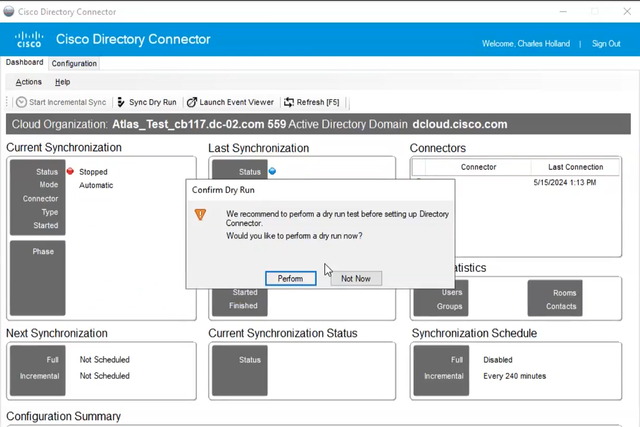 15 Confirm Dry Run
Click Enable Now to enable Automatic Synchronization.
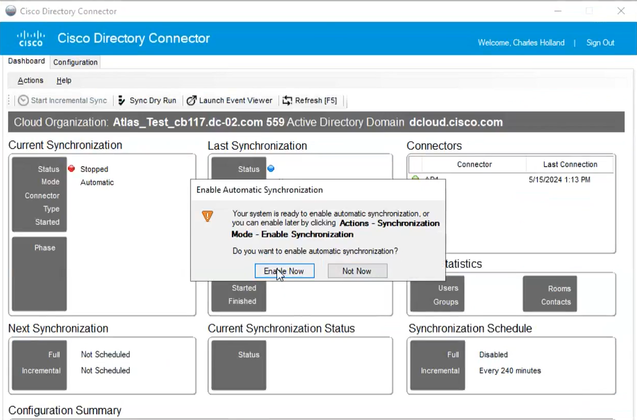 16 Enable Synchronization
Click Yes to perform a full synchronization.
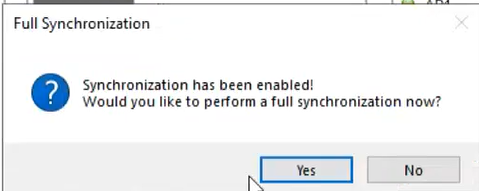 17 Full Synchronization
Directory Connector is enabled as shown below.
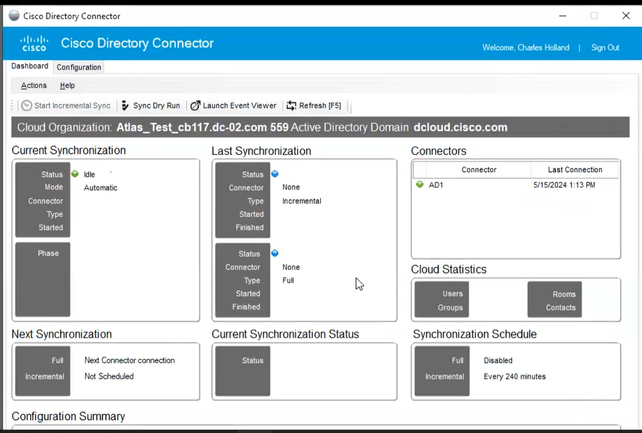 18 Directory Connector
Switch to control hub, where it then shows Directory connector as Operational with your domain.
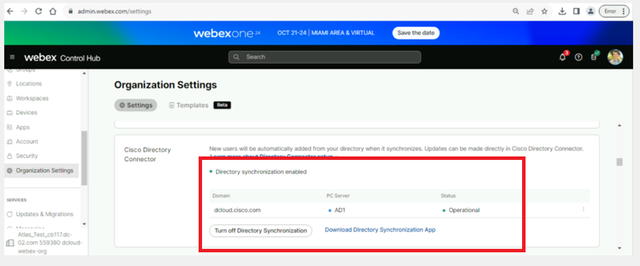 19 Org Settings
You have now successfully enabled Directory Connector/Synchronisation on webex control hub.


 Feedback