Introduction
This document describes how to create certificates for Cisco Meeting Server (CMS) with Open Secure Sockets Layer (OpenSSL).
Contributed by Moises Martinez, Cisco TAC Engineer.
Prerequisites
Cisco recommends that you have knowledge of these topics:
- Open SSL.
- CMS configuration.
Components Used
The information in this document is based on these software:
The information in this document was created from the devices in a specific lab environment. All of the devices used in this document started with a cleared (default) configuration. If your network is live, ensure that you understand the potential impact of any command.
Configure
Step 1. Download OpenSSL Light 1.1.
Step 2. Install OpenSSL in your computer.
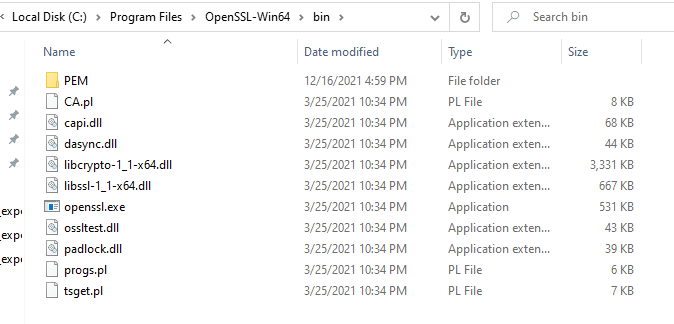
Step 3. Navigate to the folder where SSL was installed. Usually it is installed on C:\Program Files\OpenSSL-Win64\bin.

Step 4. Open the Notepad and enter the information needed for the Certificte Signing Request (CSR) as showed in the next example:
[req]
distinguished_name = req_distinguished_name
req_extensions = v3_req
prompt = no
[req_distinguished_name]
C = US
ST = California
L = San Jose
O = TAC
OU = IT
CN = cms.tac.cisco.com
[v3_req]
extendedKeyUsage = serverAuth, clientAuth
subjectAltName = @alt_names
[alt_names]
DNS.1 = webbridge3.tac.cisco.com
DNS.2 = webadmin.tac.cisco.com
DNS.3 = xmpp.tac.cisco.com
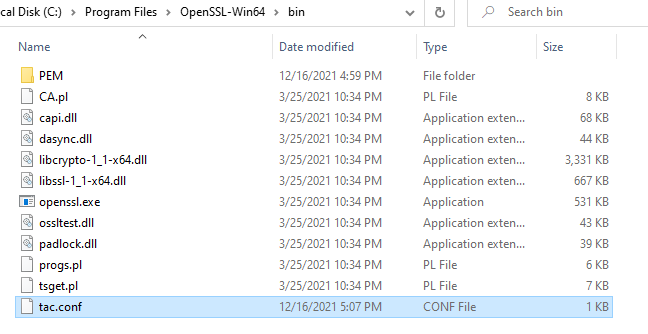
Step 5. Once the information is entered for the CSR this file is saved as tac.conf in the next path: C:\Program Files\OpenSSL-Win64\bin.

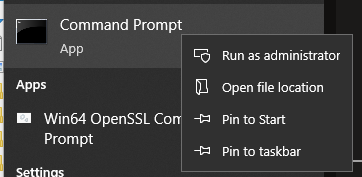
Step 6. Open the Command Promt on the PC and slect to be Run as administrator.

Step 7. Navigate to the path where the file is stored via command prompt, enter command openssl.exe and select enter.

Step 8. Run the next command: req -new -newkey rsa:4096 - nodes -keyout cms.key -out cms.csr -config tac.conf.


Verify
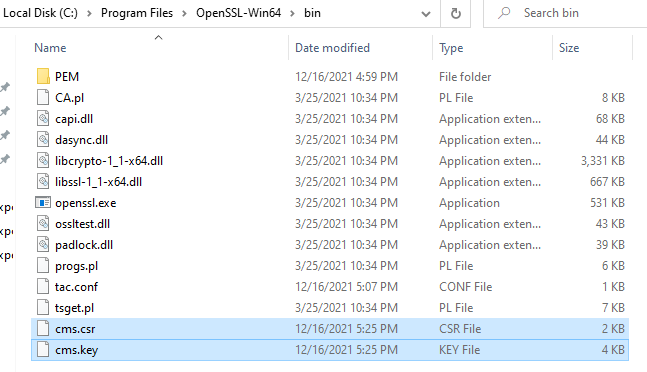
If no errors are displayed two new files are generated in the same folder:

This new file cms.csr can be signed by a Certificate Authority (CA).


 Feedback