Introduction
This document describes how to enable a button powered by Macros that switches SpeakerTrack and PresenterTrack mode in WebEx Room Devices.
Prerequisites
Requirements
Cisco recommends that you have knowledge of these topics:
Components Used
The information in this document is based on these software and hardware versions:
- Collaboration Endpoints (CE) 9.15.
- Any cloud software version.
Configure
Endpoint Configuration
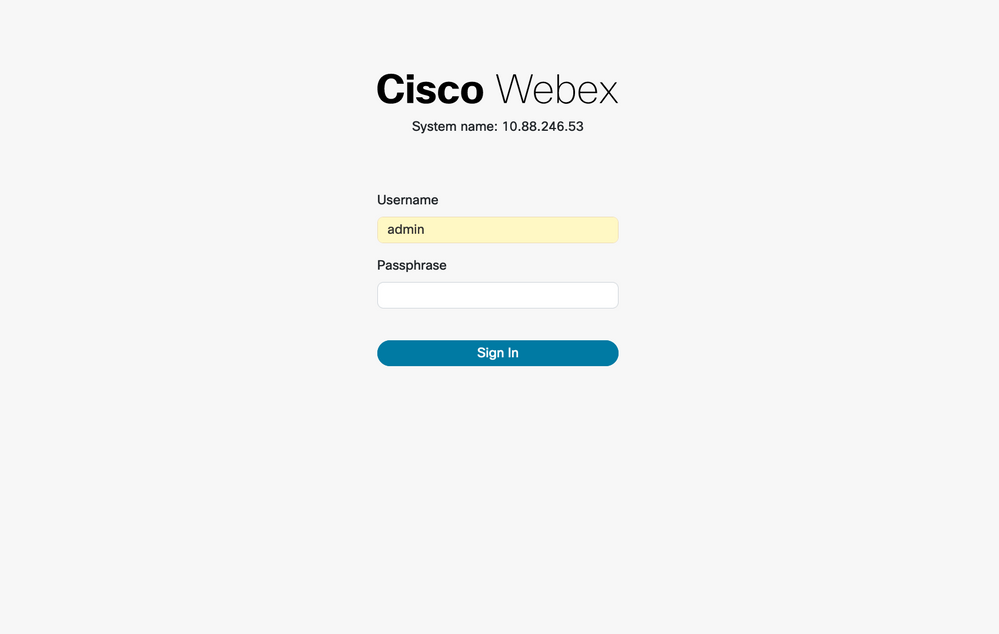
Step 1. Log in to the device Web Interface.
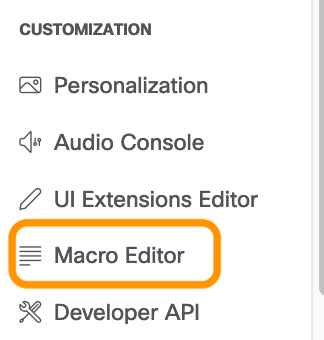
Step 2. Navigate to Customization > Macro Editor.
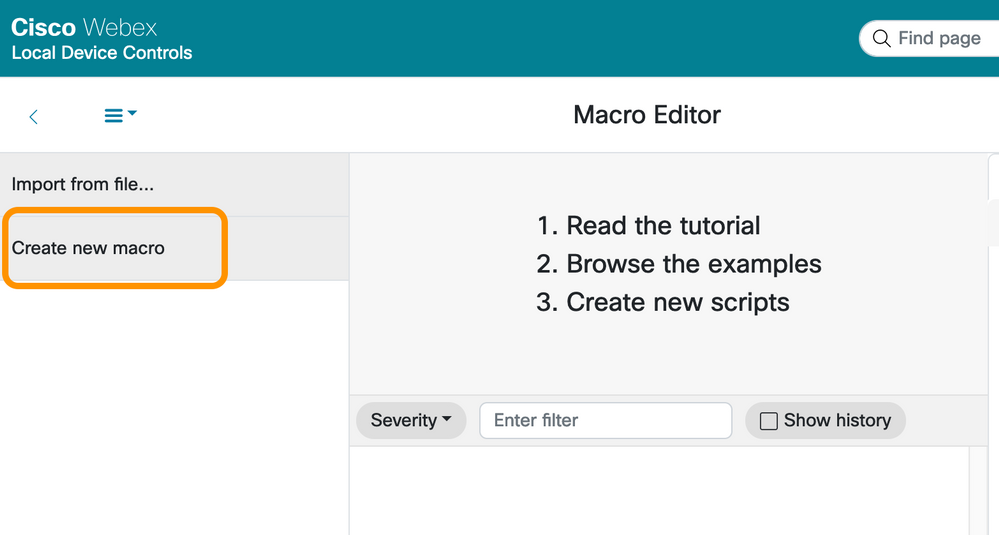
Step 3. In the Macros menu, select Create new macro.
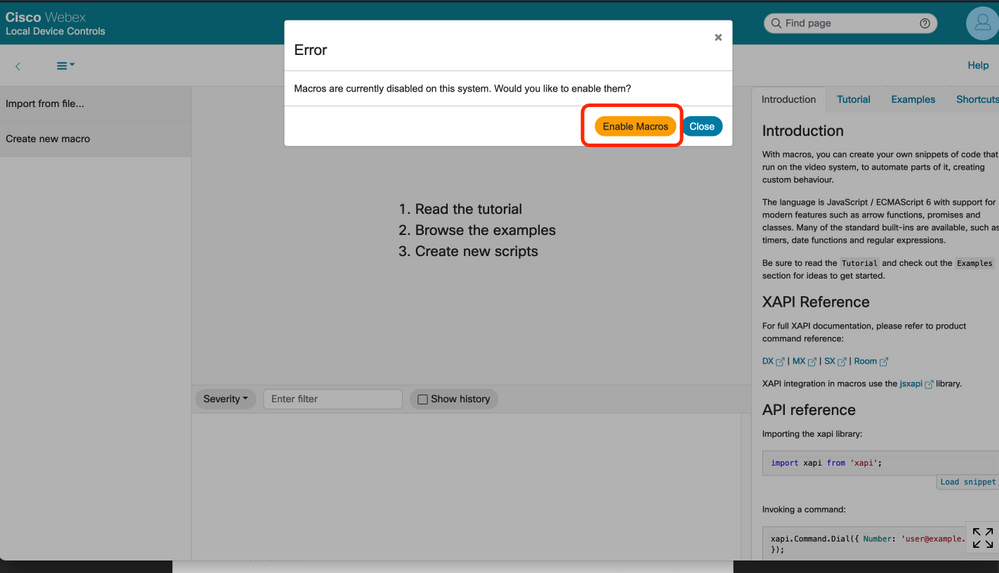
Note: If the error Macros are currently disabled on this system appears, select Enable Macros.
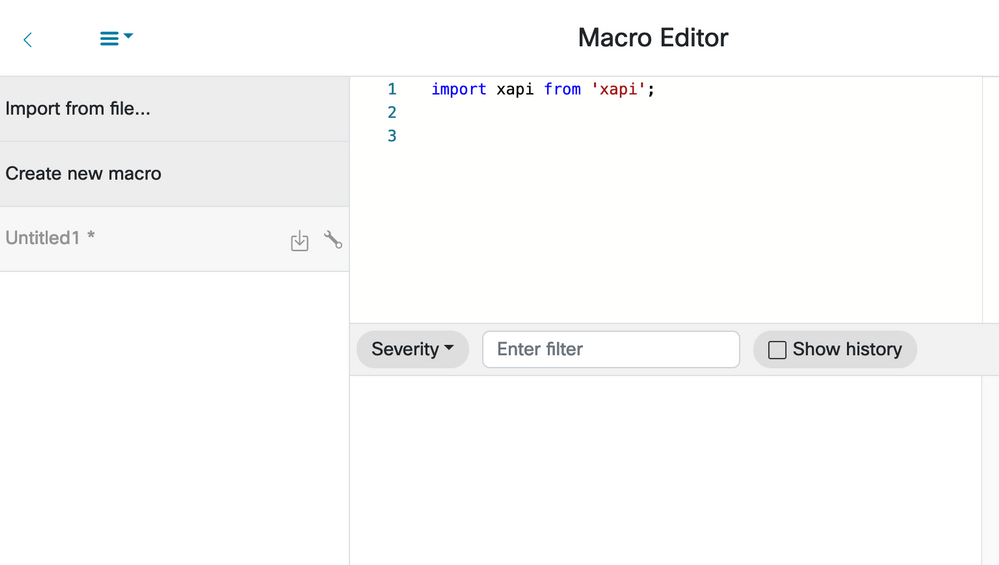
Strep 4. When macros are enabled, a new file is created, as shown in the next image:
Step 5. Copy and paste the next code:
import xapi from 'xapi';
const presenterTrackConnectorID = 2;

function handleError(error){
  console.log('Error:', error);
}

function changeCameraInput(){
  xapi.command('Video Input SetMainVideoSource', {
    ConnectorId: presenterTrackConnectorID,
  }).catch(handleError);
}

function enablePresenterTrack(){
  xapi.command('Cameras PresenterTrack Set', {
    Mode: 'Follow',
  }).catch(handleError);
}

function enableSpeakerTrack(){
  xapi.command('Cameras SpeakerTrack Activate').catch(handleError);
}
function presenterTrackChanger(event){
  if(event.PanelId === 'PresenterMode'){
    xapi.status
      .get('Cameras PresenterTrack Status')
      .then((value) => {
        //console.log(value);
        if(value === 'Off'){
          changeCameraInput();
          enablePresenterTrack();
          console.log('Presenter Track Enabled');
        }else{
          enableSpeakerTrack();
          console.log('Speaker Track Enabled');
        }
    });
  }
}

xapi.event.on('UserInterface Extensions Panel Clicked',presenterTrackChanger);
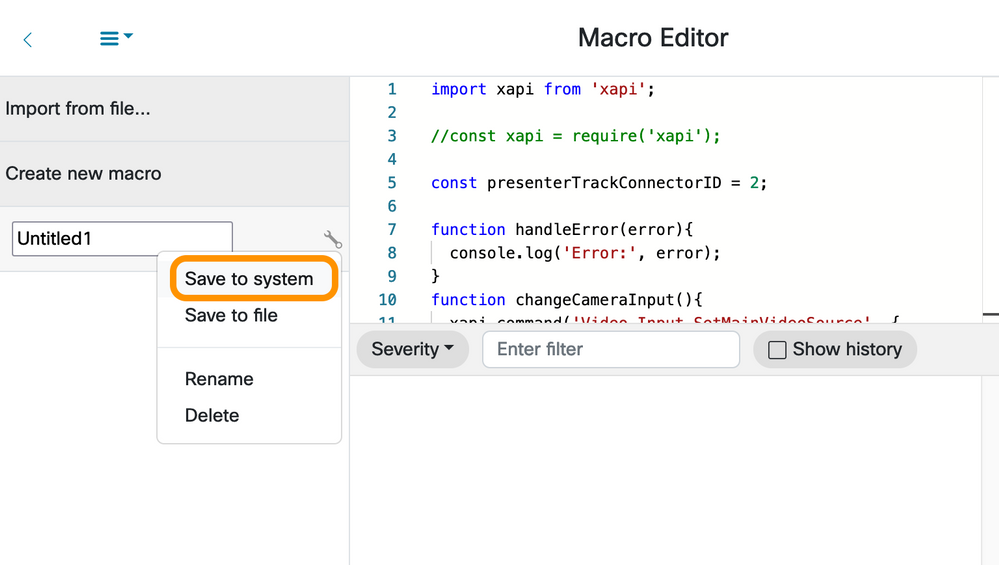
Step 6. Select the engine next to the file name and select Save to System.
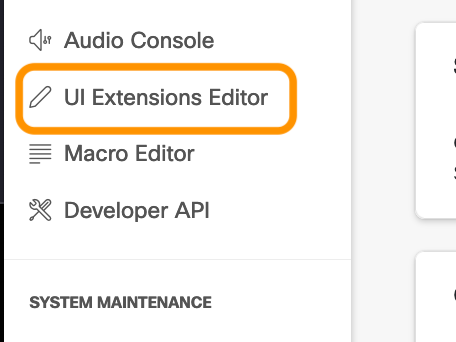
Step 7. Navigate to Customization > UI Extensions Editor.
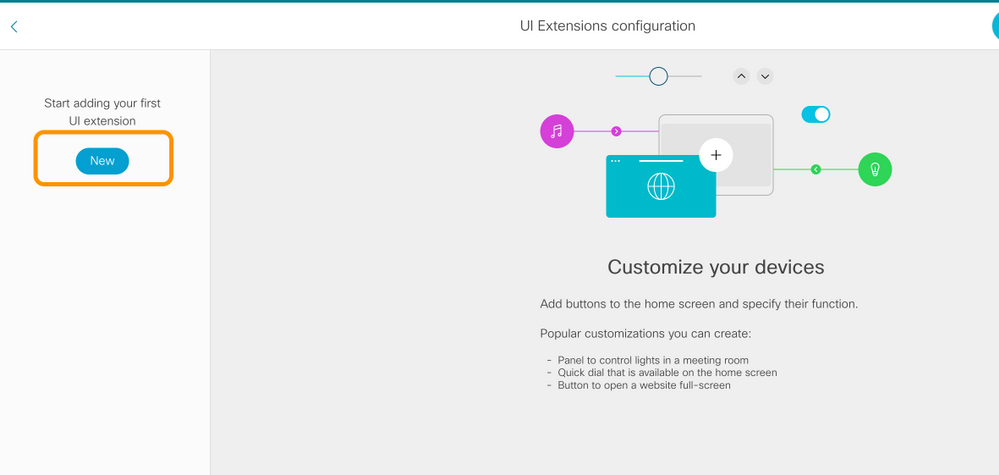
Step 8. In order to create the button, select New.
Step 9. Select Add from the Action Button section.
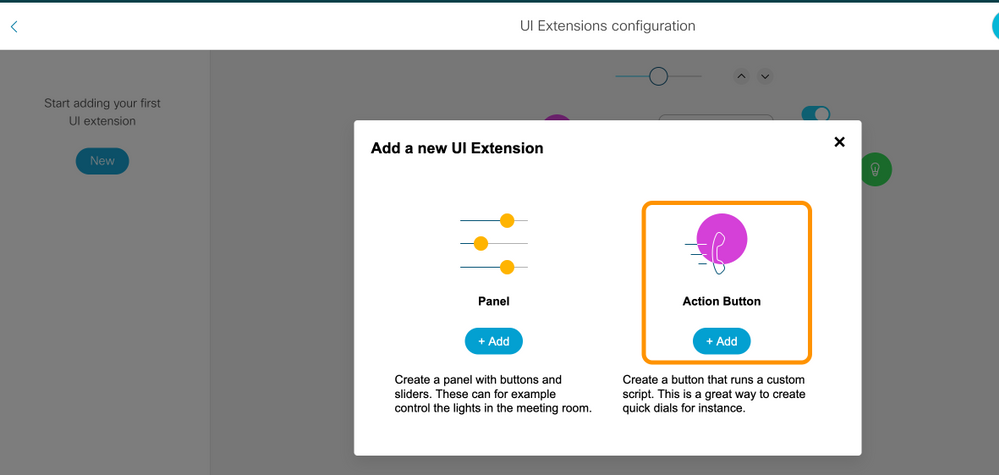
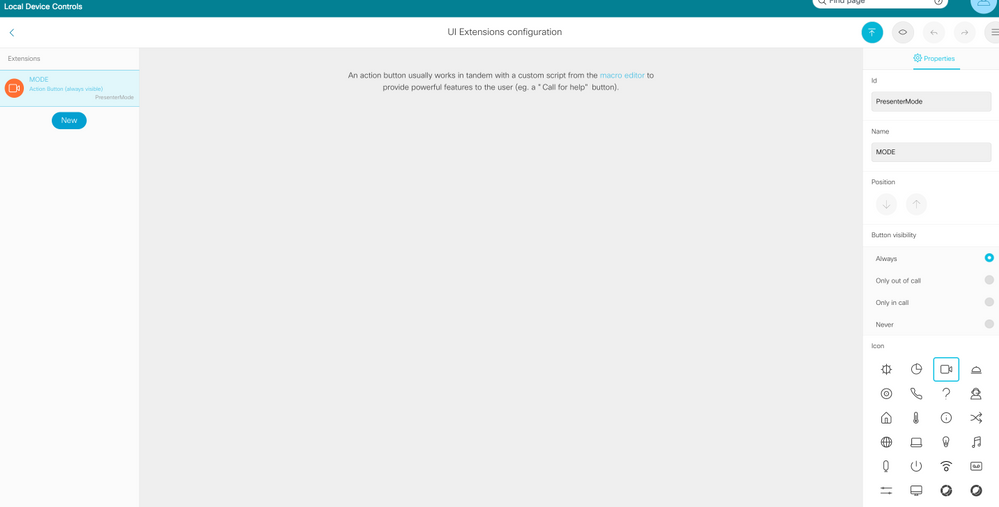
Step 10. Once the button is created you just need to customize, from the Properties section, select the next configuration:
| Id |
PresenterMode |
| Name |
MODE |
| Button visibility |
Always |
| Icon |
Camera |

Step 11. Button is created and shown in the left panel.
Verify
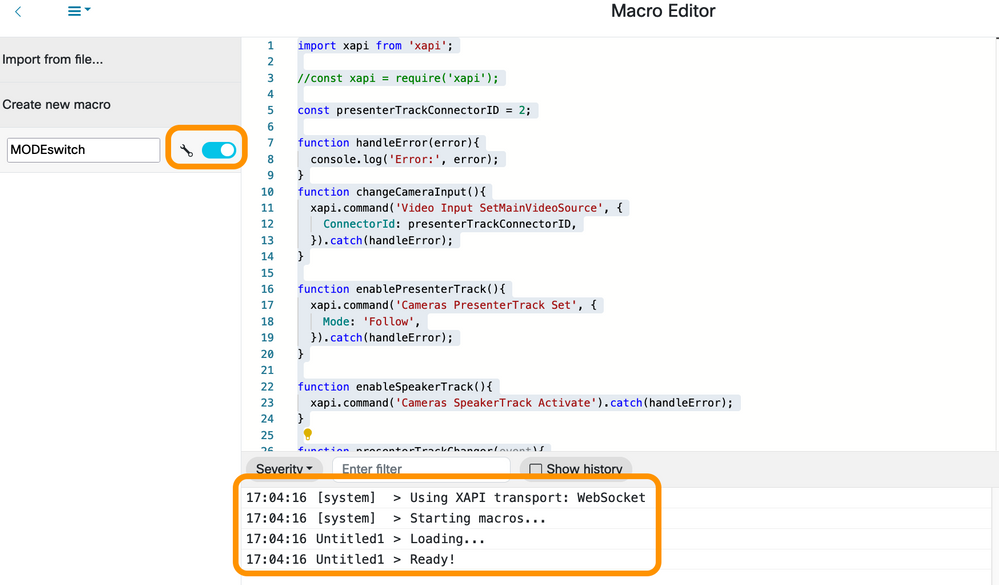
If the macros are created correctly, you see the output shown in the next image:
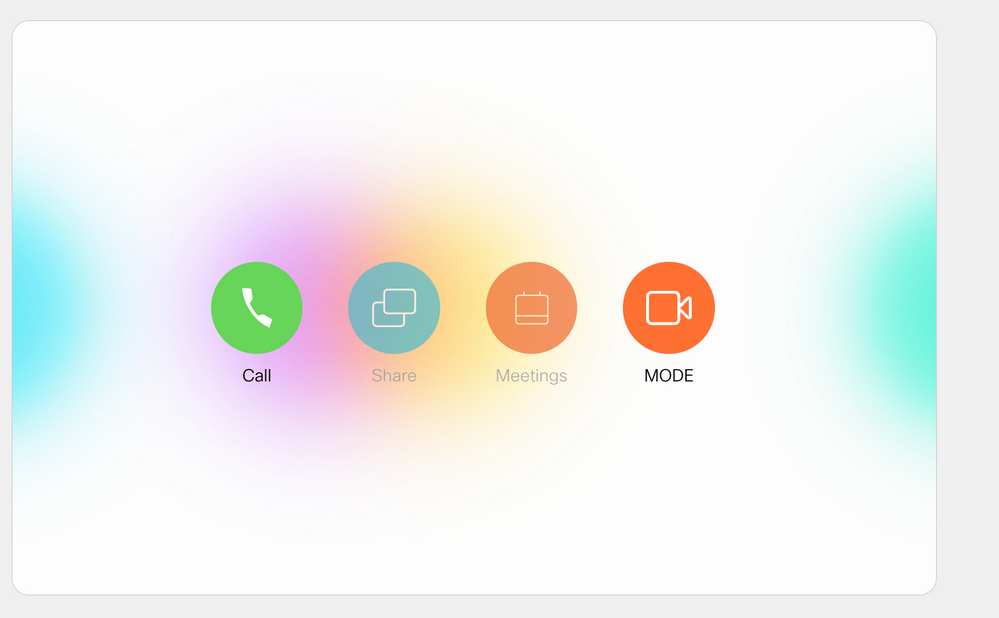
Navigate to UI Extensions configuration and select the view button in the upper left.
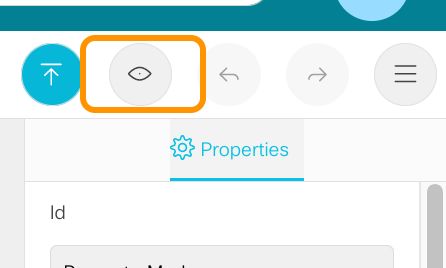
If everything is configured correctly, you must see the next output:
Troubleshoot
Cannot save the macro.
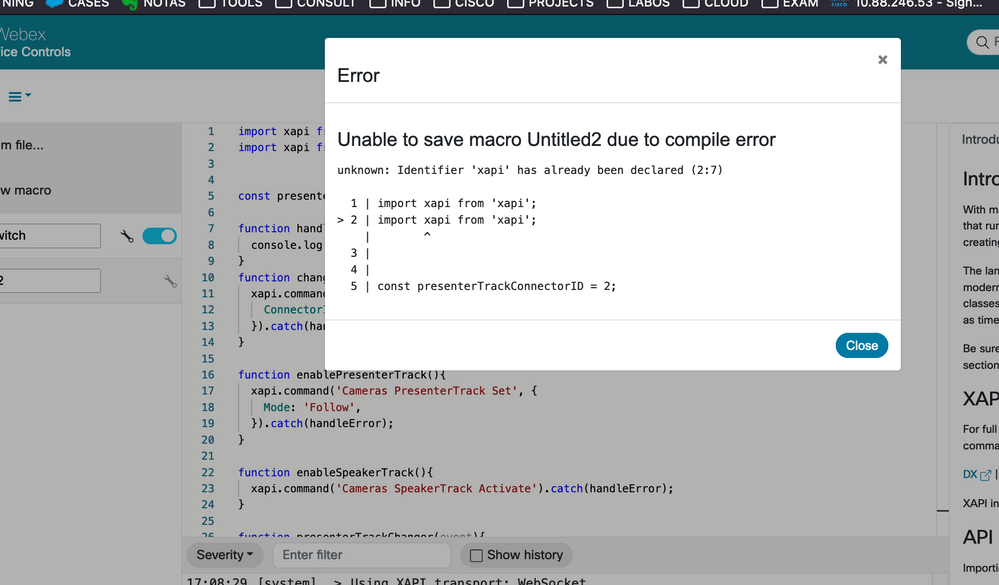
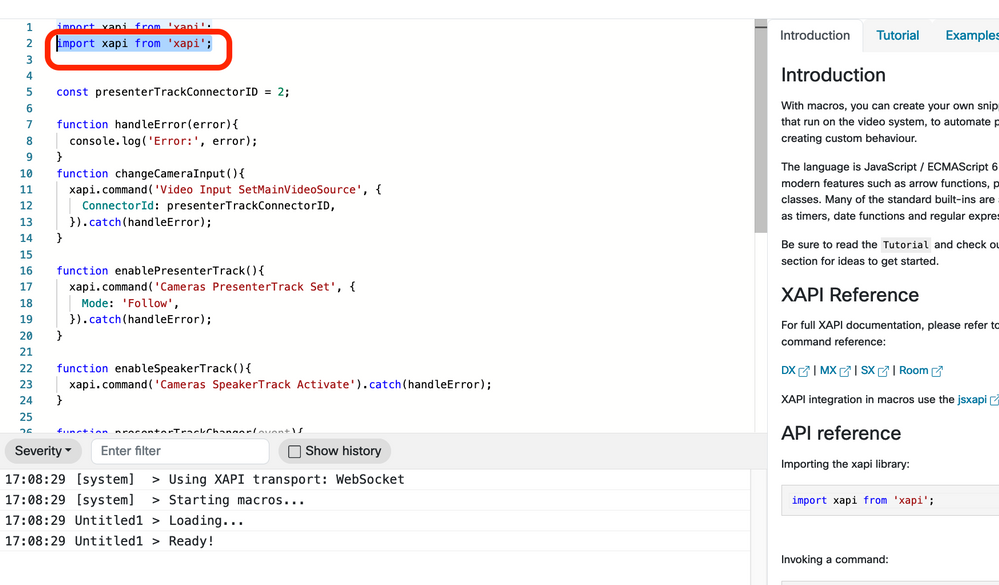
This kind of error, is probably caused because the line show in the next image is dupplicated:


 Feedback