Step 1. Connect the USB to micro USB Cable between Endpoint/Quad Camera and Windows system.
Step 2. Open the PuTTY application. The PuTTY Configuration window opens as shown in the image.
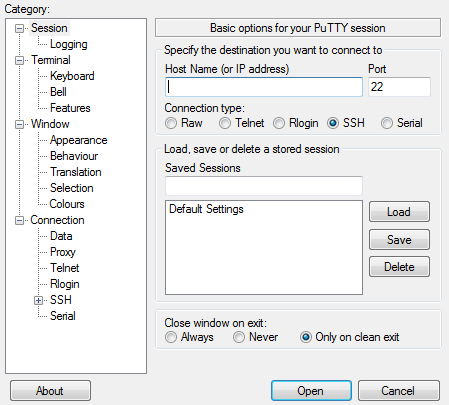
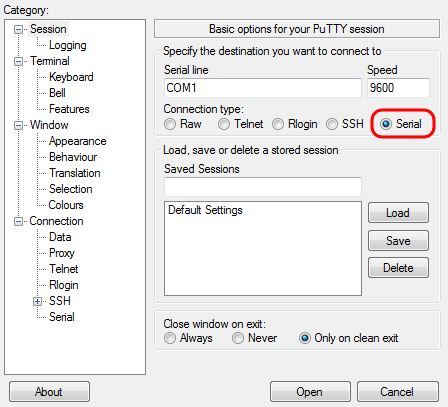
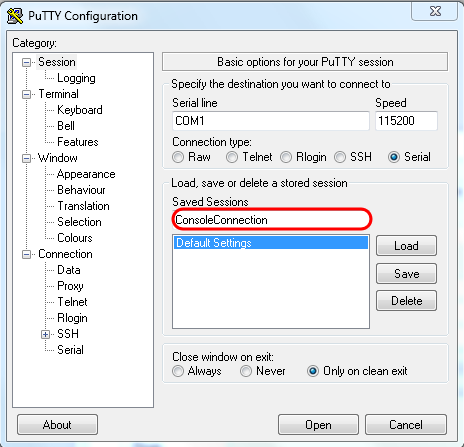
Step 3. Under the Connection Type field, selectSerialradio button as shown in the image.
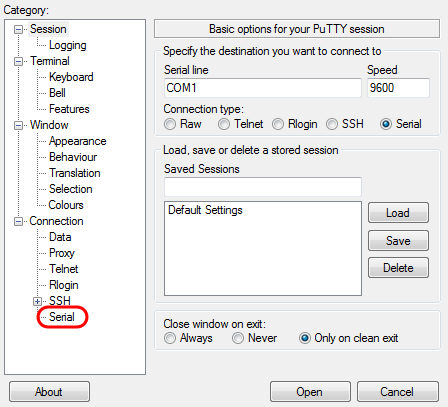
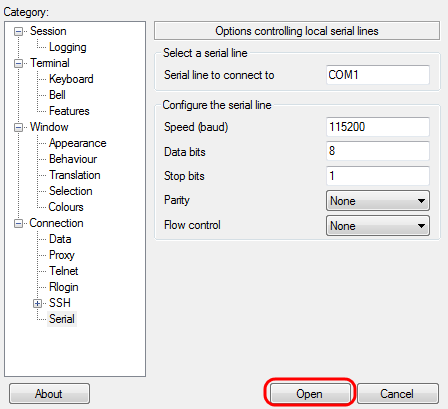
Step 4. In theCategory navigation field, selectSerial as shown in the image.
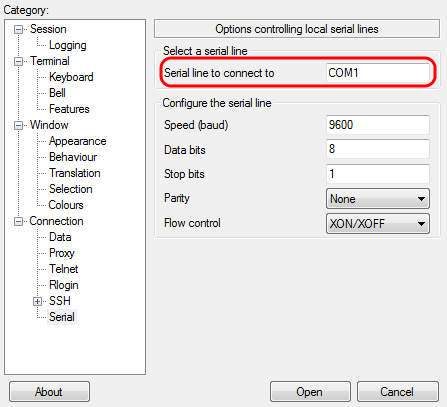
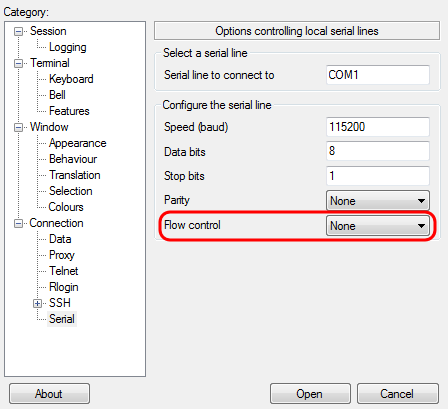
TheOptions controlling local serial lines page opens as in the image.
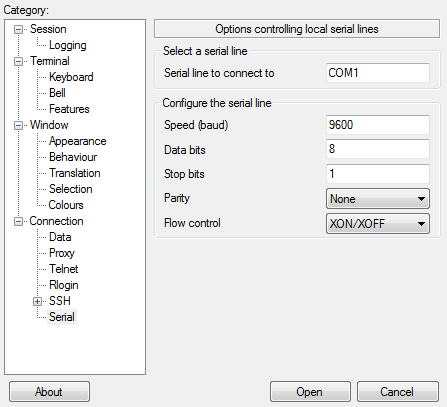
Step 5. In the serial line to connect to field, enter the COM port that your device is connected to (for example, You can enter default COM port is COM1).
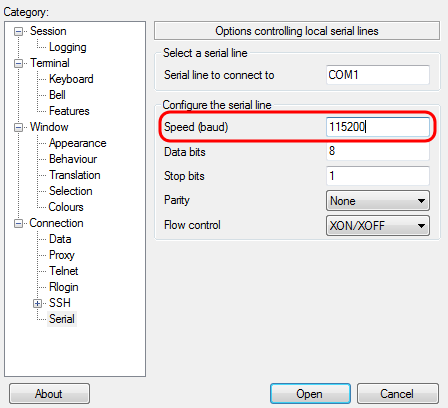
Step 6. In theSpeed (baud) field, enter the digital transmission speed that is compatible with the switch as shown in the image. For most of the endpoints, the speed can be set to115200.
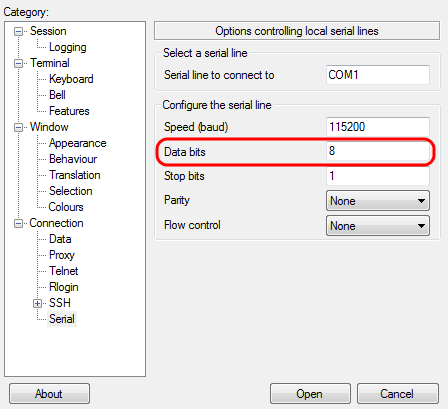
Step 7. In the Data bits field, enter the number of data bits used for each character as shown in the image. The recommended value is8.
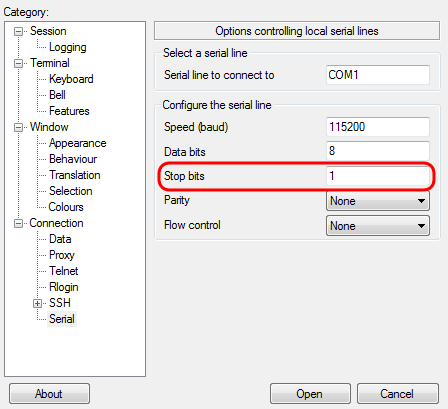
Step 8. In theStop bits field, enter the number of bits to be sent at the end of every character as shown in the image. The stop bit informs the machine that it has reached the end of a byte. The recommended value is1.
Step 9. In the Parity drop-down menu, select the method in order to detect errors in transmission as shown in the image. The recommended method in order to detect errors in the transmission isNone.

Step 10. In the Flow Control drop-down menu, select the method in order to prevent data overflow as shown in the image. The recommended method in order to prevent data overflow isNone.
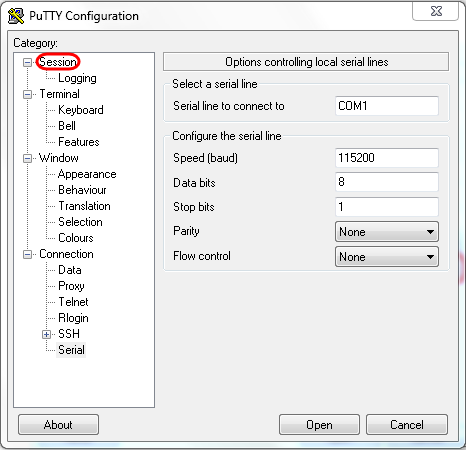
Step 11. (Optional) In order to save the connection settings for future use, navigate to theCategorynavigation pane, and selectSession. If you do not wish to save the connection settings, skip to Step 14.
Step 12. Under theSaves Sessions field, enter a name for the settings to be saved as.
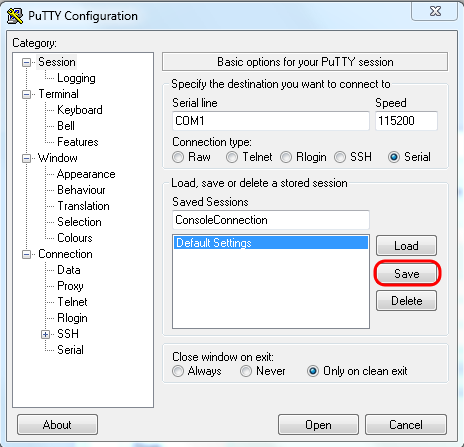
Step 13. SelectSave as shown in the image.
Step 14. SelectOpen.
TheCOM1 – PuTTY console window opens.
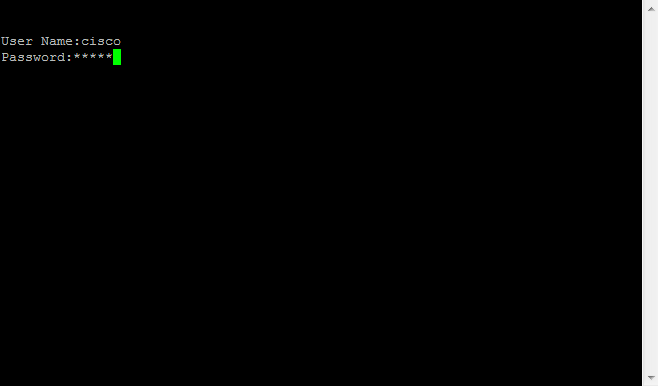
Step 15. HitEnteron the keyboard in order to activate the Command Line Interface (CLI). The log in prompt is displayed:

Step 16. Enter the User Name. The default username is admin.

Step 14. Enter the Password. The default password iscisco.


 Feedback