Introduction
This document describes the procedure to upload and verify Certificate Authority (CA) - Signed Provisioning Application server certificates to Prime Collaboration Provisioning (PCP).
Prerequisites
Requirement
Cisco recommends that you have knowledge of these topics:
- PCP and Microsoft Internal CA
- Latest Virtual Machine (VM) Snapshot or PCP Backup before you upload the certificate
Components Used
The information in this document is based on these software and hardware versions:
- PCP Version 12.3
- Mozilla Firefox 55.0
- Microsoft Internal CA
The information in this document was created from the devices in a specific lab environment. All of the devices used in this document started with a cleared (default) configuration. If your network is live, make sure that you understand the potential impact of any command.
Configure
Step 1. Log into PCP and Navigate to Administration > Updates > SSL Certificates Section.
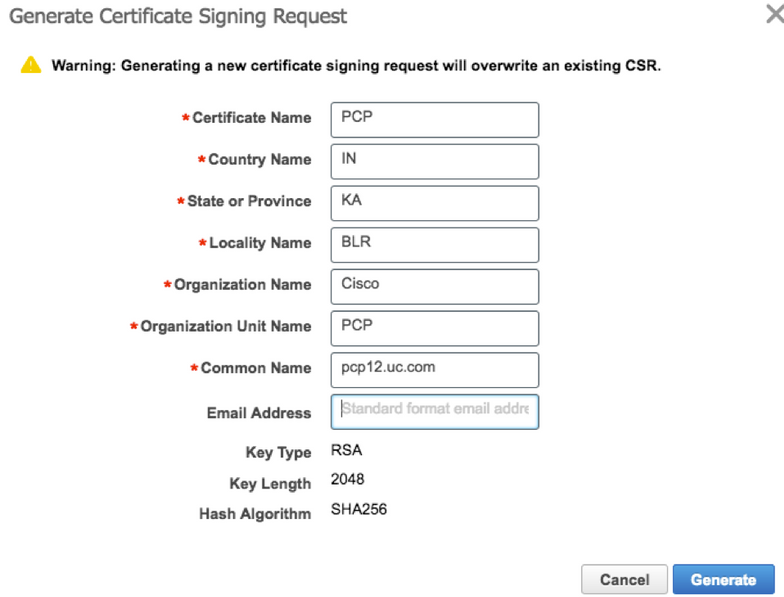
Step 2. Click on Generate Certificate Signing Request, enter the mandatory attribute and click Generate as shown in the image.
Note: Common Name attribute must match to the PCP Fully Qualified Domain Name (FQDN).
Step 3. Click Download CSR to generate the Certificate as shown in the image.
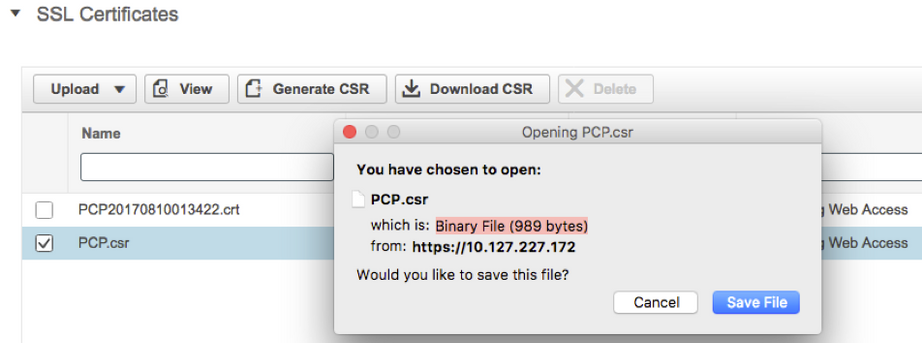
Step 4. Use this Certificate Signing Request (CSR) to generate the Public CA signed certificate with the help of Public CA Provider.
If you want to sign the certificate with Internal or Local CA, follow these steps:
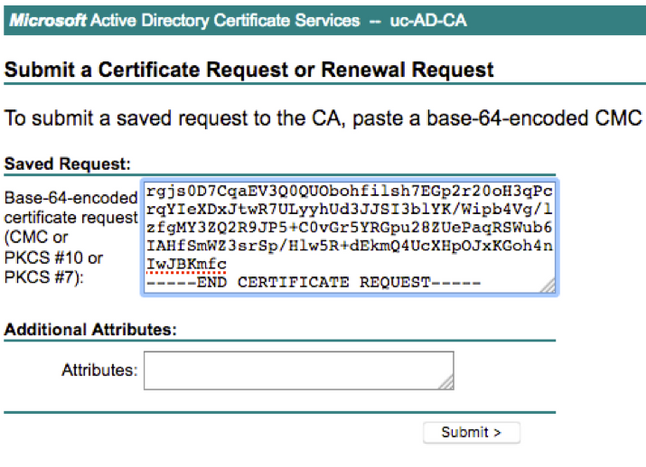
Step 1. Log into Internal CA and upload the CSR as shown in the image.
Step 2. Connect to the internal CA server, right-click on Pending Requests > All Tasks > Select Issue to get a signed certificate as shown in the image.

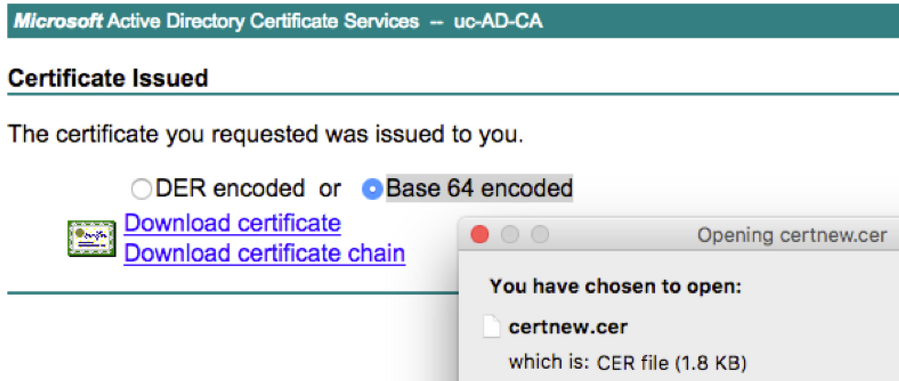
Step 3. Then, select radio button Base 64 encoded format and click Download certificate as shown in the image.
Step 4. In PCP Web GUI, navigate to Administration > Updates > SSL Certificates Section, click Upload, choose the certificate which was generated and click Upload as shown in the image.
Note: You need to upload PCP Web Server Certificate only, Root certificates are not required to be uploaded since PCP is a Single Node Server.
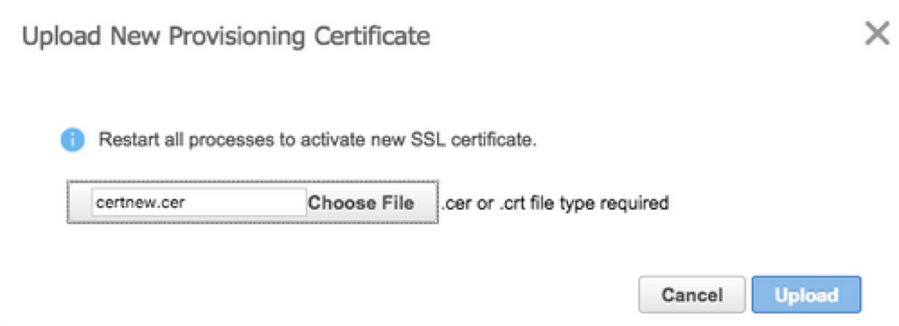
Step 5. After you upload the CA-Signed certificate, navigate to Administration > Process Management and click Restart Apache (Web Server) Serviceas shown in the image.

Verify
Use this section in order to confirm that your configuration works properly.
Here are the steps to verify that the CA Signed certificate are uploaded to the PCP.
Step 1. The upload of the CA signed certificate replaces the PCP self-signed certificate, and the Type is shown as CA Signed with the Expiration Date as shown in the image.

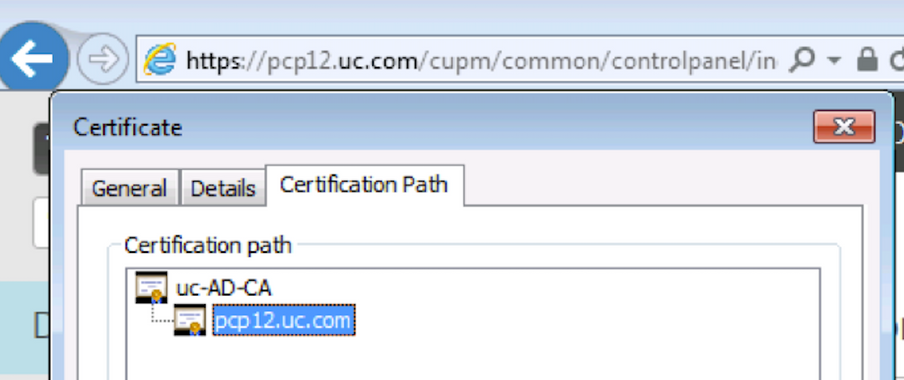
Step 2. Log into PCP with the use of the FQDN and click on secure lock symbol on the browser. Click on More information and verify the Certification Path as shown in the image.
Troubleshoot
This section provides information you can use in order to troubleshoot your configuration.
From PCP 12.X, there is no access to CLI/Secure Shell (SSH) as root. For any issues, to upload the certificate or the PCP Web Interface is not accessible after certificate upload, contact Cisco Technical Assistance Center (TAC).
Related Information
